Module Activation and Setup Order
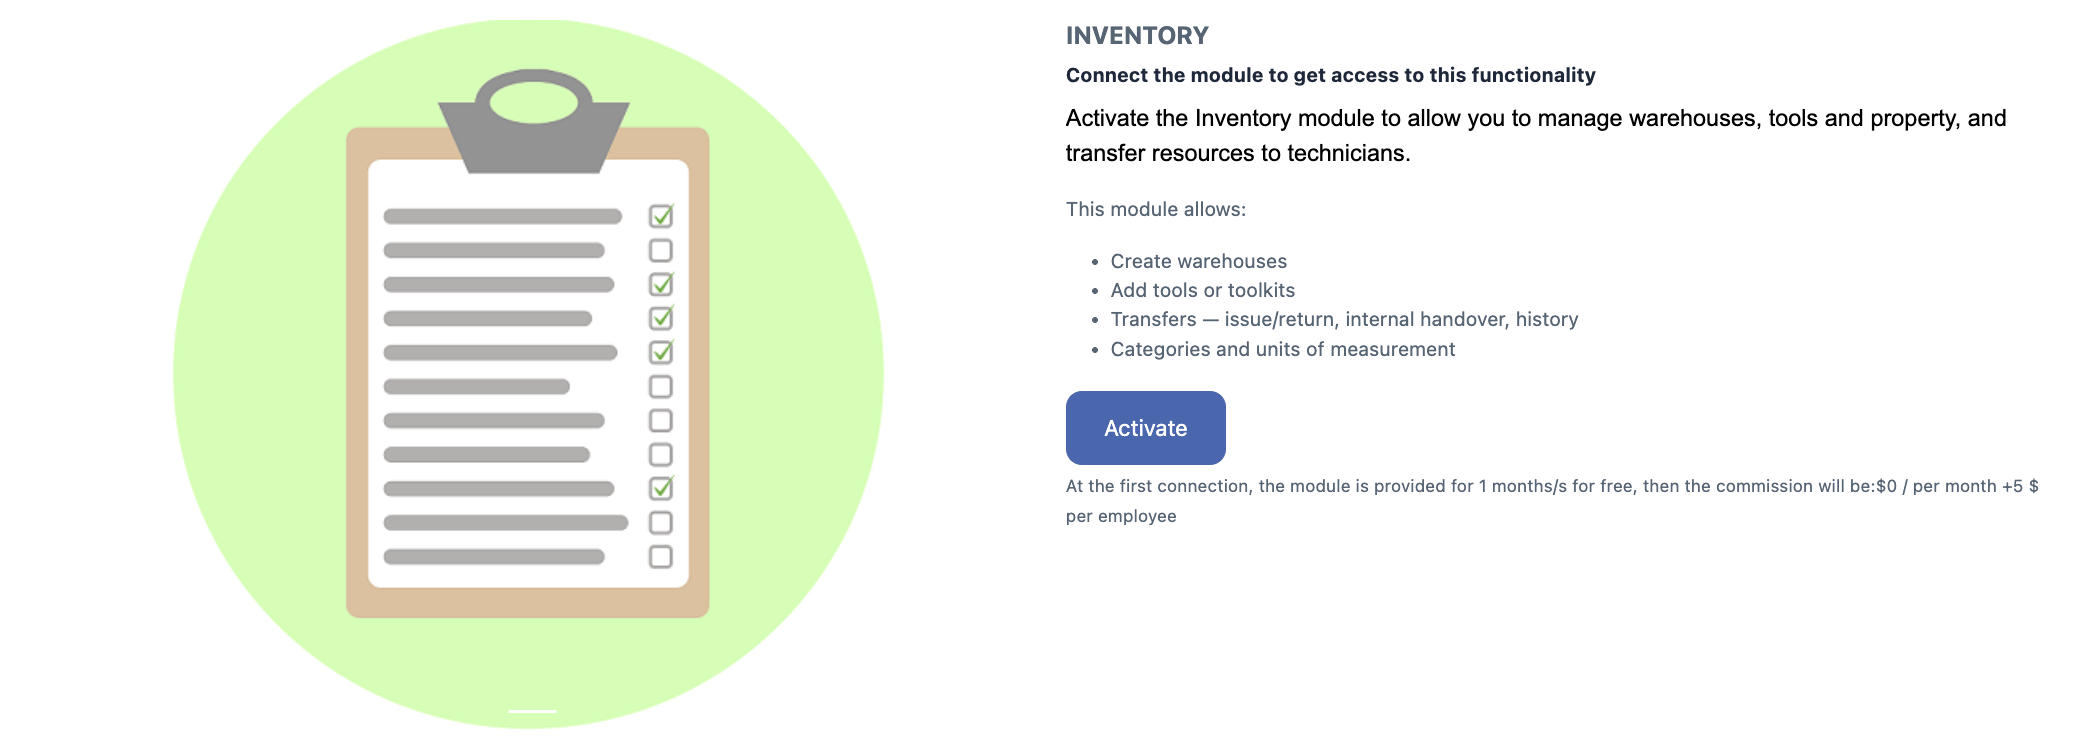
The Inventory module is used to manage tools, materials, warehouses, and storage locations.
Before using it, the module must be activated.
How to activate the module
You can enable the module in two ways.
Option 1. Via company settings
Open Company Name (top menu).
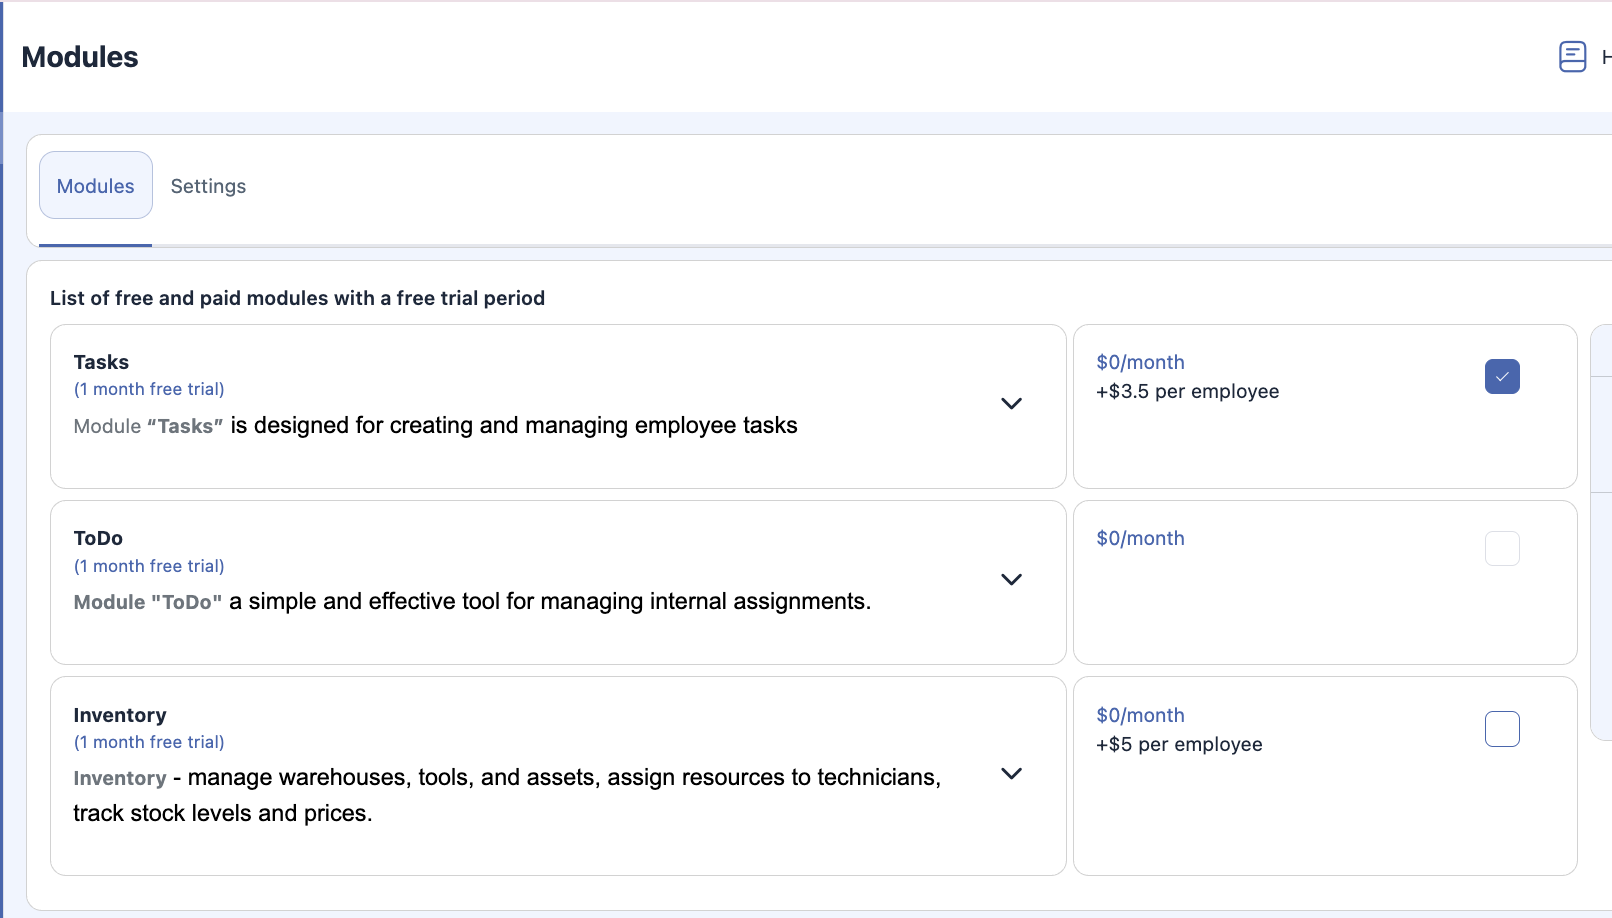
Go to Modules.
Find the Inventory module.
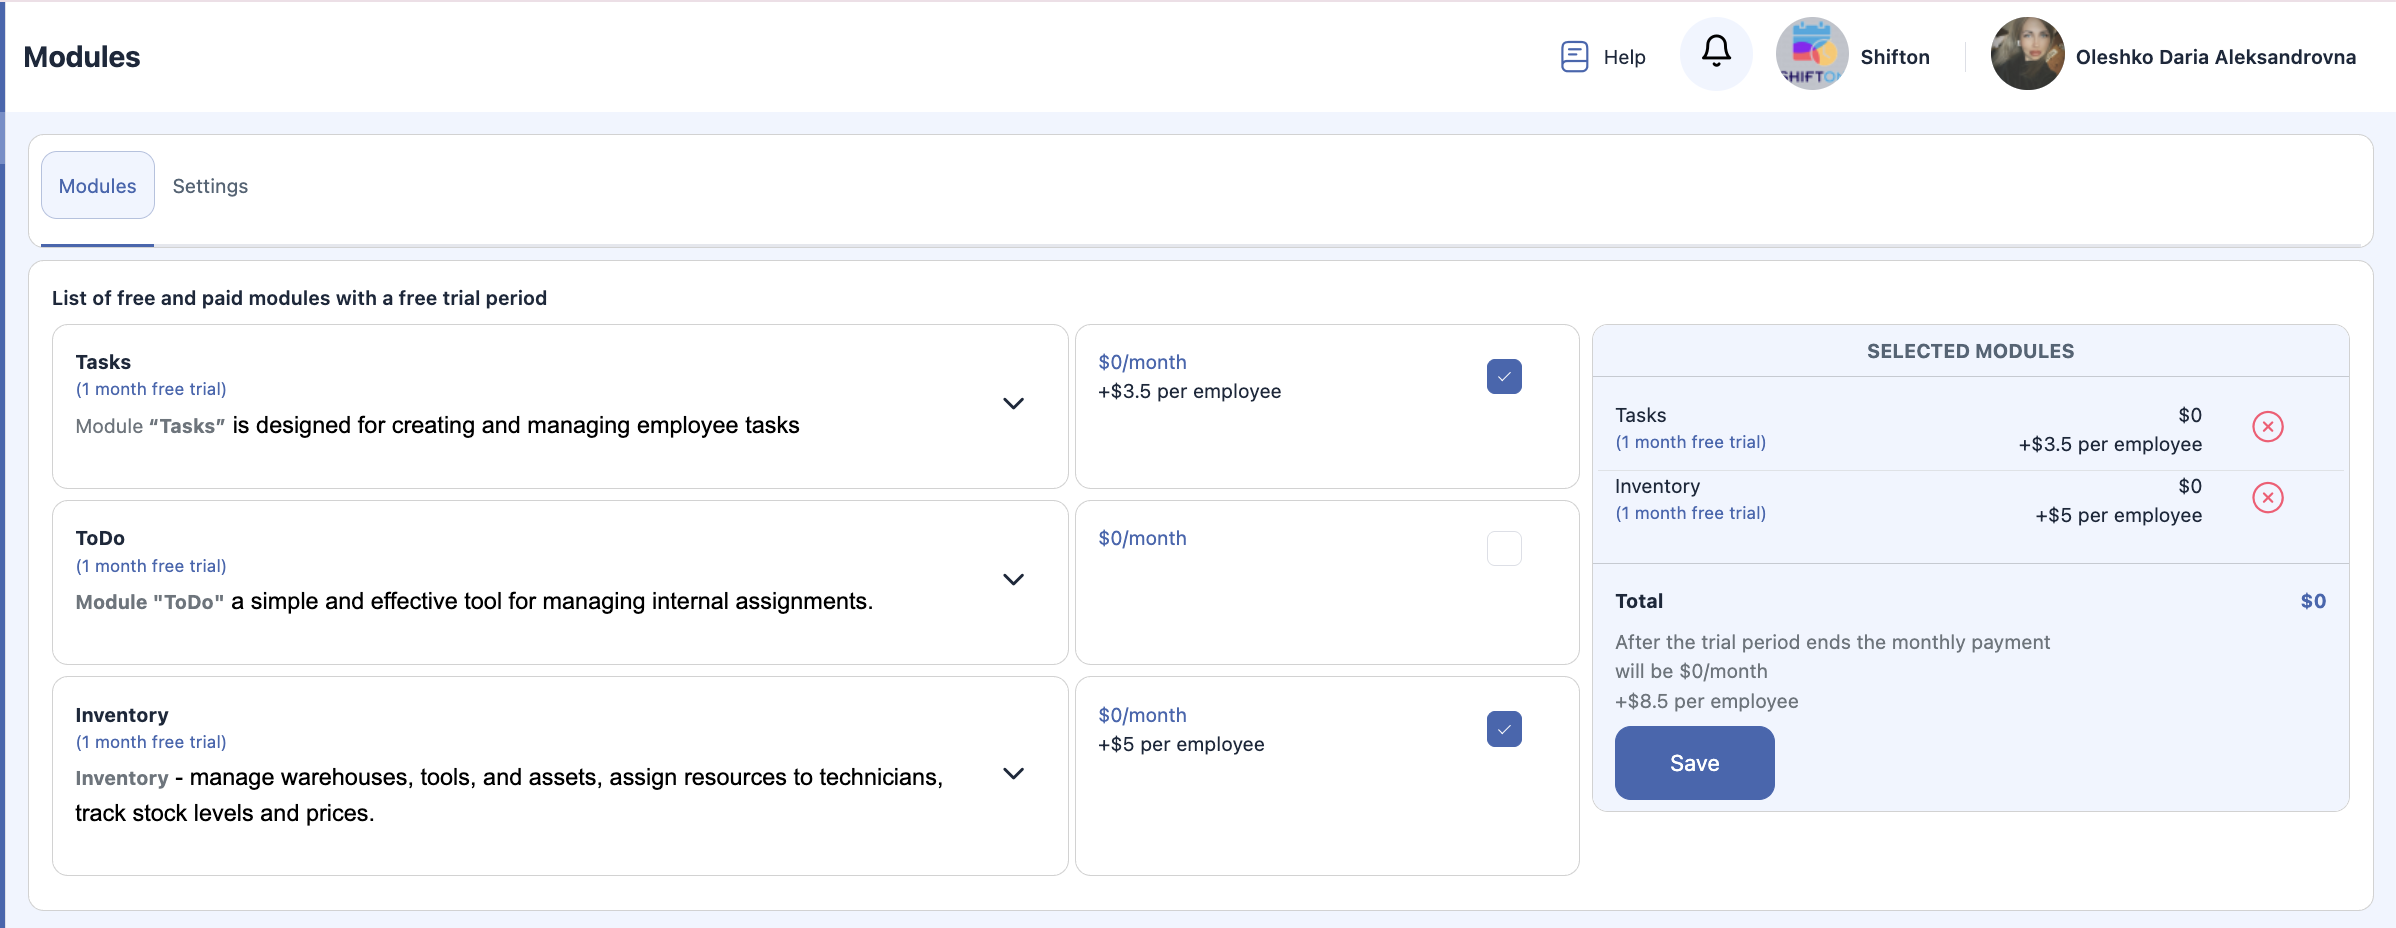
Check the box next to it.
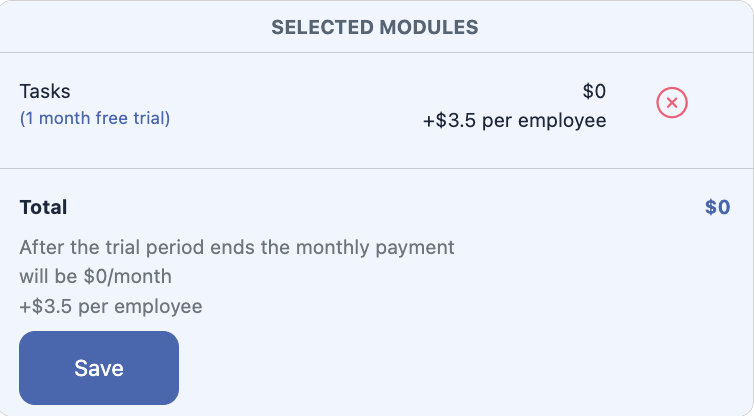
Click Save.

Option 2. From the sidebar
In the left sidebar, click Inventory.
Then click Enable Module.
How to disable the module
Open Company Name (top menu).
Go to Modules.
Find Inventory.
Uncheck the box.
Click Save.
Once disabled, the module will be removed from the sidebar and all inventory functions will become unavailable.
General setup order
To correctly configure the Inventory module, it is important to follow the required sequence.
To create a tool, you must first:
To create a warehouse, you must:
Step-by-step setup
1. Tool setup
1.1. Create category
Defines the type or group of tools or materials.
1.2. Create a unit of measurement
Defines how the tool is counted or stored (pcs, liters, meters, rolls, sets).
1.3. Create tool
Specify:
tool name;
category;
unit of measurement;
description (optional);
additional parameters if required.
2. Warehouse setup
3.1. Create tool
A tool must be created first to be available for warehouse storage.
3.2. Create storage locations (warehouses list)
Add all possible storage locations used in the system: office, workshop, vehicle, container, etc.
3.3. Create warehouse
Specify:
warehouse name;
Final setup scheme
Frequently Asked Questions (FAQ)
Via Company Settings → Modules by checking the Inventory box and saving;
From the sidebar by clicking Inventory → Enable Module.
Create inventory Categories;
Create Units of Measurement;
Then create the Tool.
add and adjust items in stock;
organize inventory by facilities;
transfer items to technicians or other facilities;
track movement history;
manage categories, bundles, tools, and units of measurement.