Use the left panel to filter the schedule view by employees, positions, locations, shift marks, and more. Quickly narrow down what is displayed on the calendar grid.
What Is This?
The left panel on the Schedule page provides powerful filtering tools that let you control exactly what data appears on the calendar grid. It contains three main sections: Filters, Projects, and Schedules list. Using these controls, you can focus on a specific group of employees, a single location, or a particular schedule without the clutter of unrelated data.
Prerequisites
| # | Prerequisite | Details |
|---|---|---|
| 1 | Access to the Schedule page | You must have at least one project with a schedule |
| 2 | Manager, Admin, or Owner role | Full filter access requires management permissions |
Step-by-Step Instructions
Using Filters
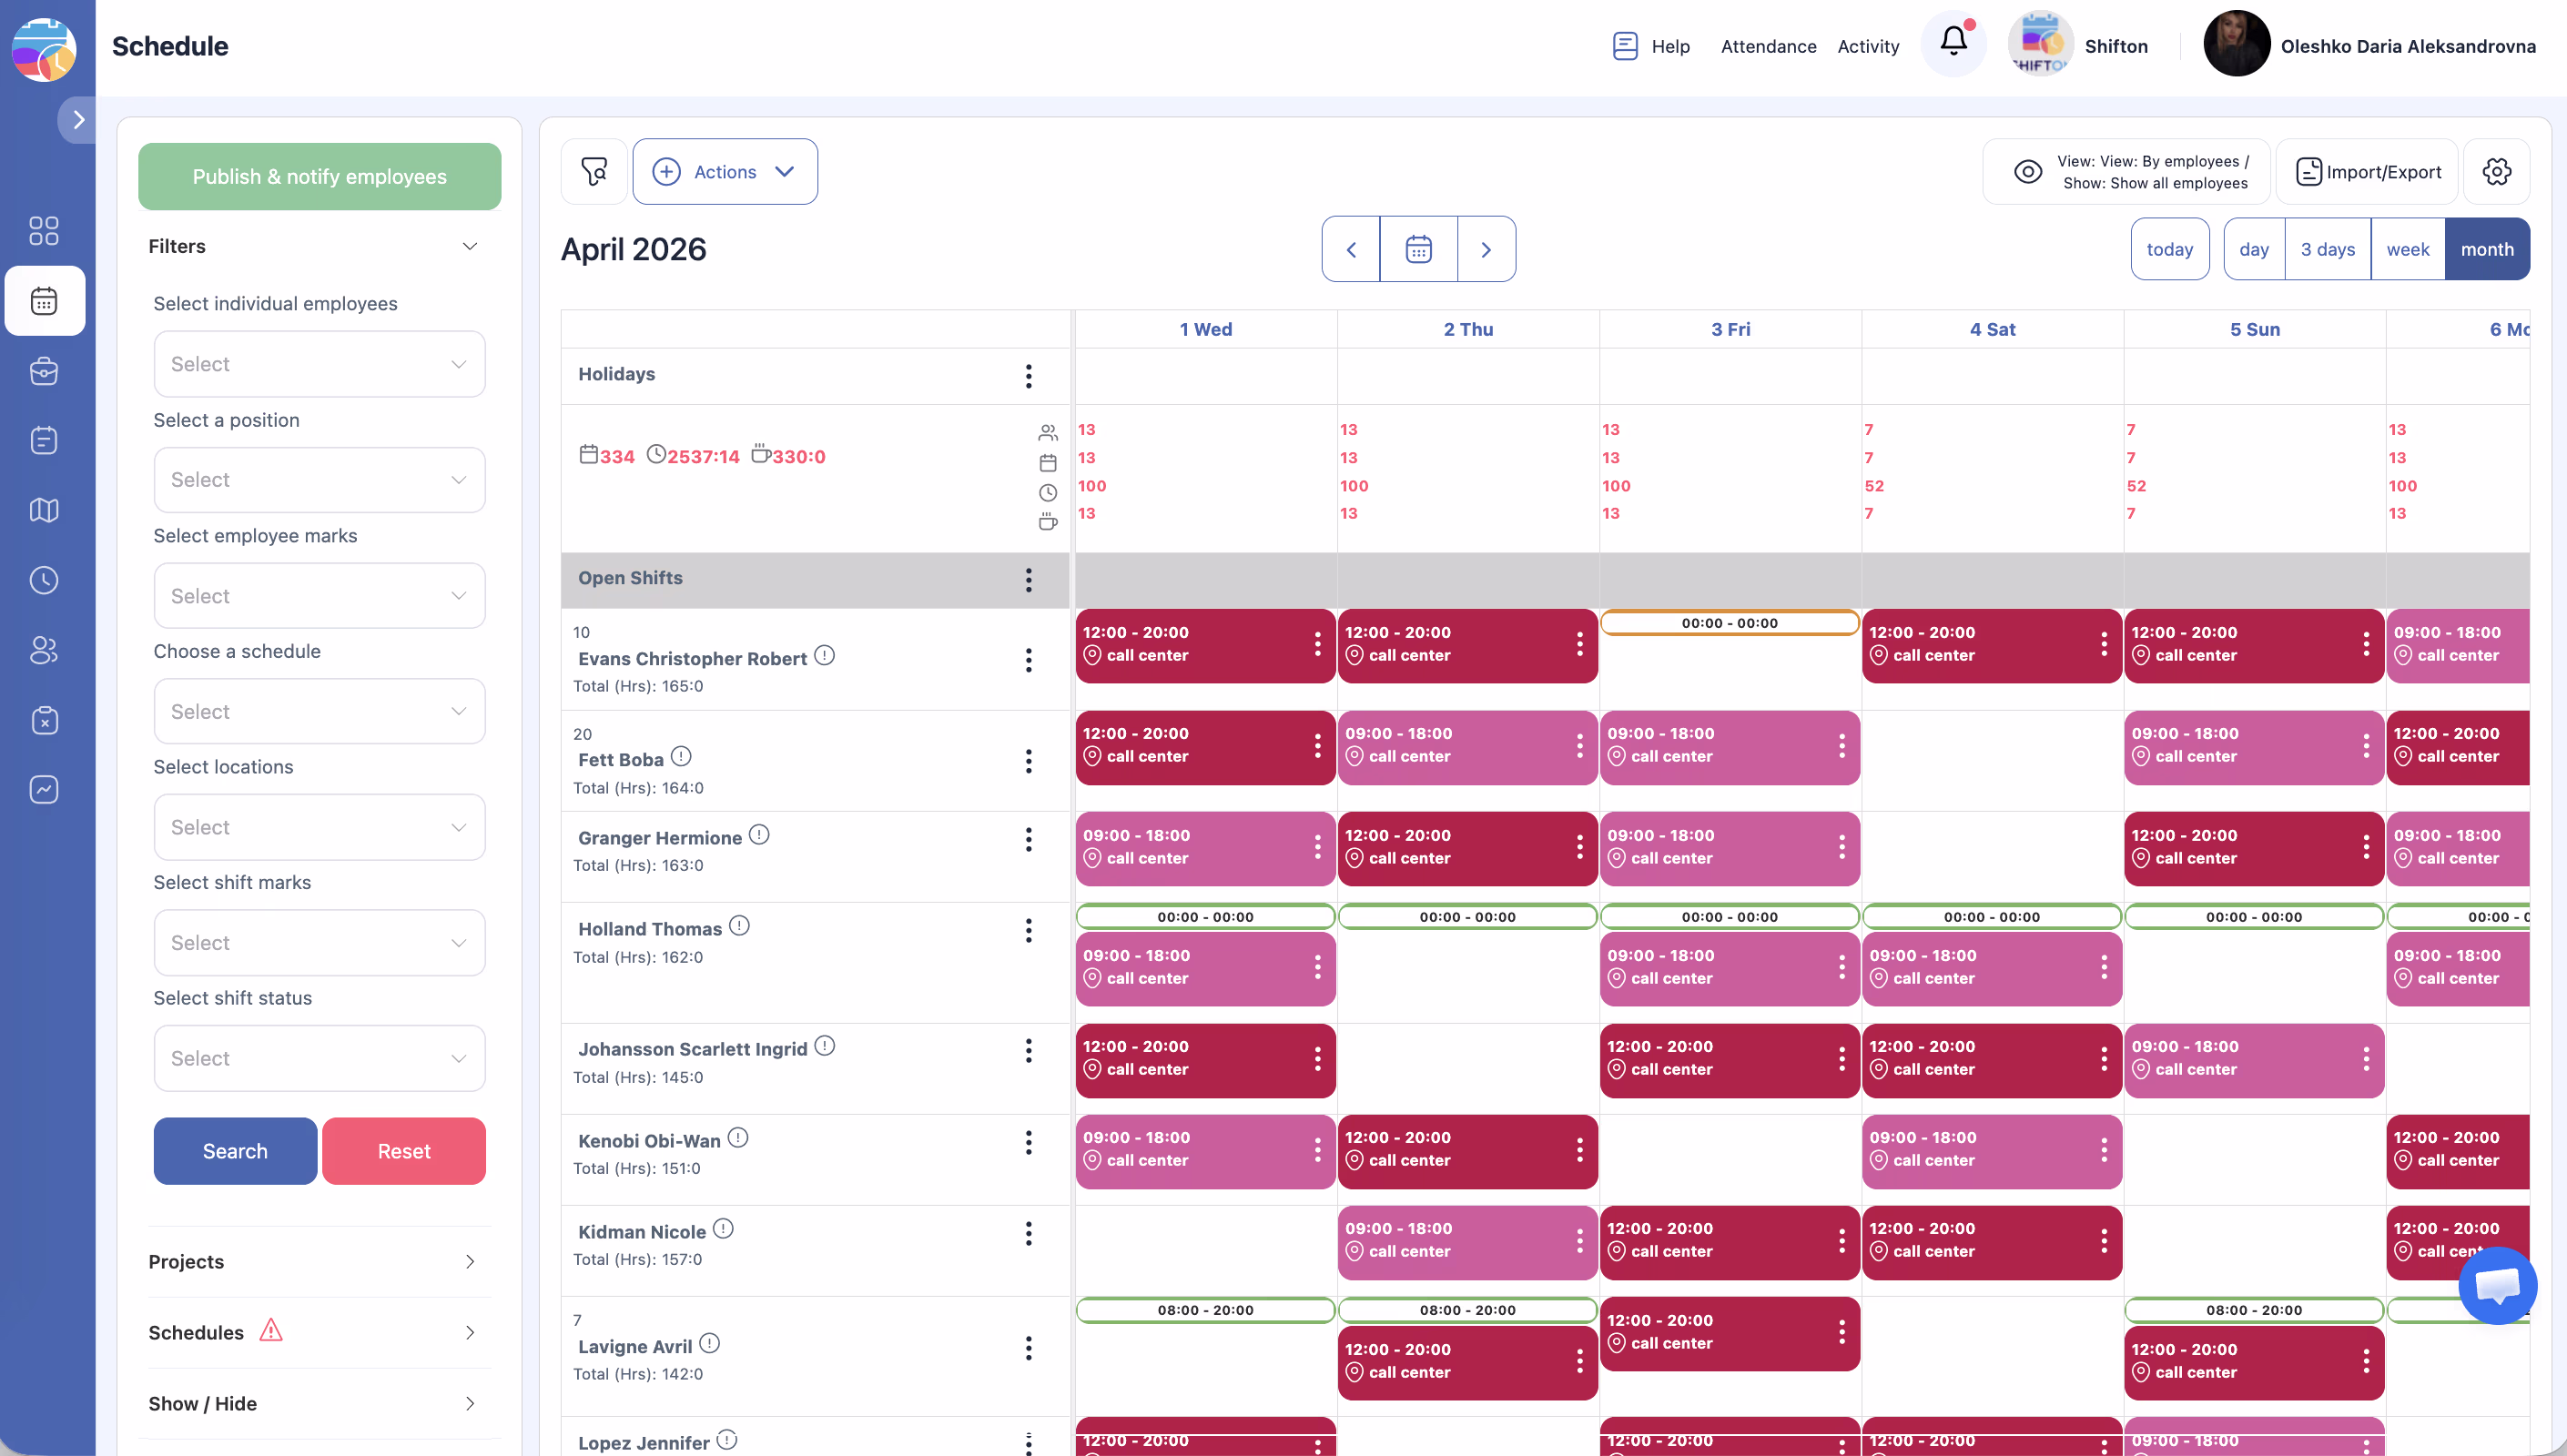
| Filter | Description |
|---|---|
| Select employees | Choose specific employees to display on the grid |
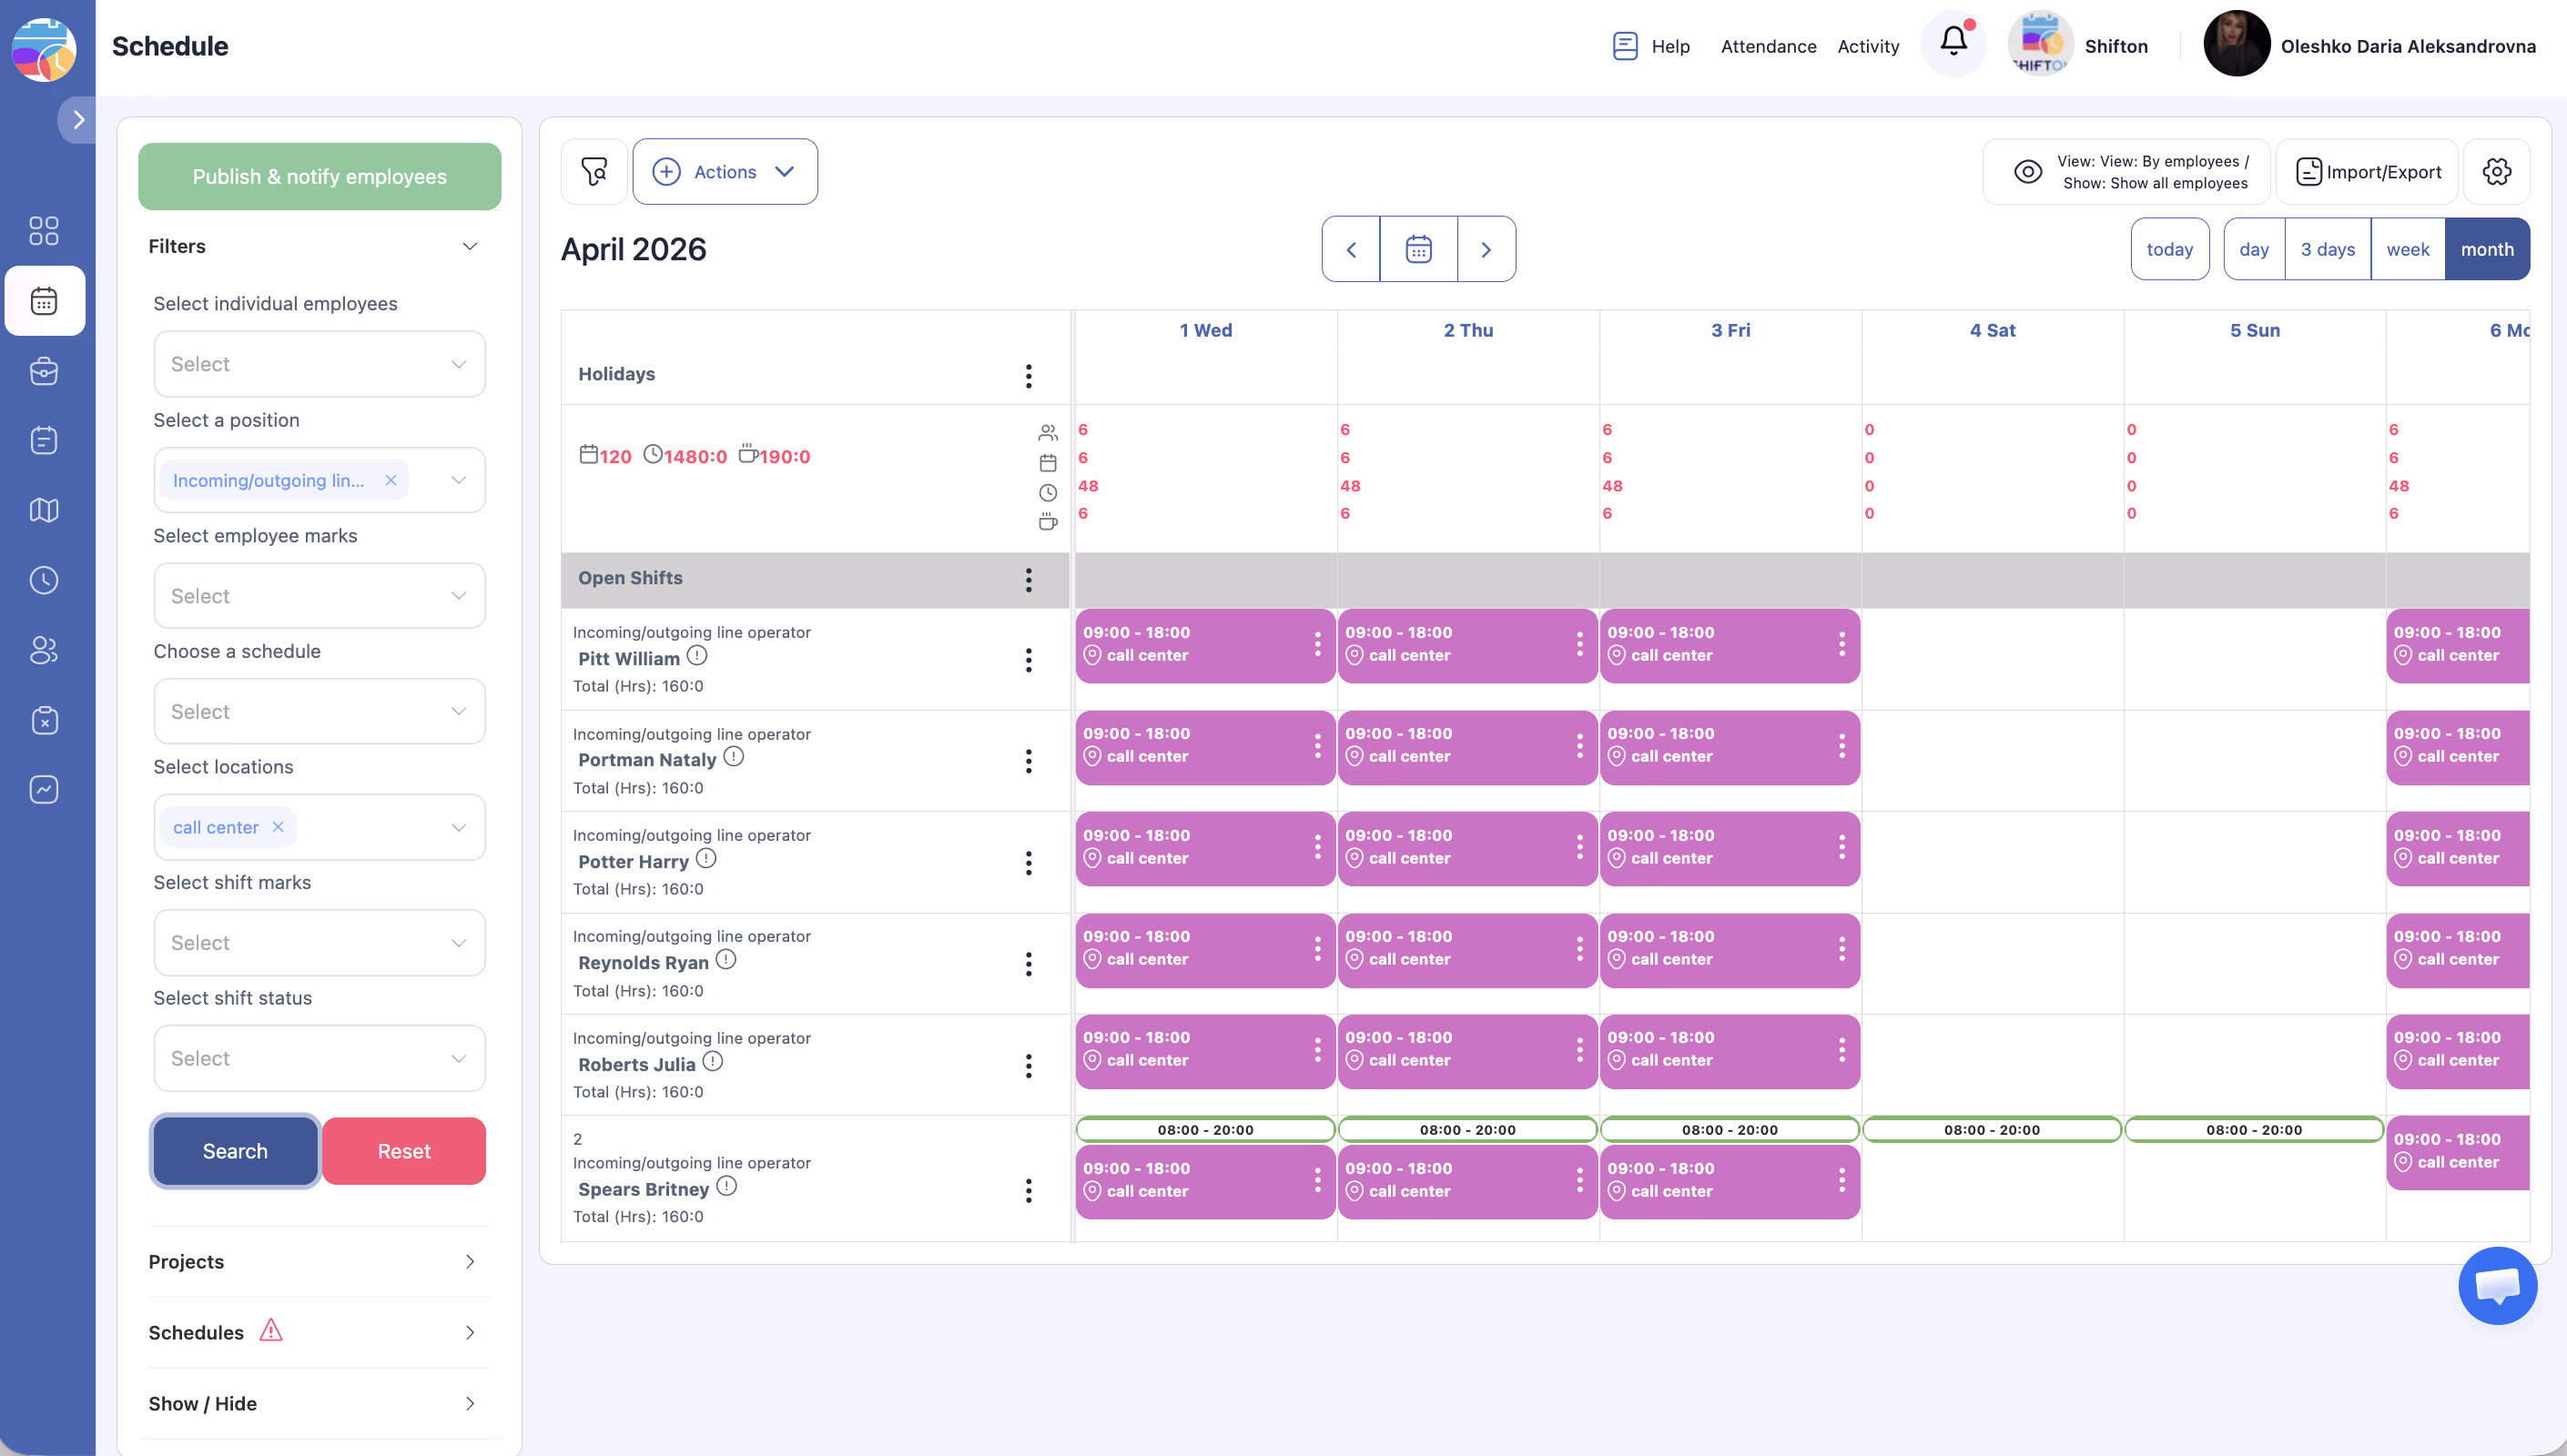
| Select position | Show only employees who hold a particular position |
| Select employee marks | Filter by custom marks or tags assigned to employees |
| Choose a schedule | Display shifts from a specific schedule only |
| Select locations | Show only shifts assigned to a particular location |
| Select shift marks | Filter by marks or tags assigned to individual shifts |
| Select shift status | Filter shifts by their status (e.g., published, draft) |
Using the Projects Section

Using the Schedules List
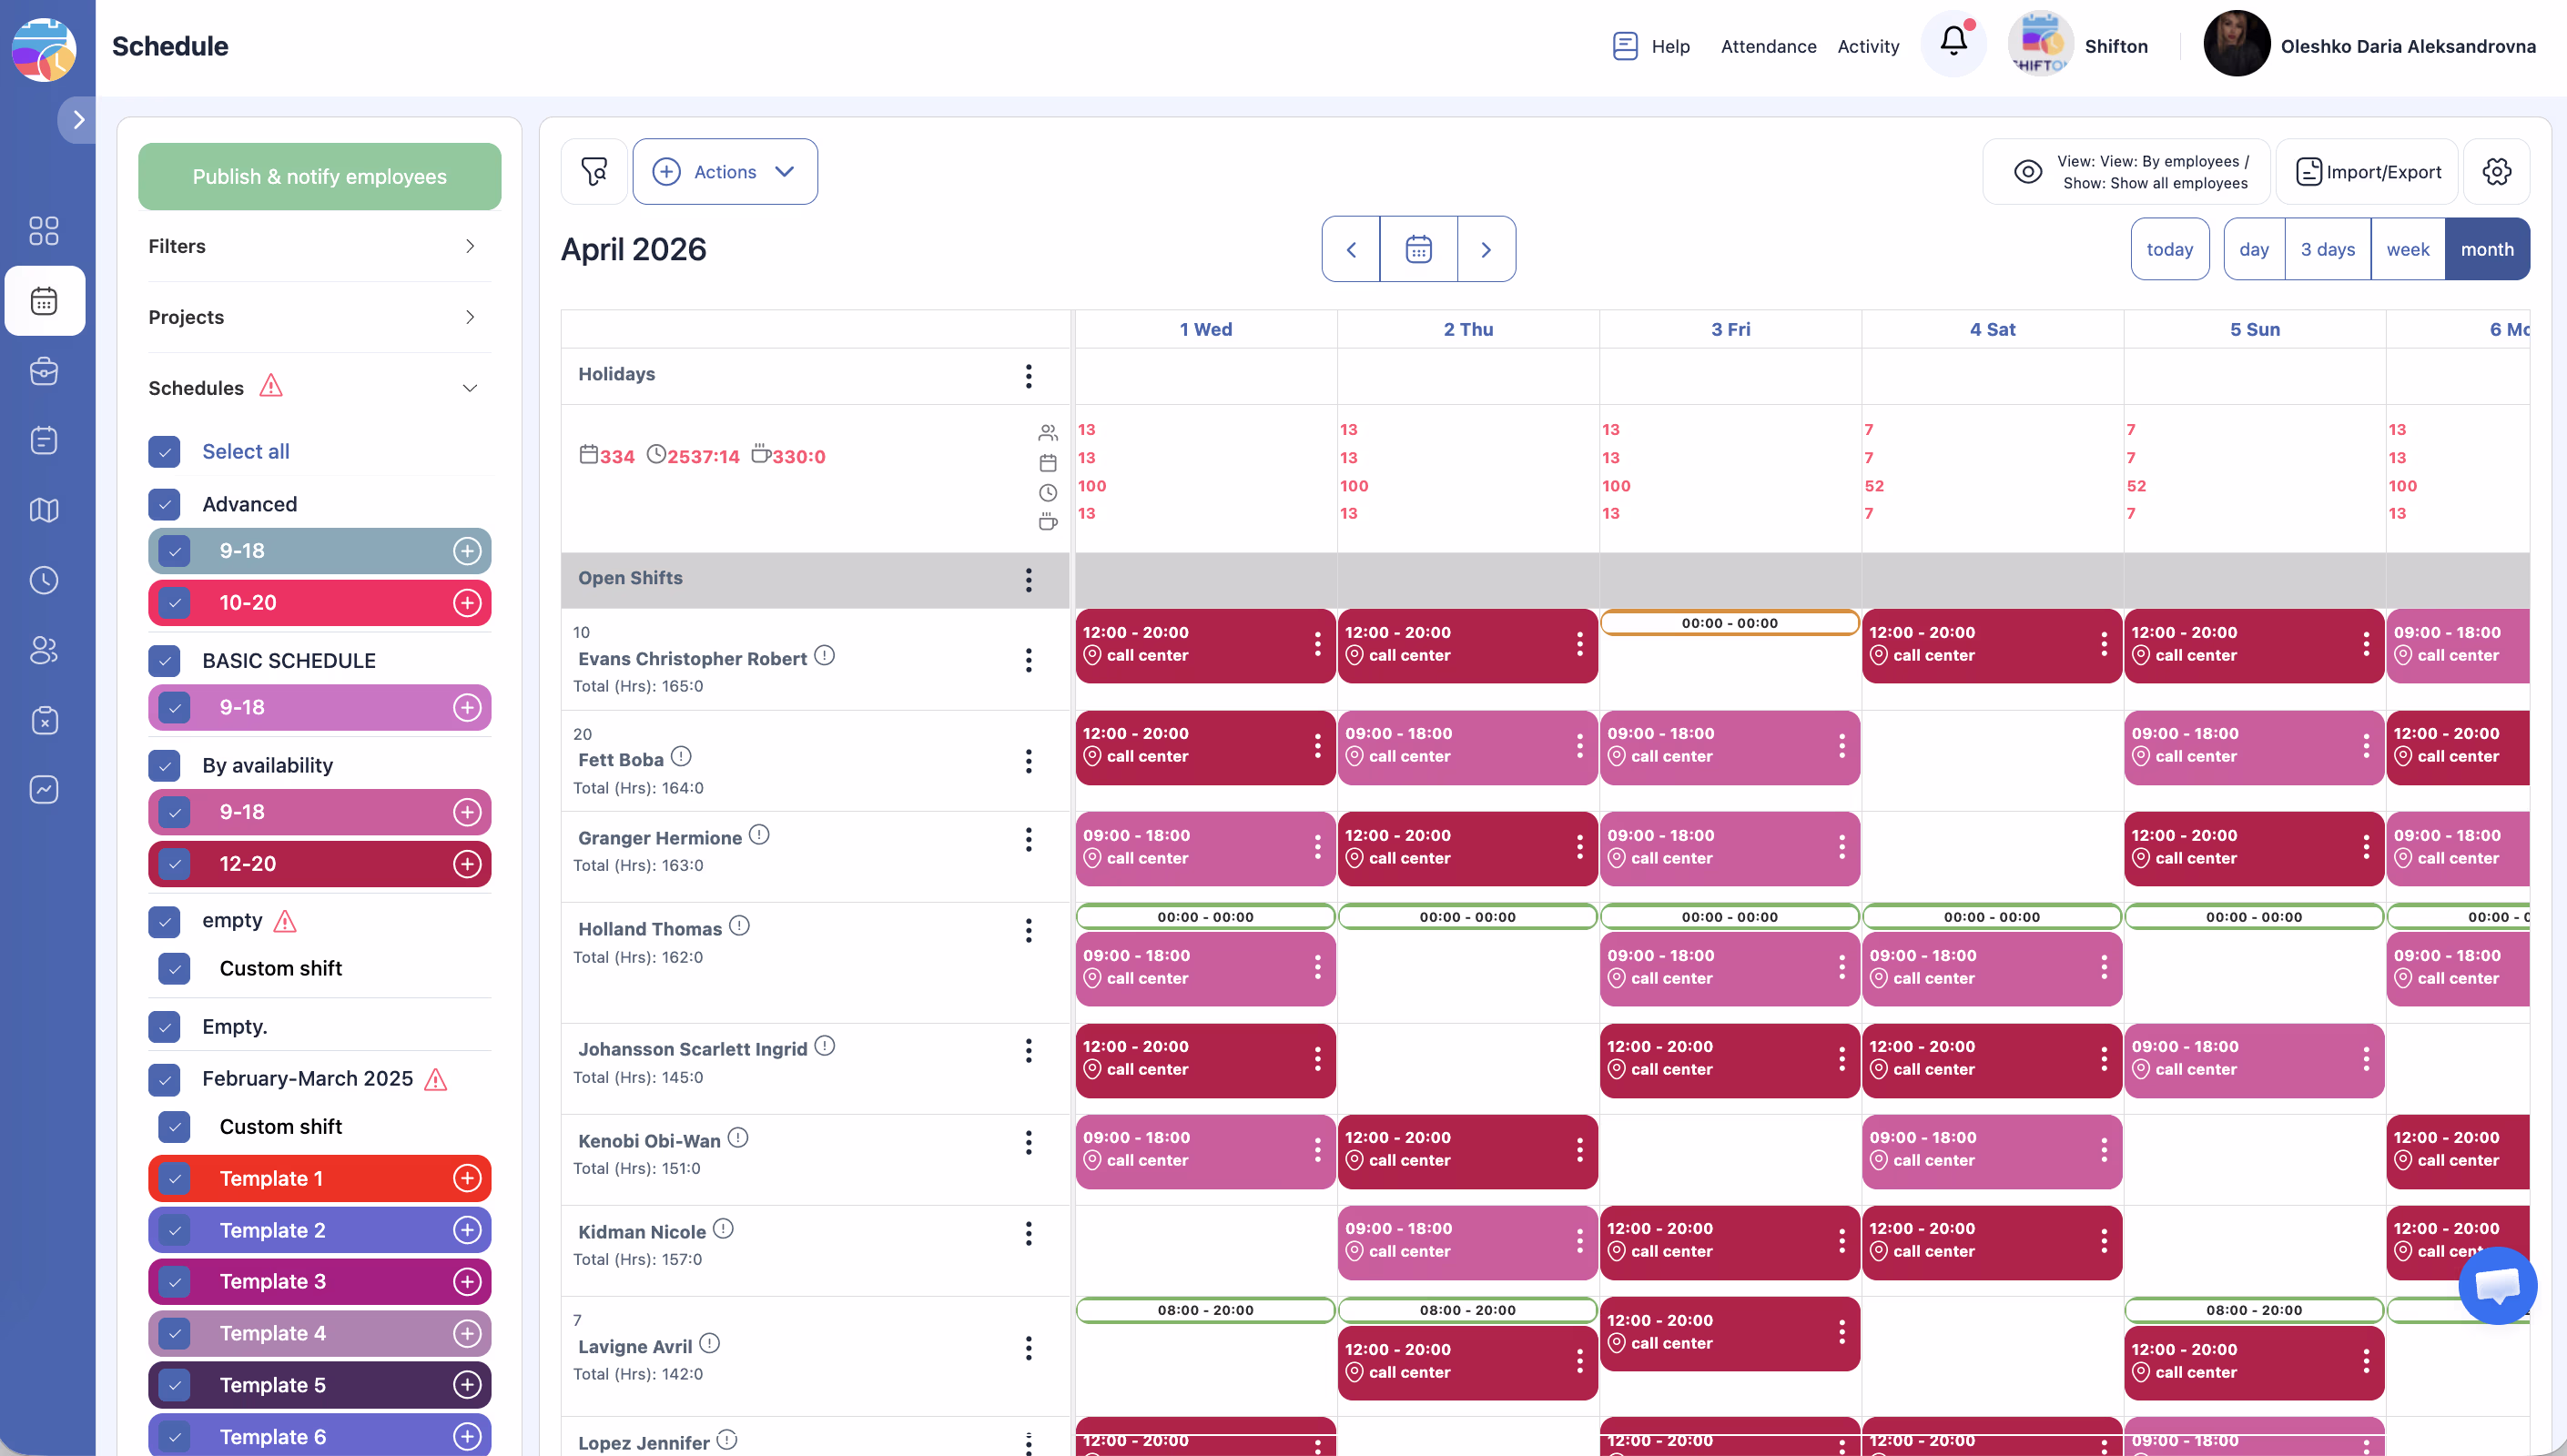
| Element | Description |
|---|---|
| Color indicator | The color assigned to the schedule, shown as a small dot or bar |
| Schedule name | The title of the schedule |
| Checkbox | Check or uncheck to show or hide this schedule’s shifts on the grid |
| Warning icon | An exclamation mark icon appears if the schedule has expired |
| Add button | A plus icon to quickly create a new schedule |
Combining Filters
Access Permissions
| Role | View Filters | Apply Filters | View Projects Section | View Schedules List |
|---|---|---|---|---|
| Owner | Yes | Yes | Yes | Yes |
| Admin | Yes | Yes | Yes | Yes |
| Manager | Yes | Yes | Yes (assigned projects) | Yes (assigned schedules) |
| Employee | Limited | Limited | Limited | Limited |
FAQ
Q: Do filters affect all users or just me?
A: Filters are personal and only affect your own view. Other users see the schedule based on their own filter settings.
Q: How do I quickly clear all filters?
A: Click the Reset button at the bottom of the Filters section. This removes all active filters and restores the full view.
Q: Can I save a filter combination for later use?
A: Currently, filters are not saved between sessions. You will need to reapply them each time you open the Schedule page.
Q: What are “employee marks” and “shift marks”?
A: Marks are custom tags or labels that can be assigned to employees or shifts. They allow you to categorize and filter by criteria that are specific to your organization, such as “trainee,” “senior,” or “overtime.”
Q: Why do some schedules have a warning icon?
A: The warning icon indicates that the schedule has expired (its end date has passed). You can extend the schedule or create a new one.
Possible Issues and Solutions
| Issue | Possible Cause | Solution |
|---|---|---|
| Grid shows no data after applying filters | The filter combination is too restrictive | Remove one or more filters, or click Reset to clear all filters |
| Cannot find a specific employee in the filter dropdown | The employee is not assigned to the current project | Check that the employee is assigned to the project you are viewing |
| Schedules list shows only one schedule | Other schedules belong to a different project | Check the Projects section and make sure the correct projects are selected |
| Filters reset when navigating away | Filters are session-based and not saved permanently | Reapply filters when returning to the Schedule page |
| Expired schedule warning icon is confusing | The schedule end date has passed | Extend the schedule or create a new one for the upcoming period |