Shifton Field Service allows you to store, create, and edit a complete client database, as well as use client profiles when creating and managing tasks.
Client profiles help organize information, quickly find the right clients, and track all tasks associated with them.
Where to Manage Clients
Open the side panel.
Go to Clients.
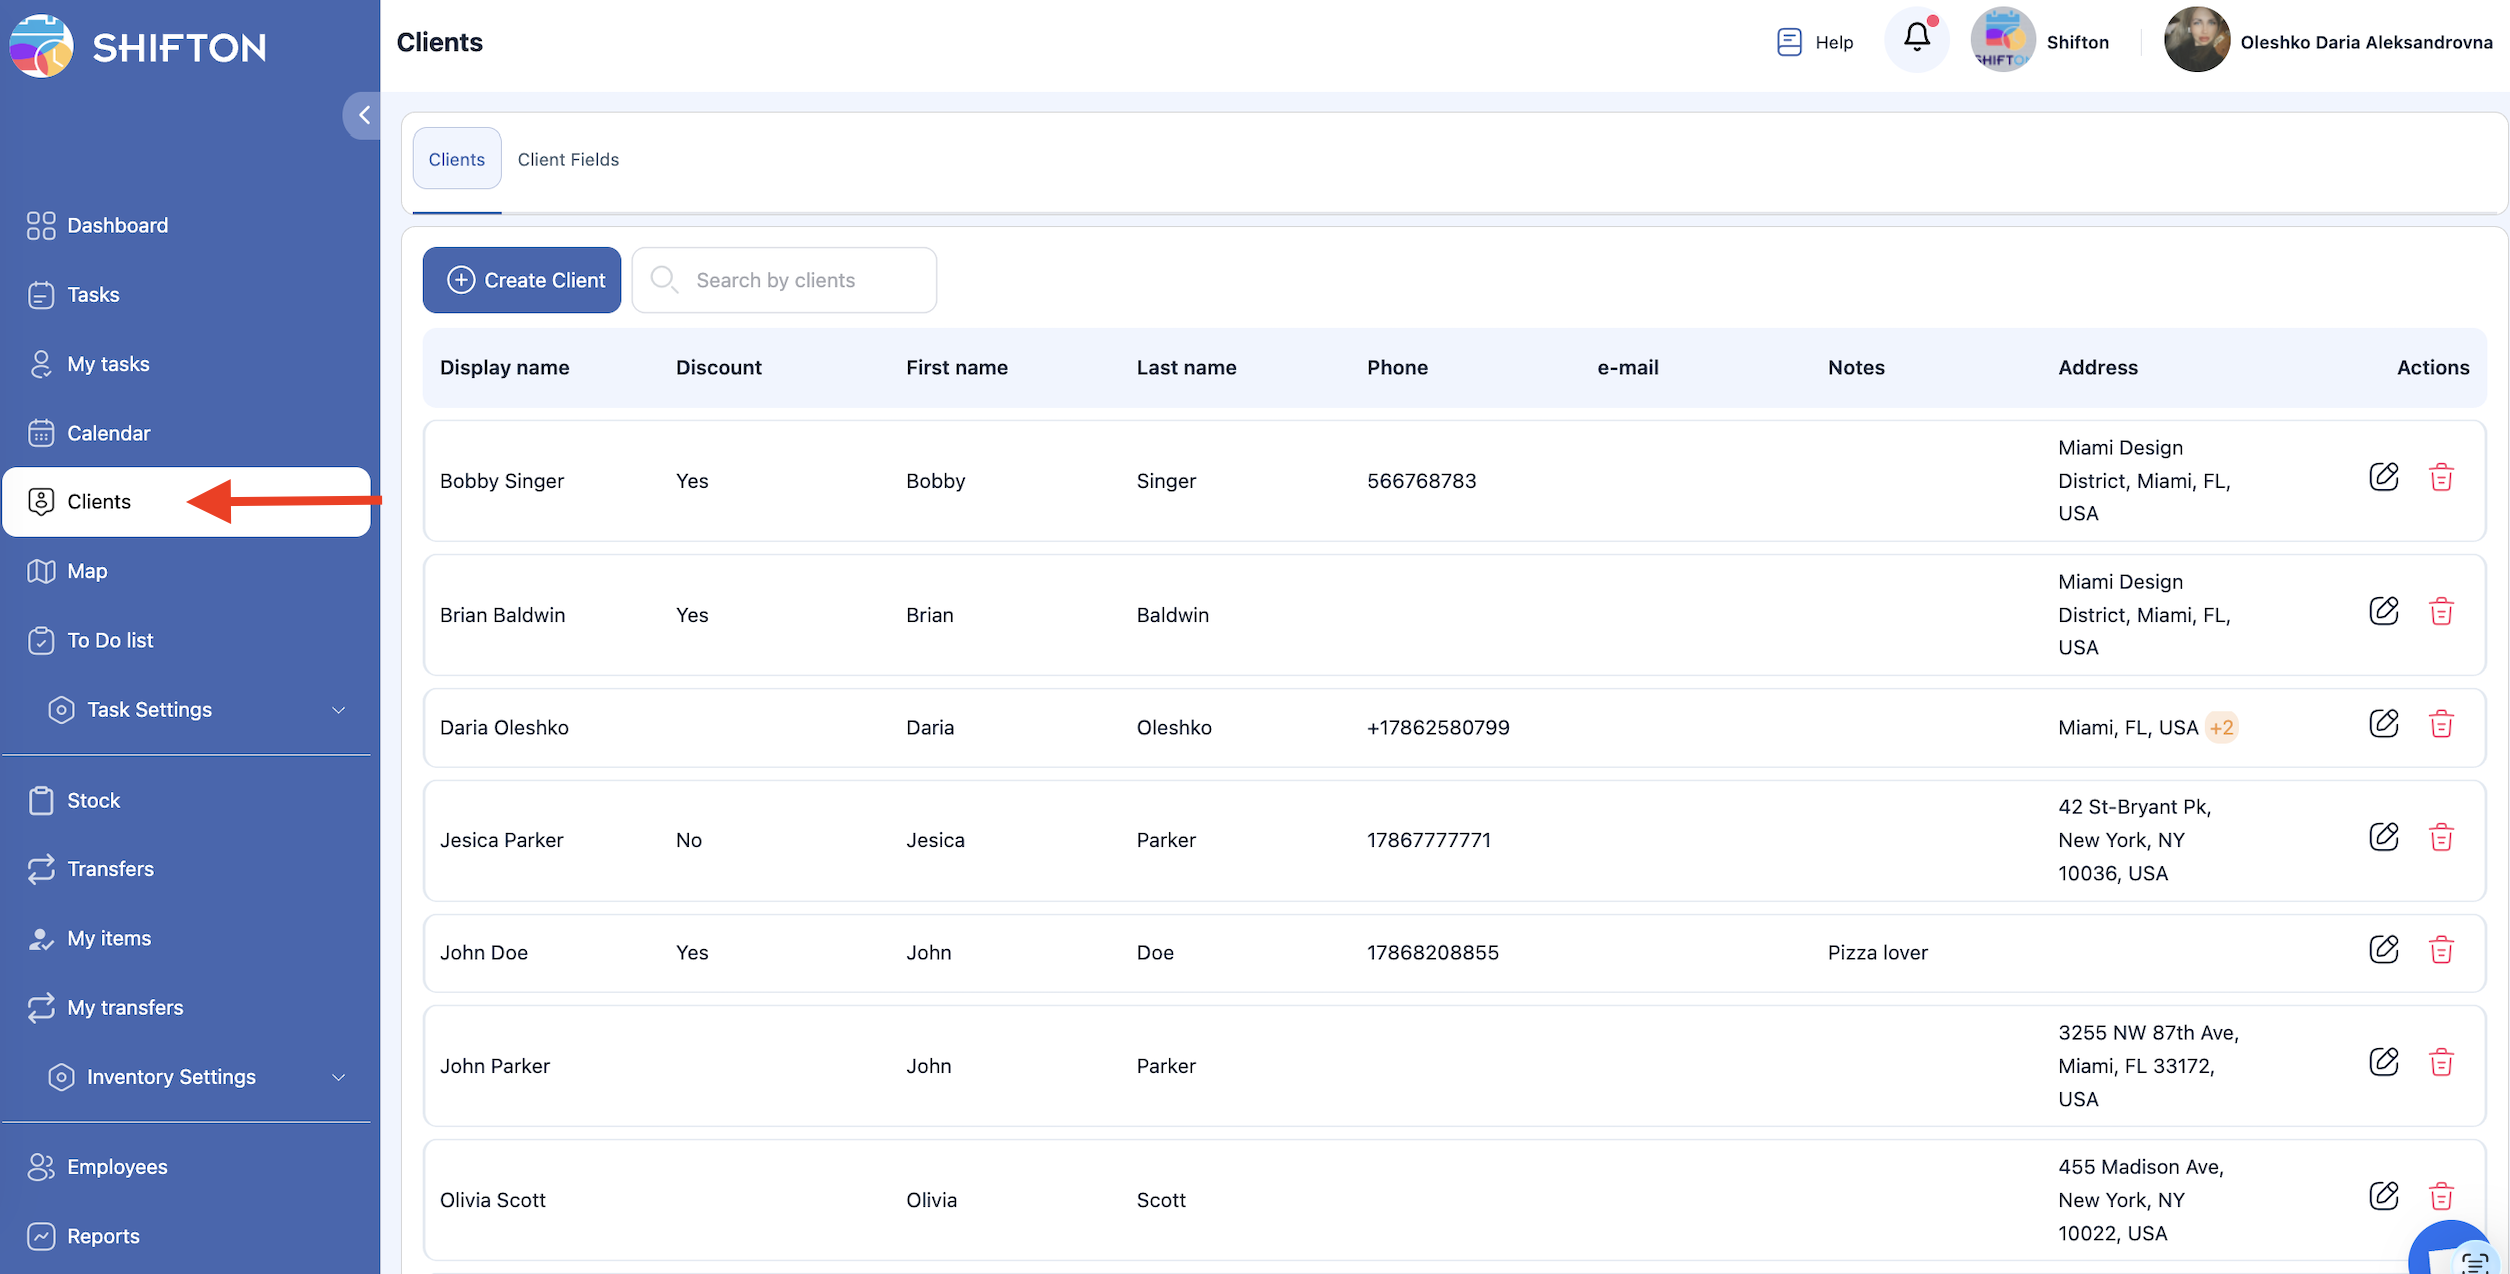
The first tab displays all existing clients and includes the Create Client button.
Before adding clients, it is recommended to configure Client Fields to set up the structure of stored data.
Client Fields
Client Fields define what information will be collected and displayed in each client profile.

Supported Client Field Data Types
Each type determines the format of data entered:
Text
Short text input: city, company name, site name, comments.
Number
Numeric input: client ID, site number, number of branches.
Checkbox
A single option that can be marked: “VIP Client”, “Regular Client”, etc.
Drop-down list (single select)
Select one value from the list: client type, region, category, etc.
Multi-select drop-down list
Select one or multiple values: service types, service zones, additional categories.
Date range
Used to specify a time period: contract duration, service dates.
Date
A specific calendar date: contract signing date, first visit date.
Text field
A long text input for detailed notes, requirements, or service conditions.
Phone number
Field for entering a valid client or contact phone number.
Email
Field for entering a client’s or contact’s email address.
Client Field Settings
Each client field can be customized using the following options:
Field Sorting — order in which fields are displayed in the profile.
Field Options — list of selectable values for drop-down fields.
Display in name — shows this field next to the client’s name in the client list.
Allow search — enables the field to be used in search.
Mandatory — makes the field required when creating a client.
Show in client list — displays the field in the main list of clients.
Actions — delete the field.
Working With Clients
Creating a Client
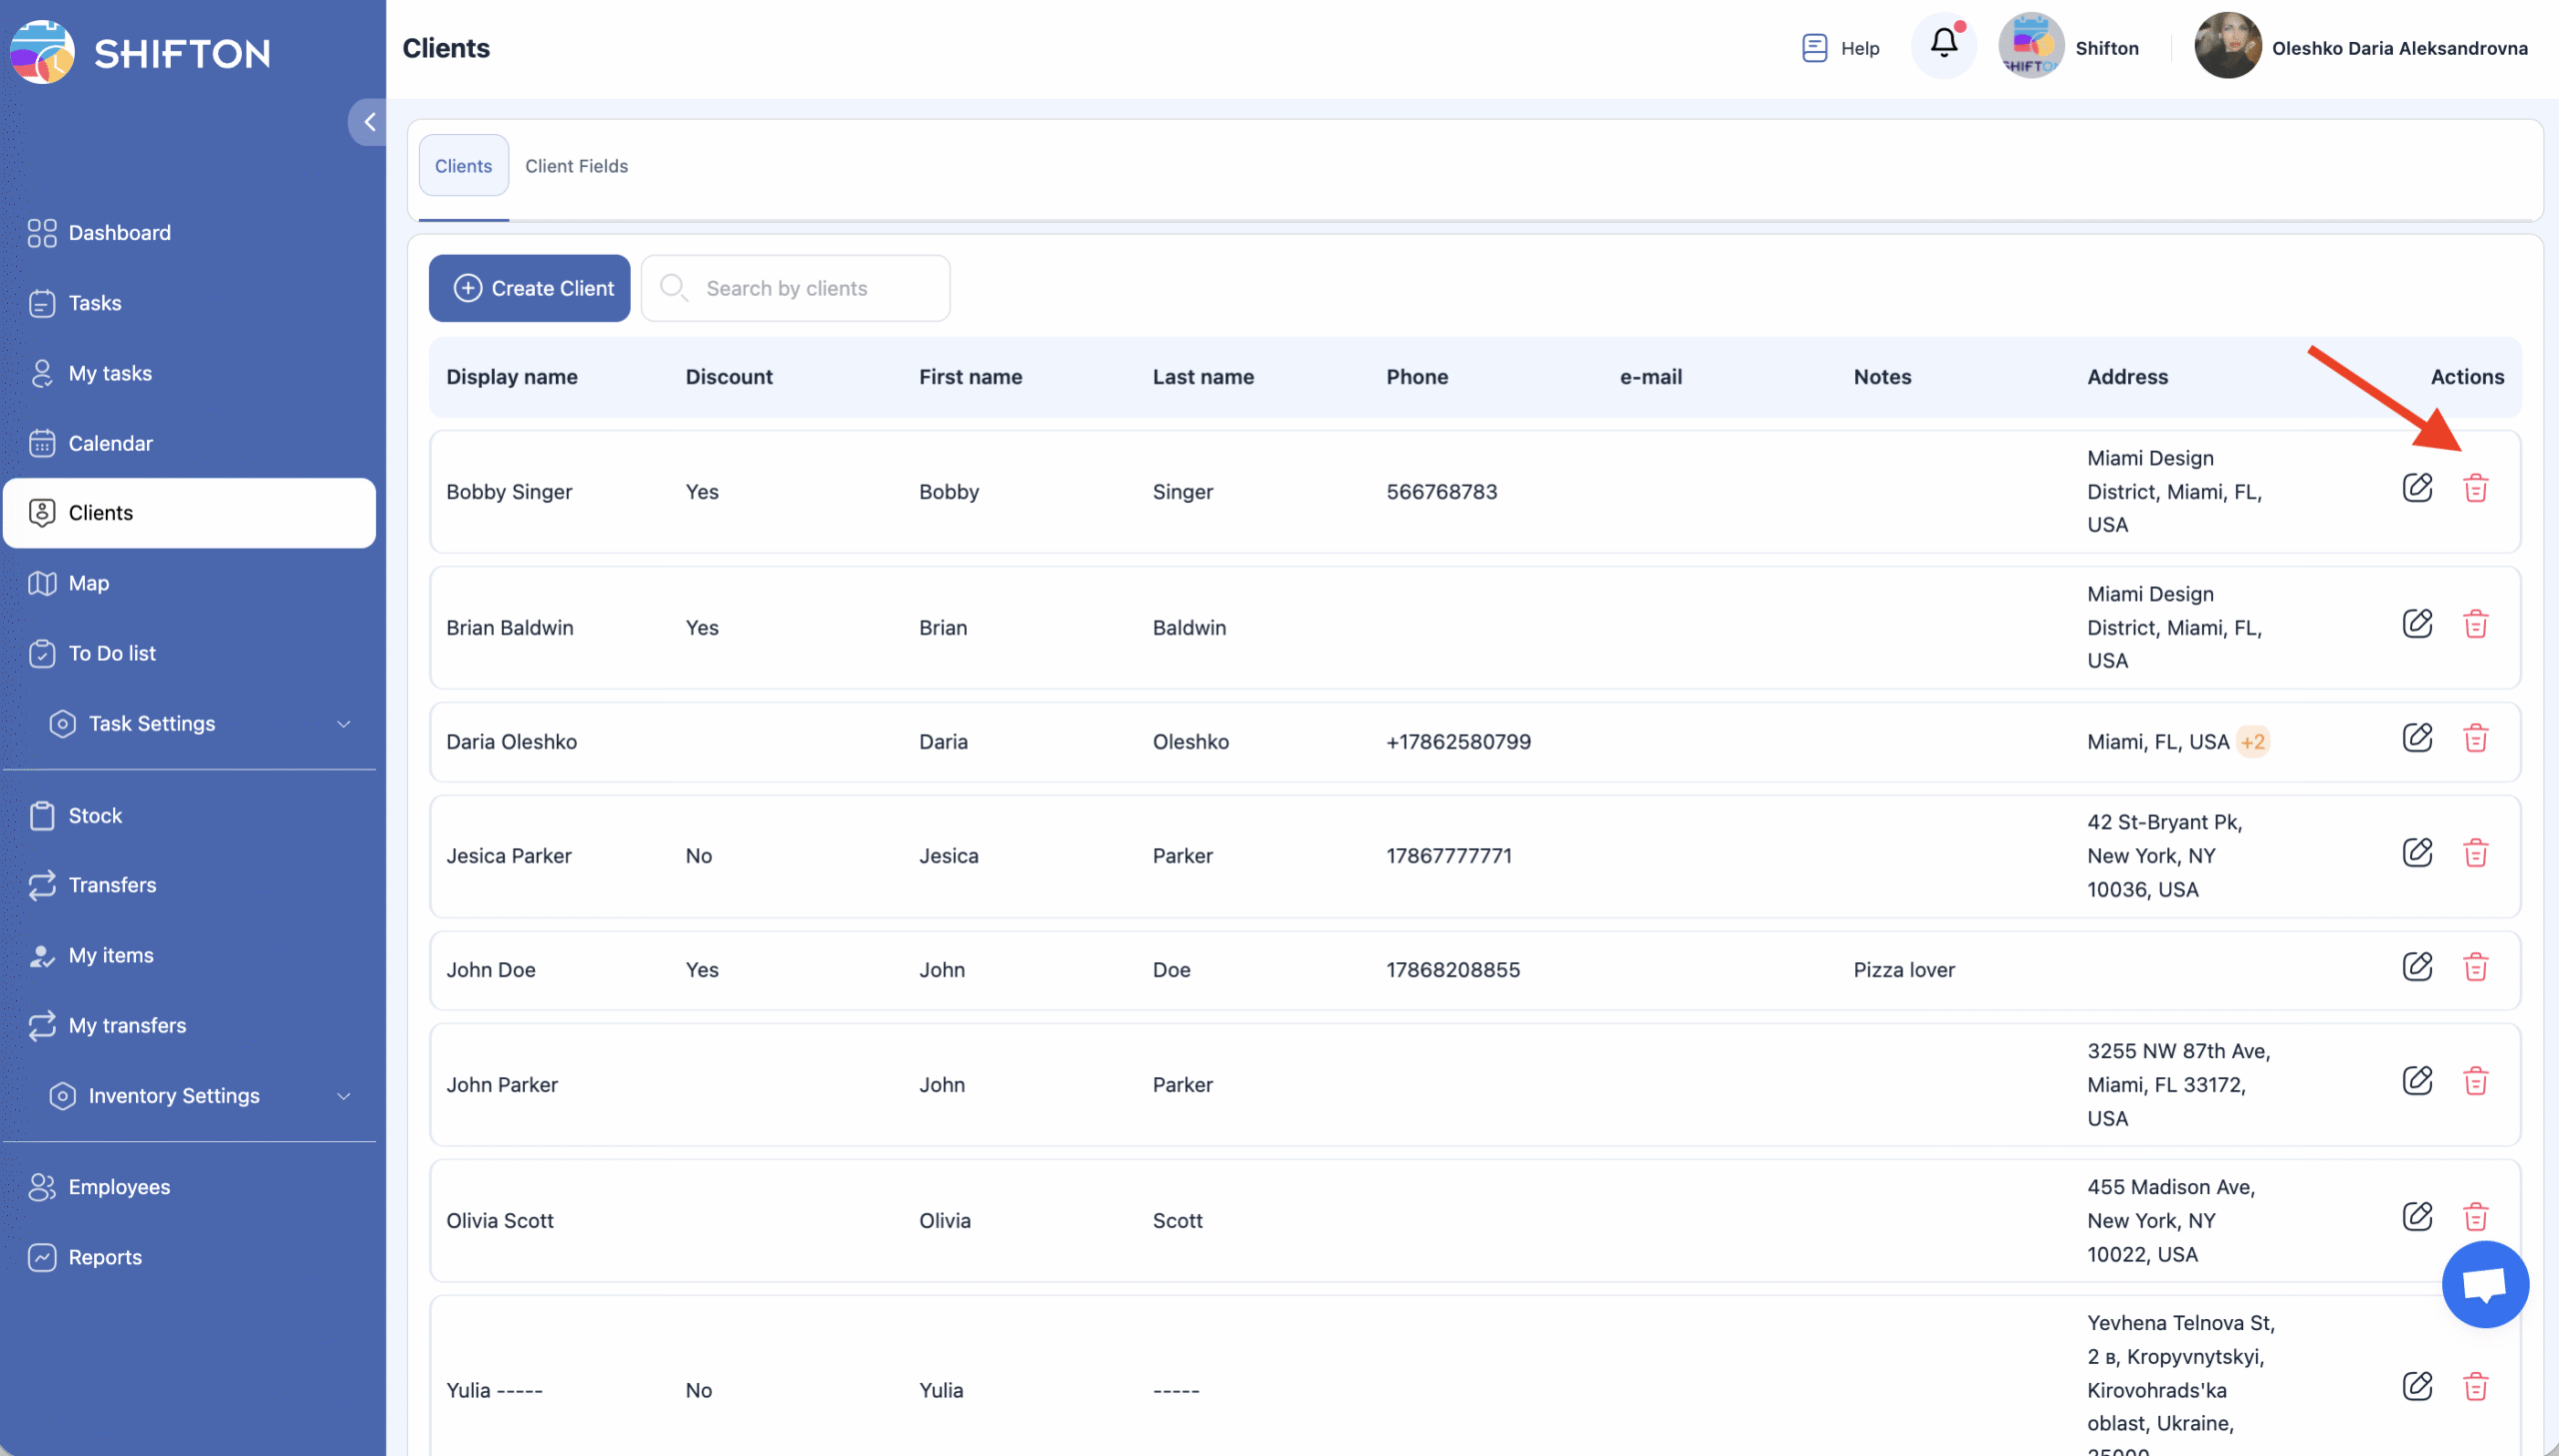
Through the “Clients” section
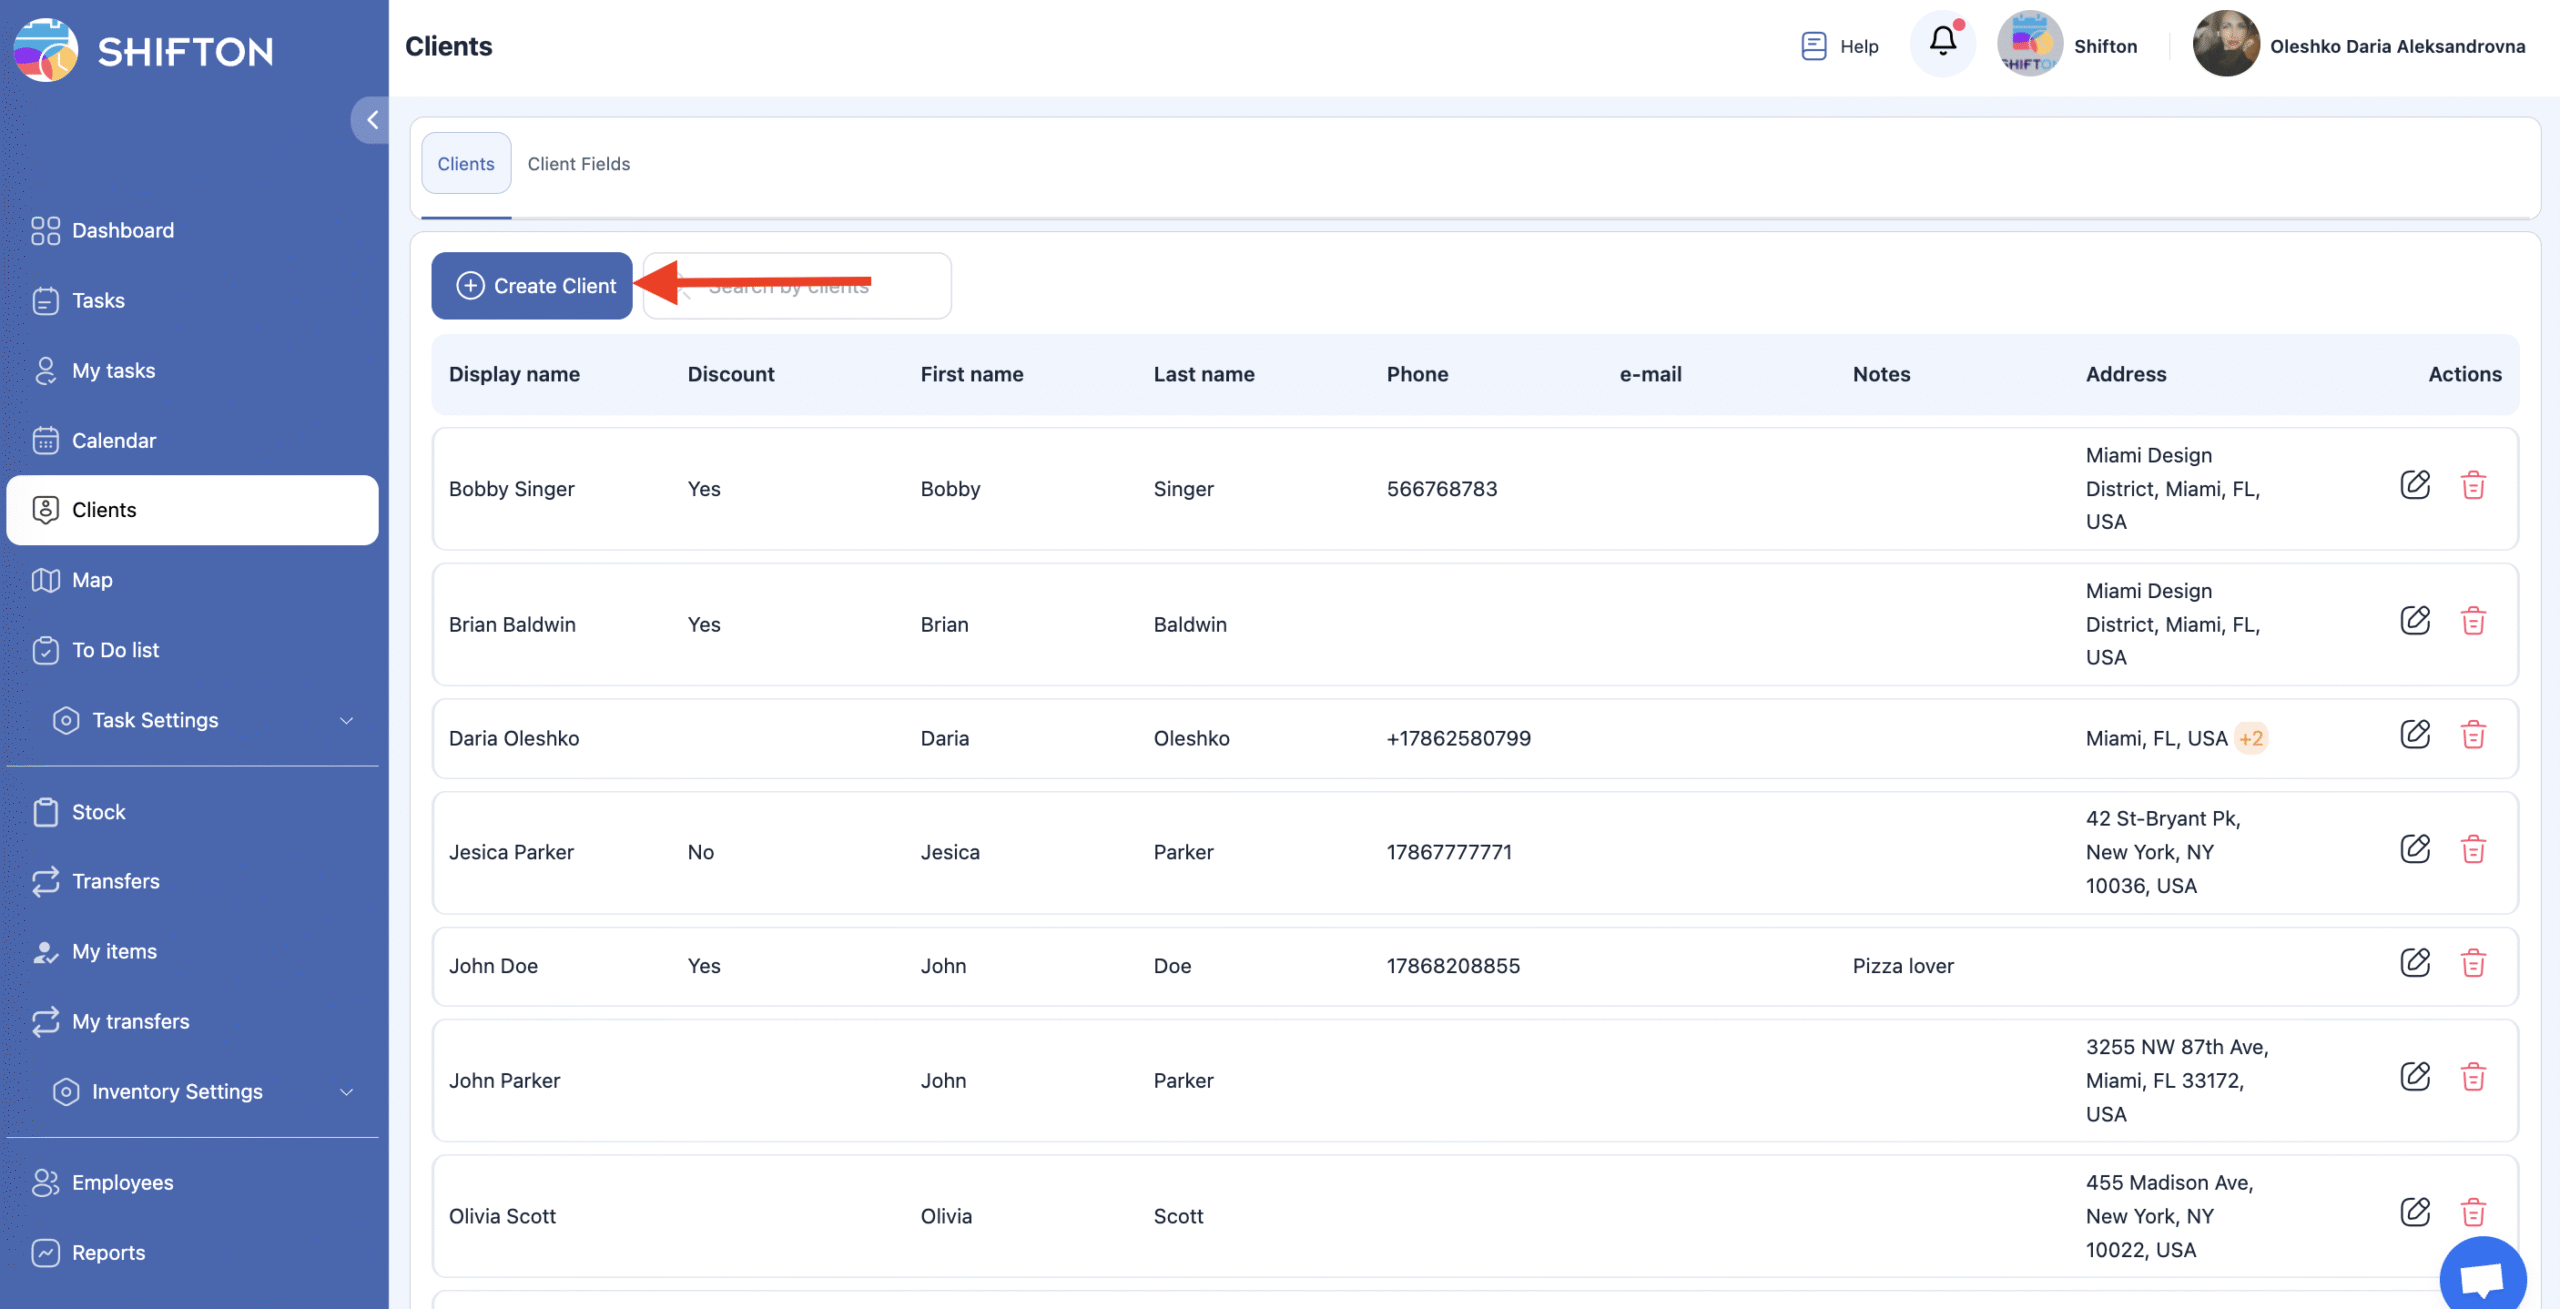
Open the Clients section.
Click Create Client.
Fill in the client details in the side panel.
Click Save.
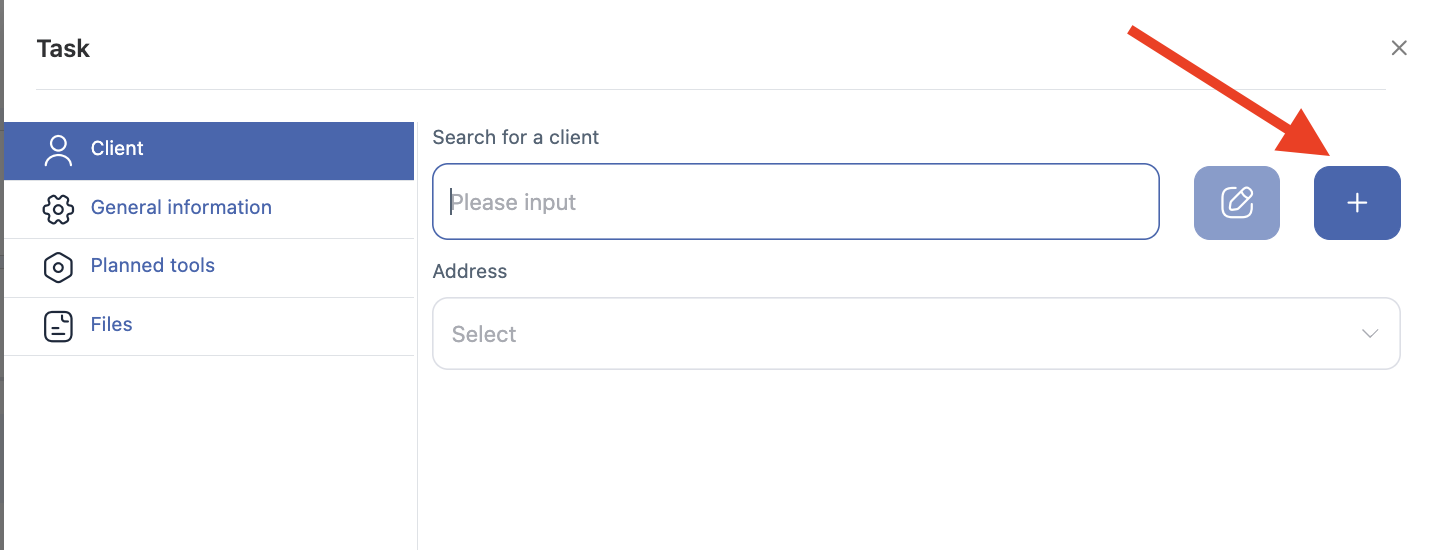
When creating a task
During task creation:
you can select an existing client,
or create a new one — it will be automatically added to the client database.

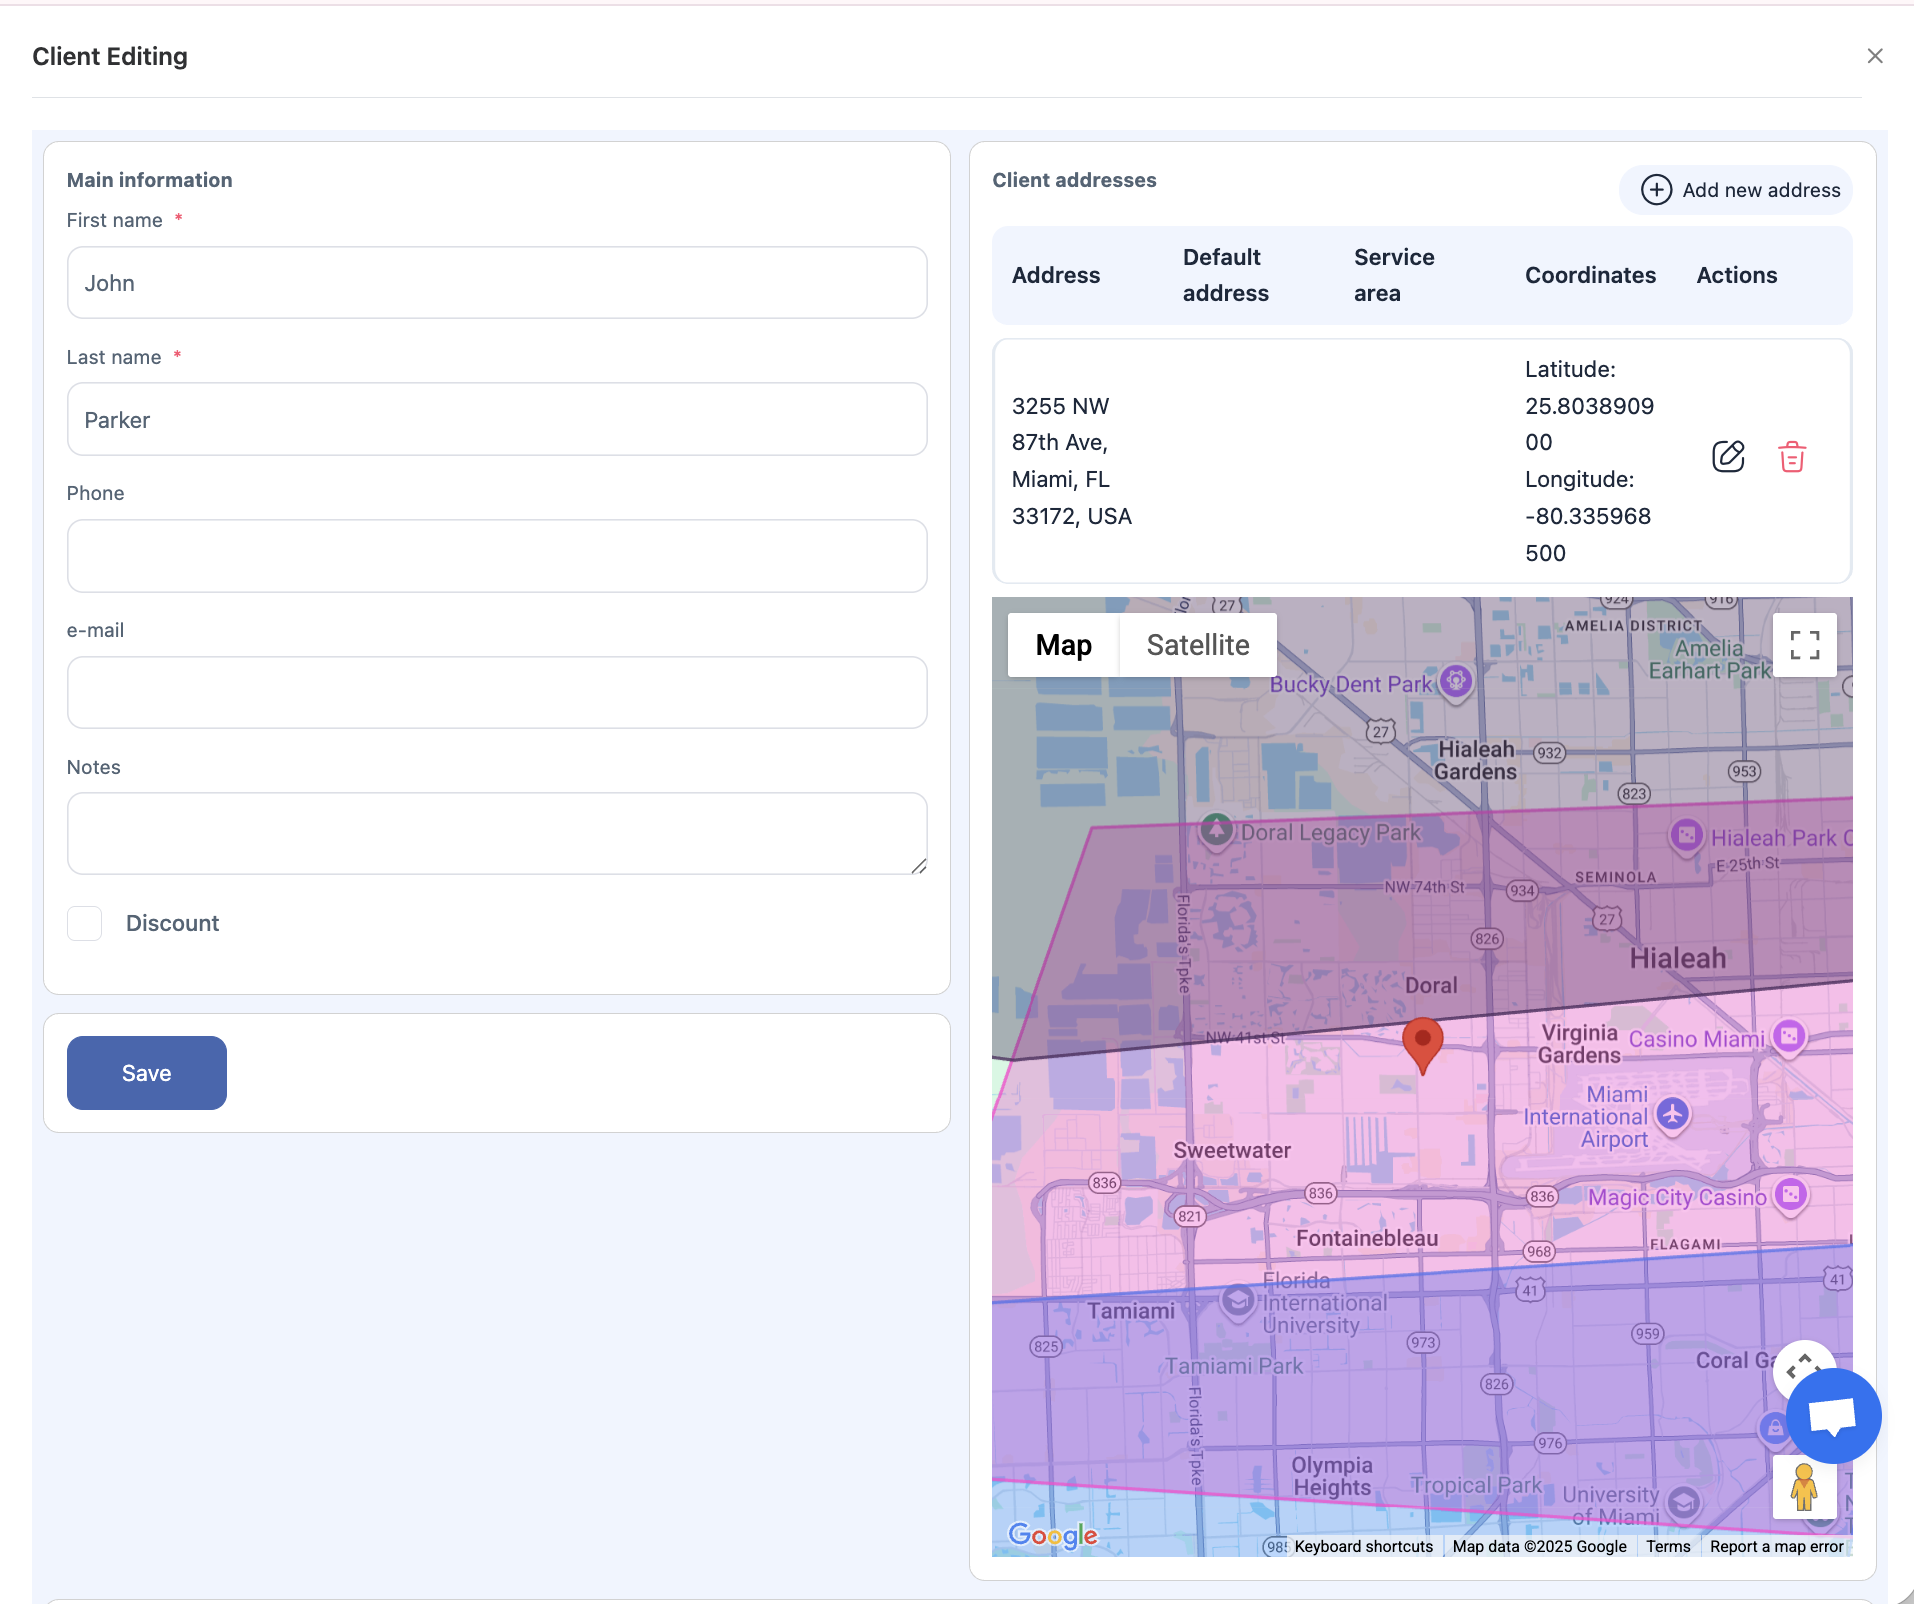
Editing a Client
Each client has a pencil icon next to it.
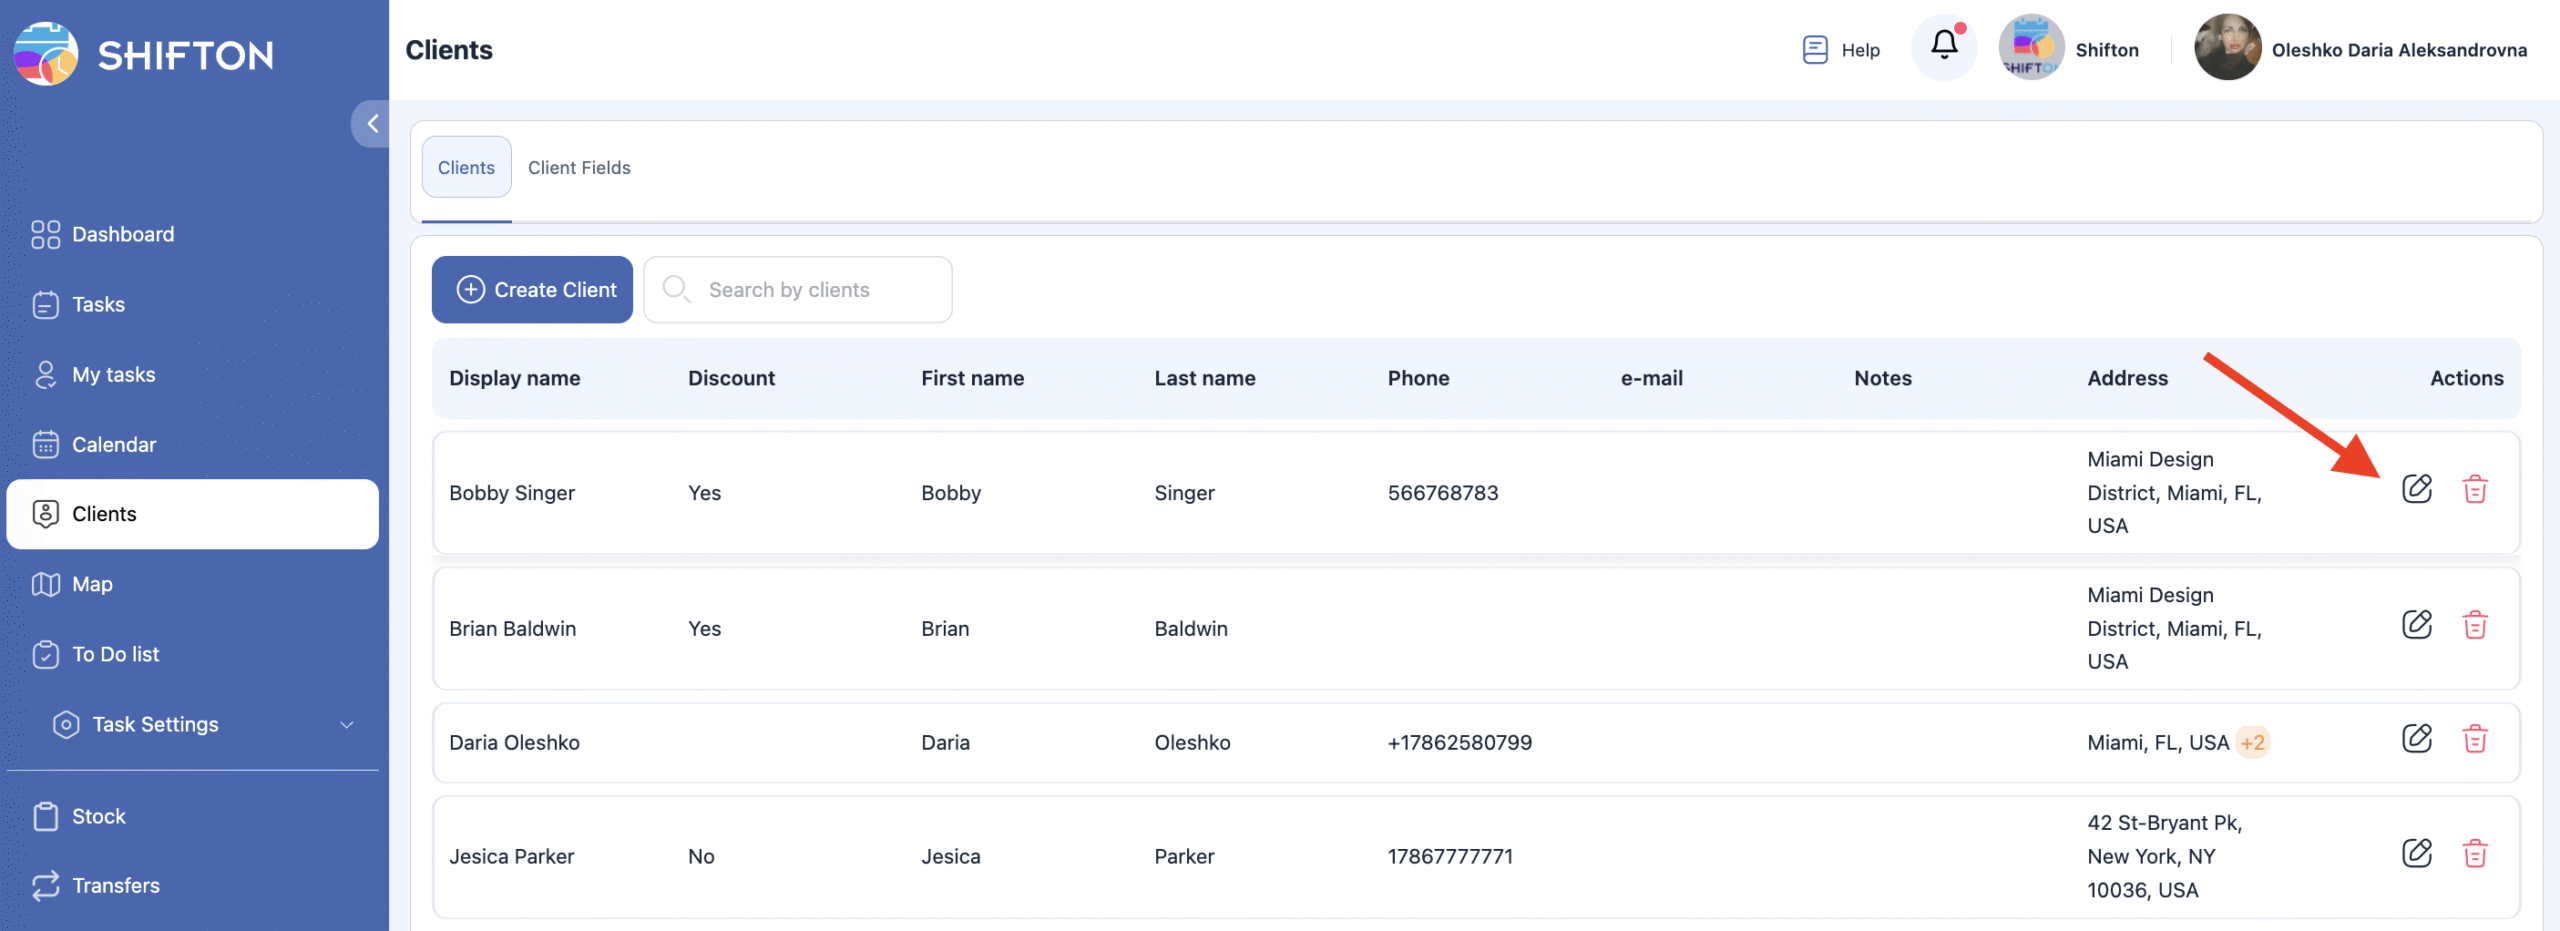
When editing a client, you can:
update any client information,
add additional addresses or contact details,
view all tasks that are linked to this client (current and completed).
Task List Inside the Client Profile
At the bottom of the client profile, you will see:
a list of all tasks associated with this client,

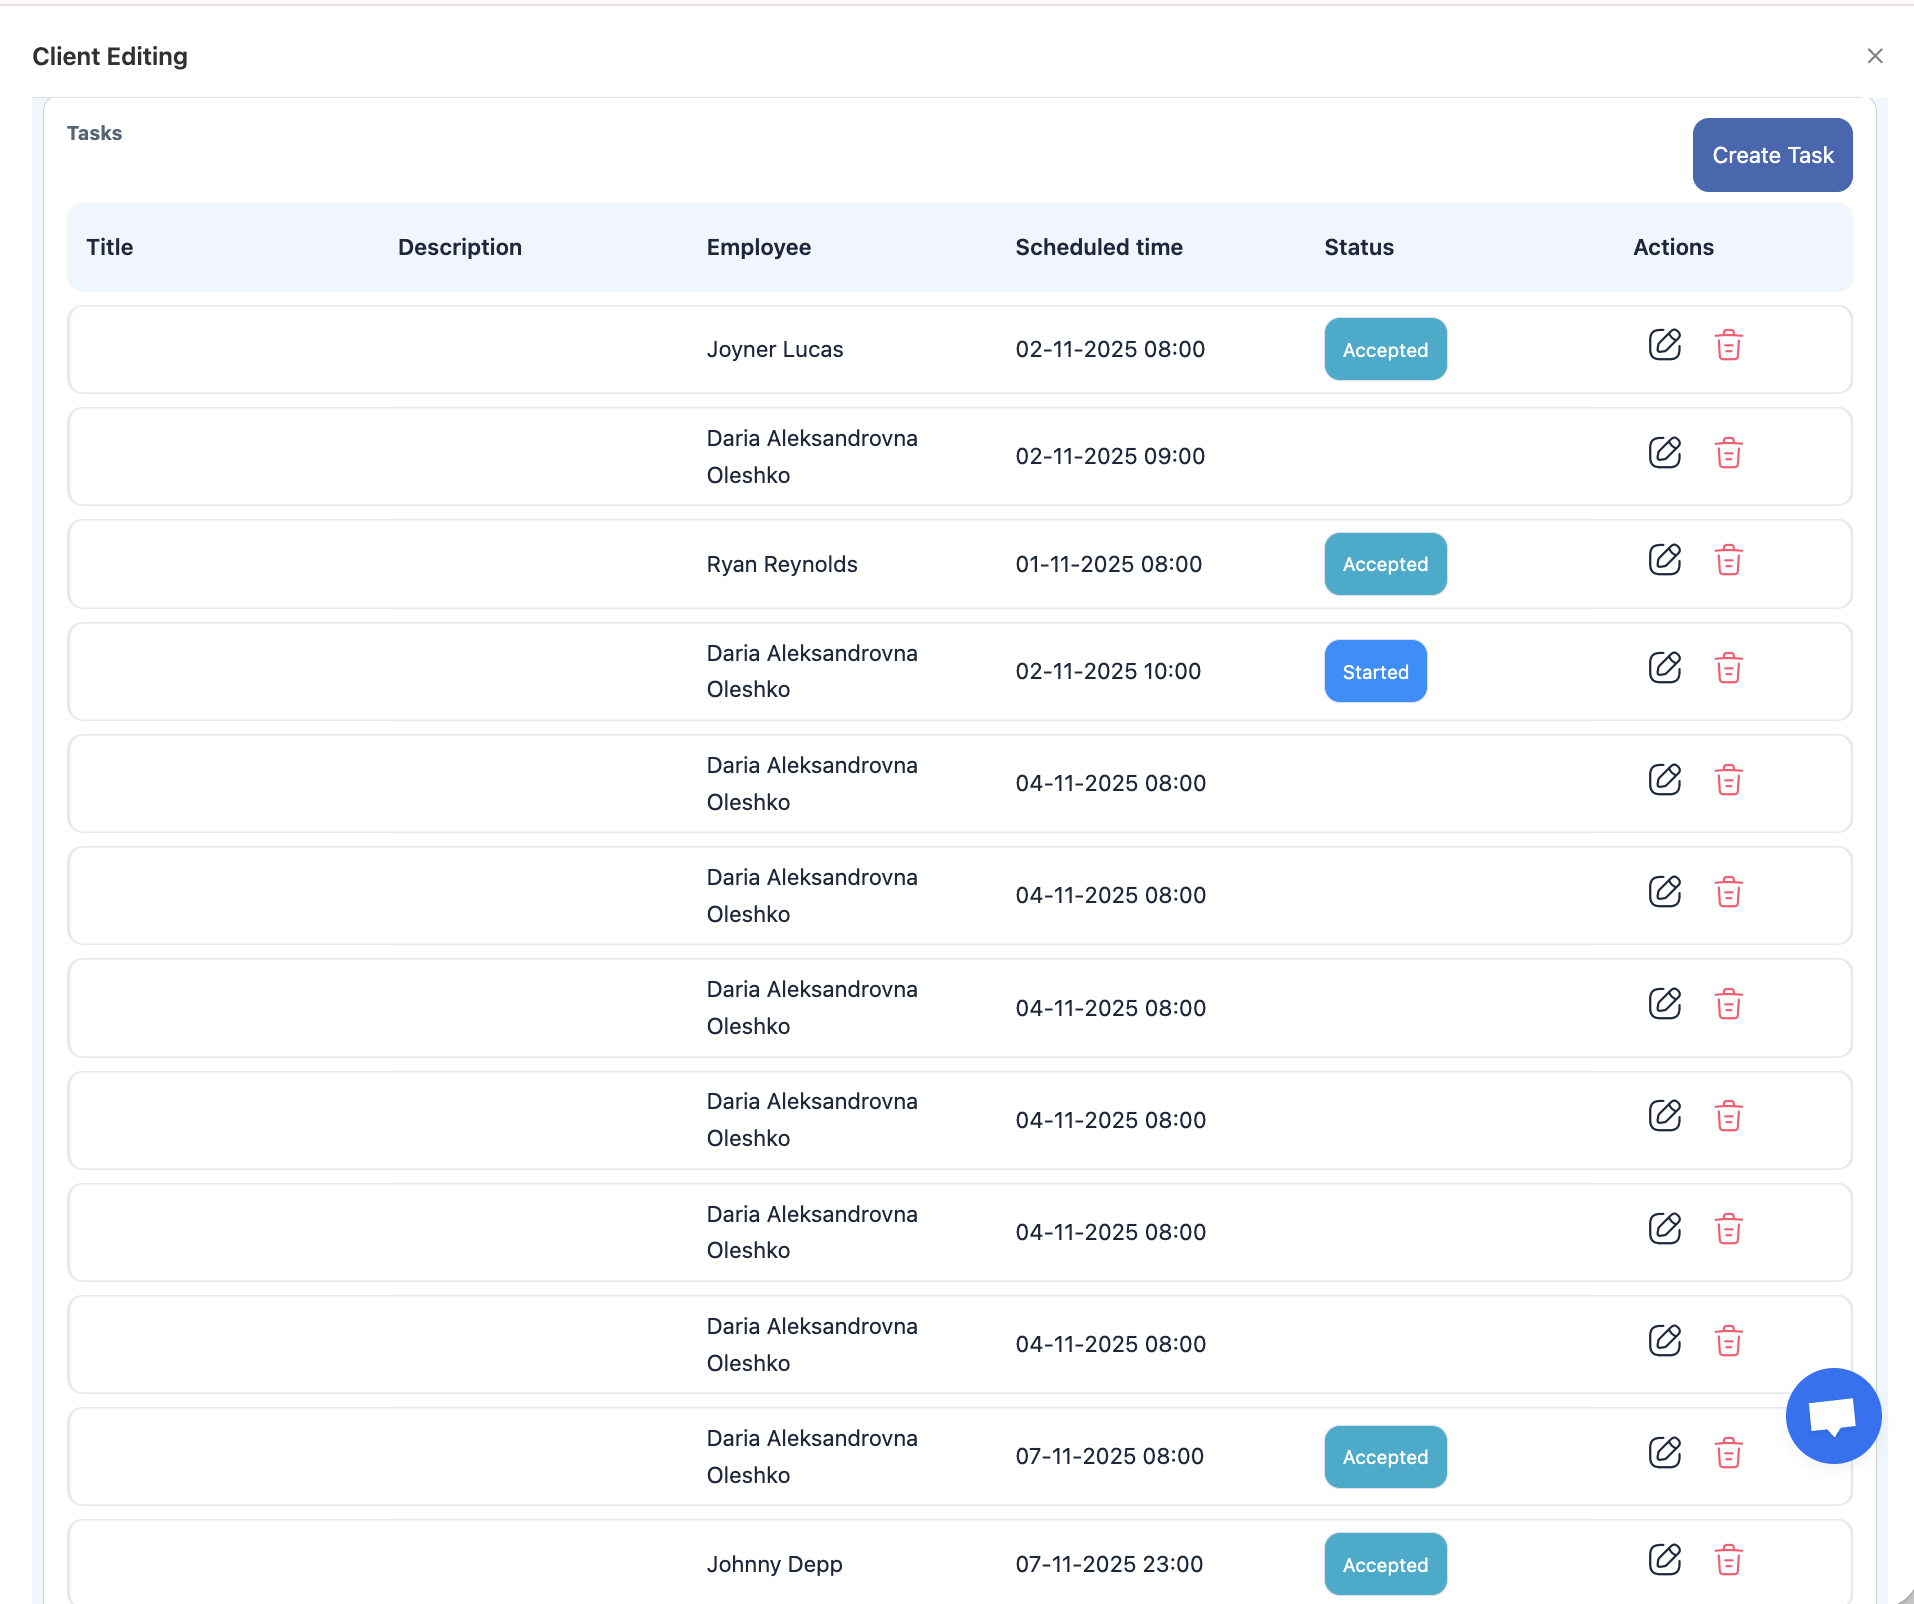
There is also a Create Task button.
If you create a task from here, the client will be selected automatically.
Deleting a Client
Click the trash bin icon next to the client.
Confirm the deletion.
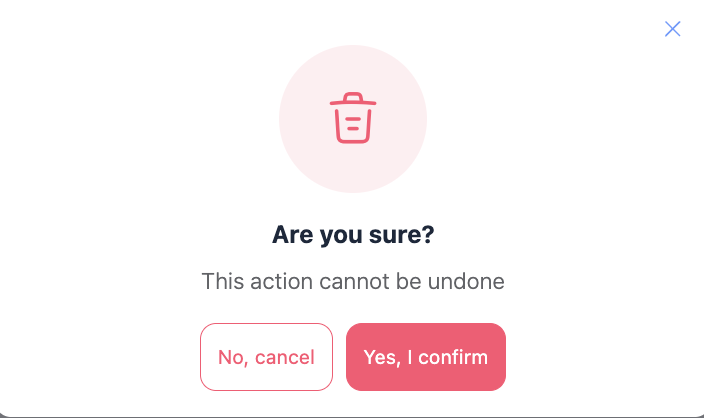
Important: Client deletion is permanent.
Deleted clients cannot be restored.