Learn how to add new employees to your Shifton account using the Employees page.
What Is This?
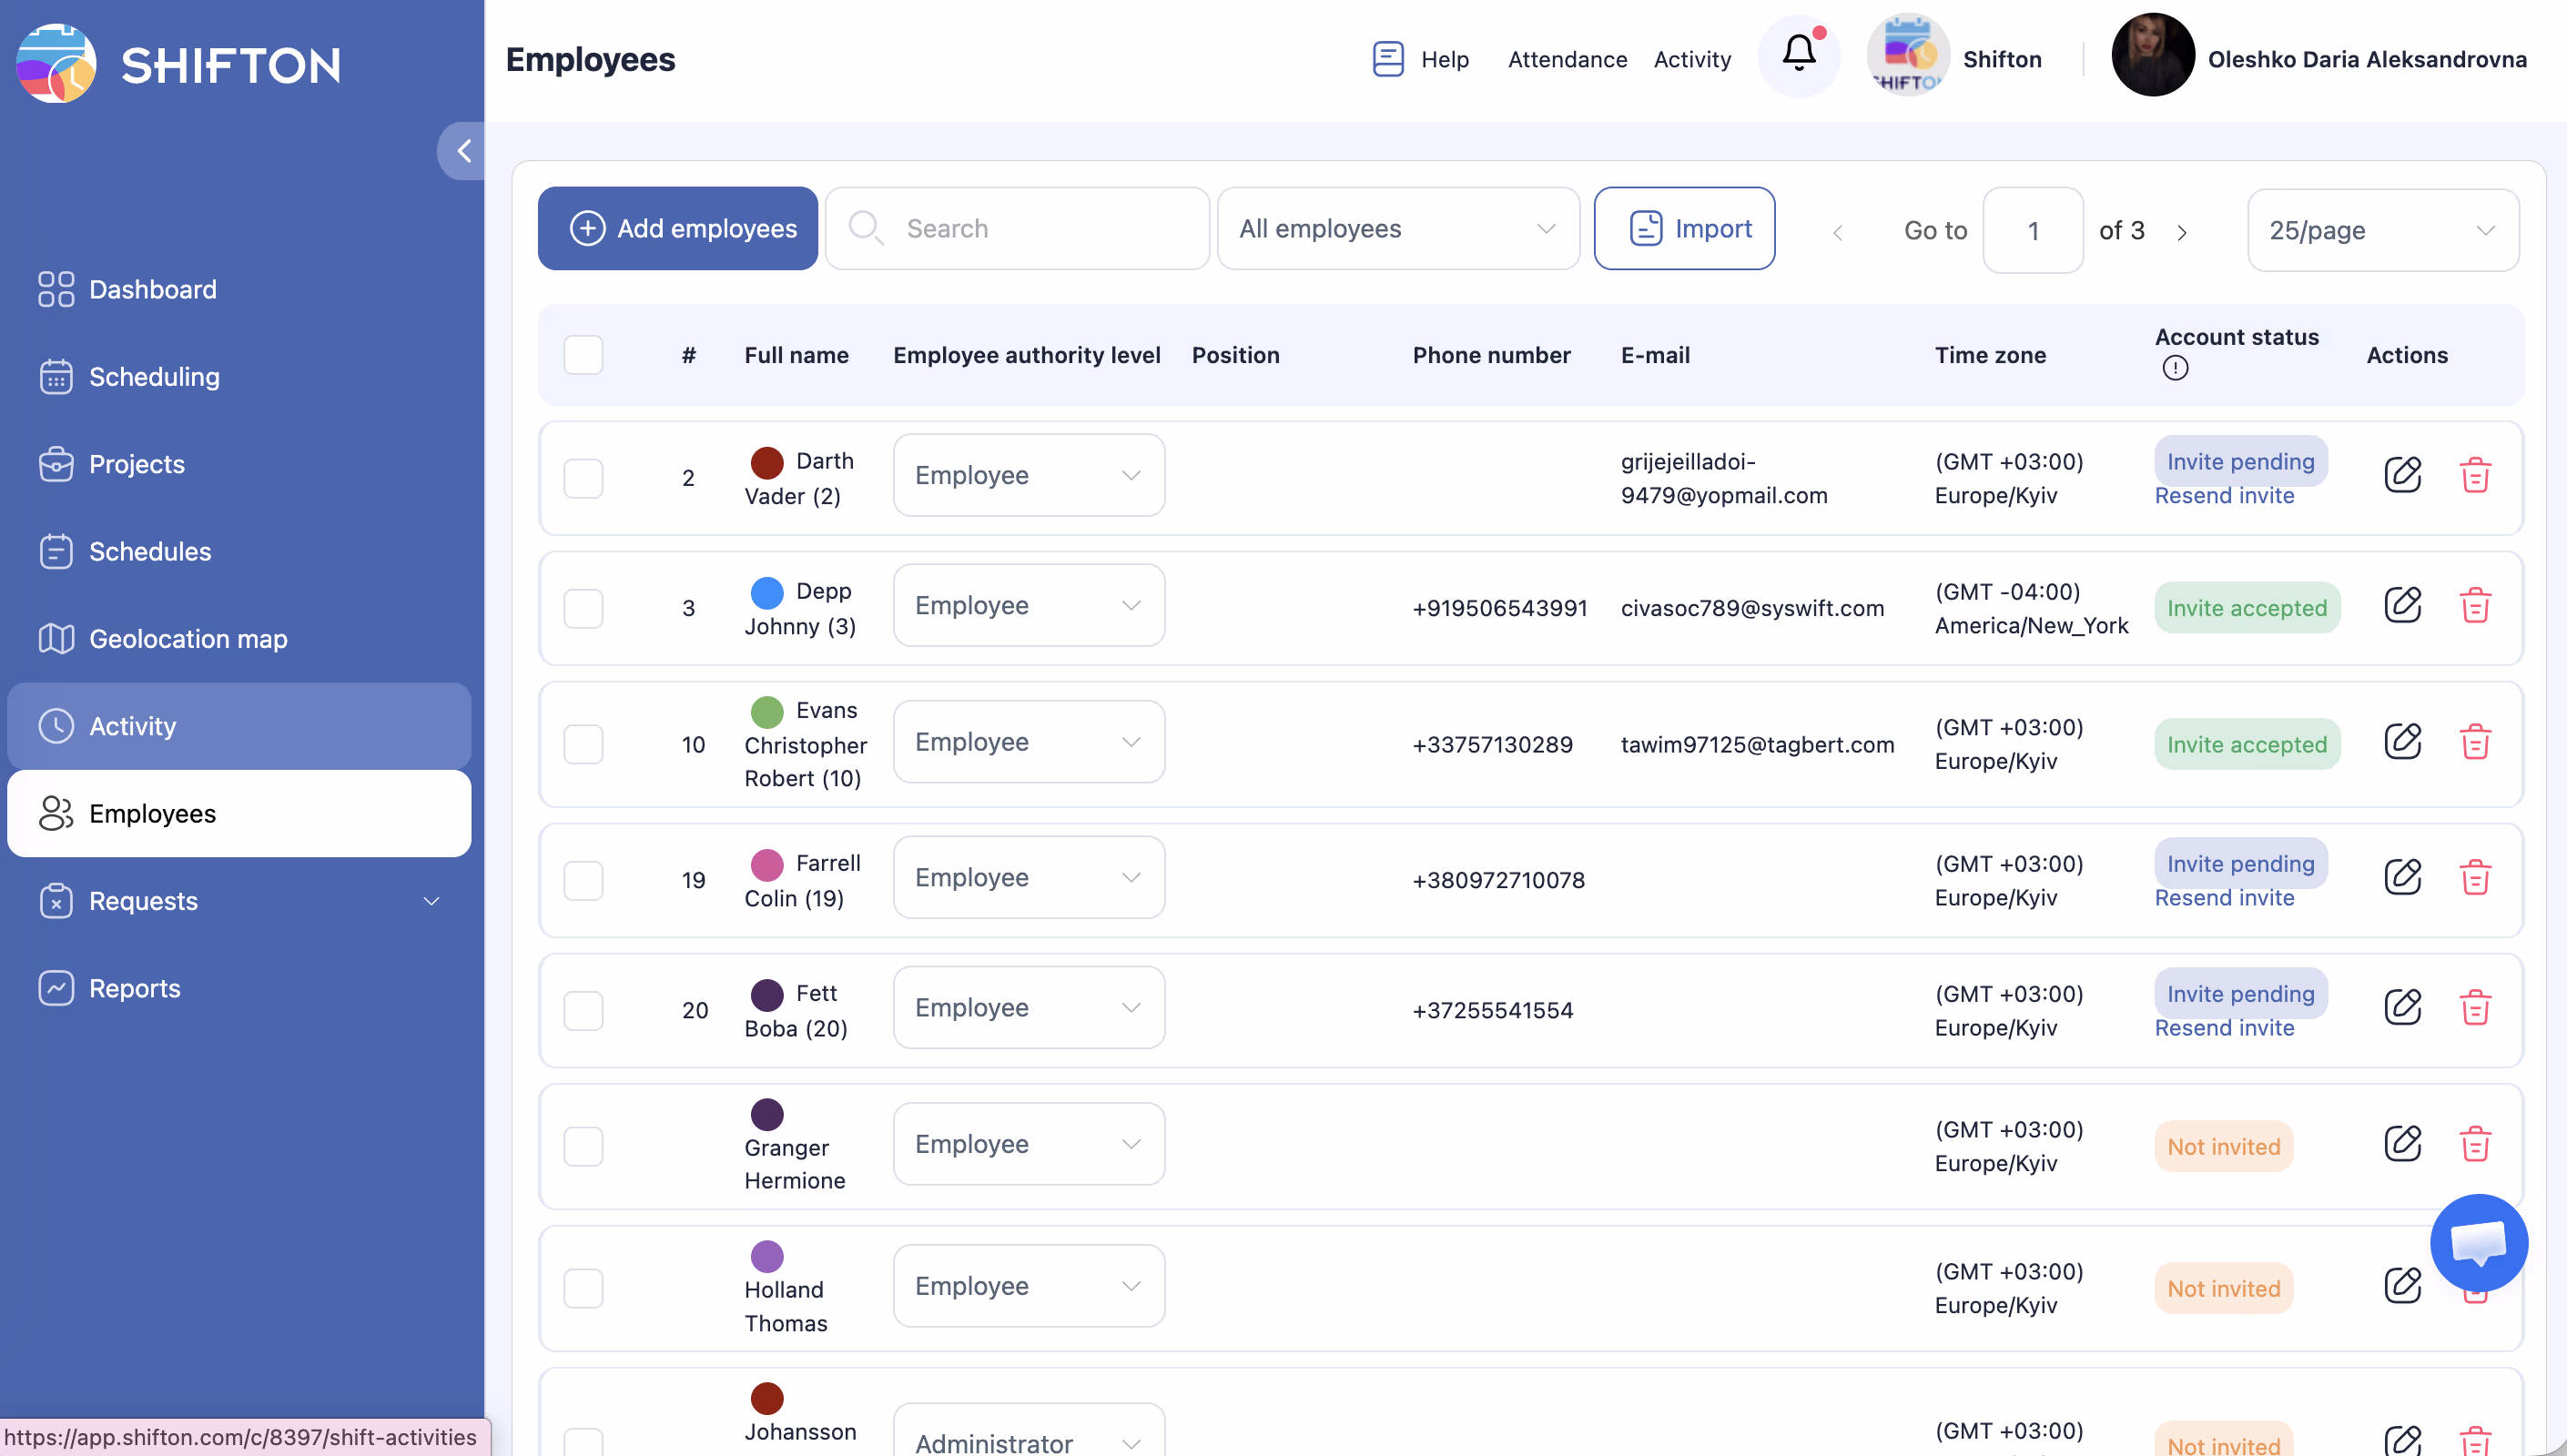
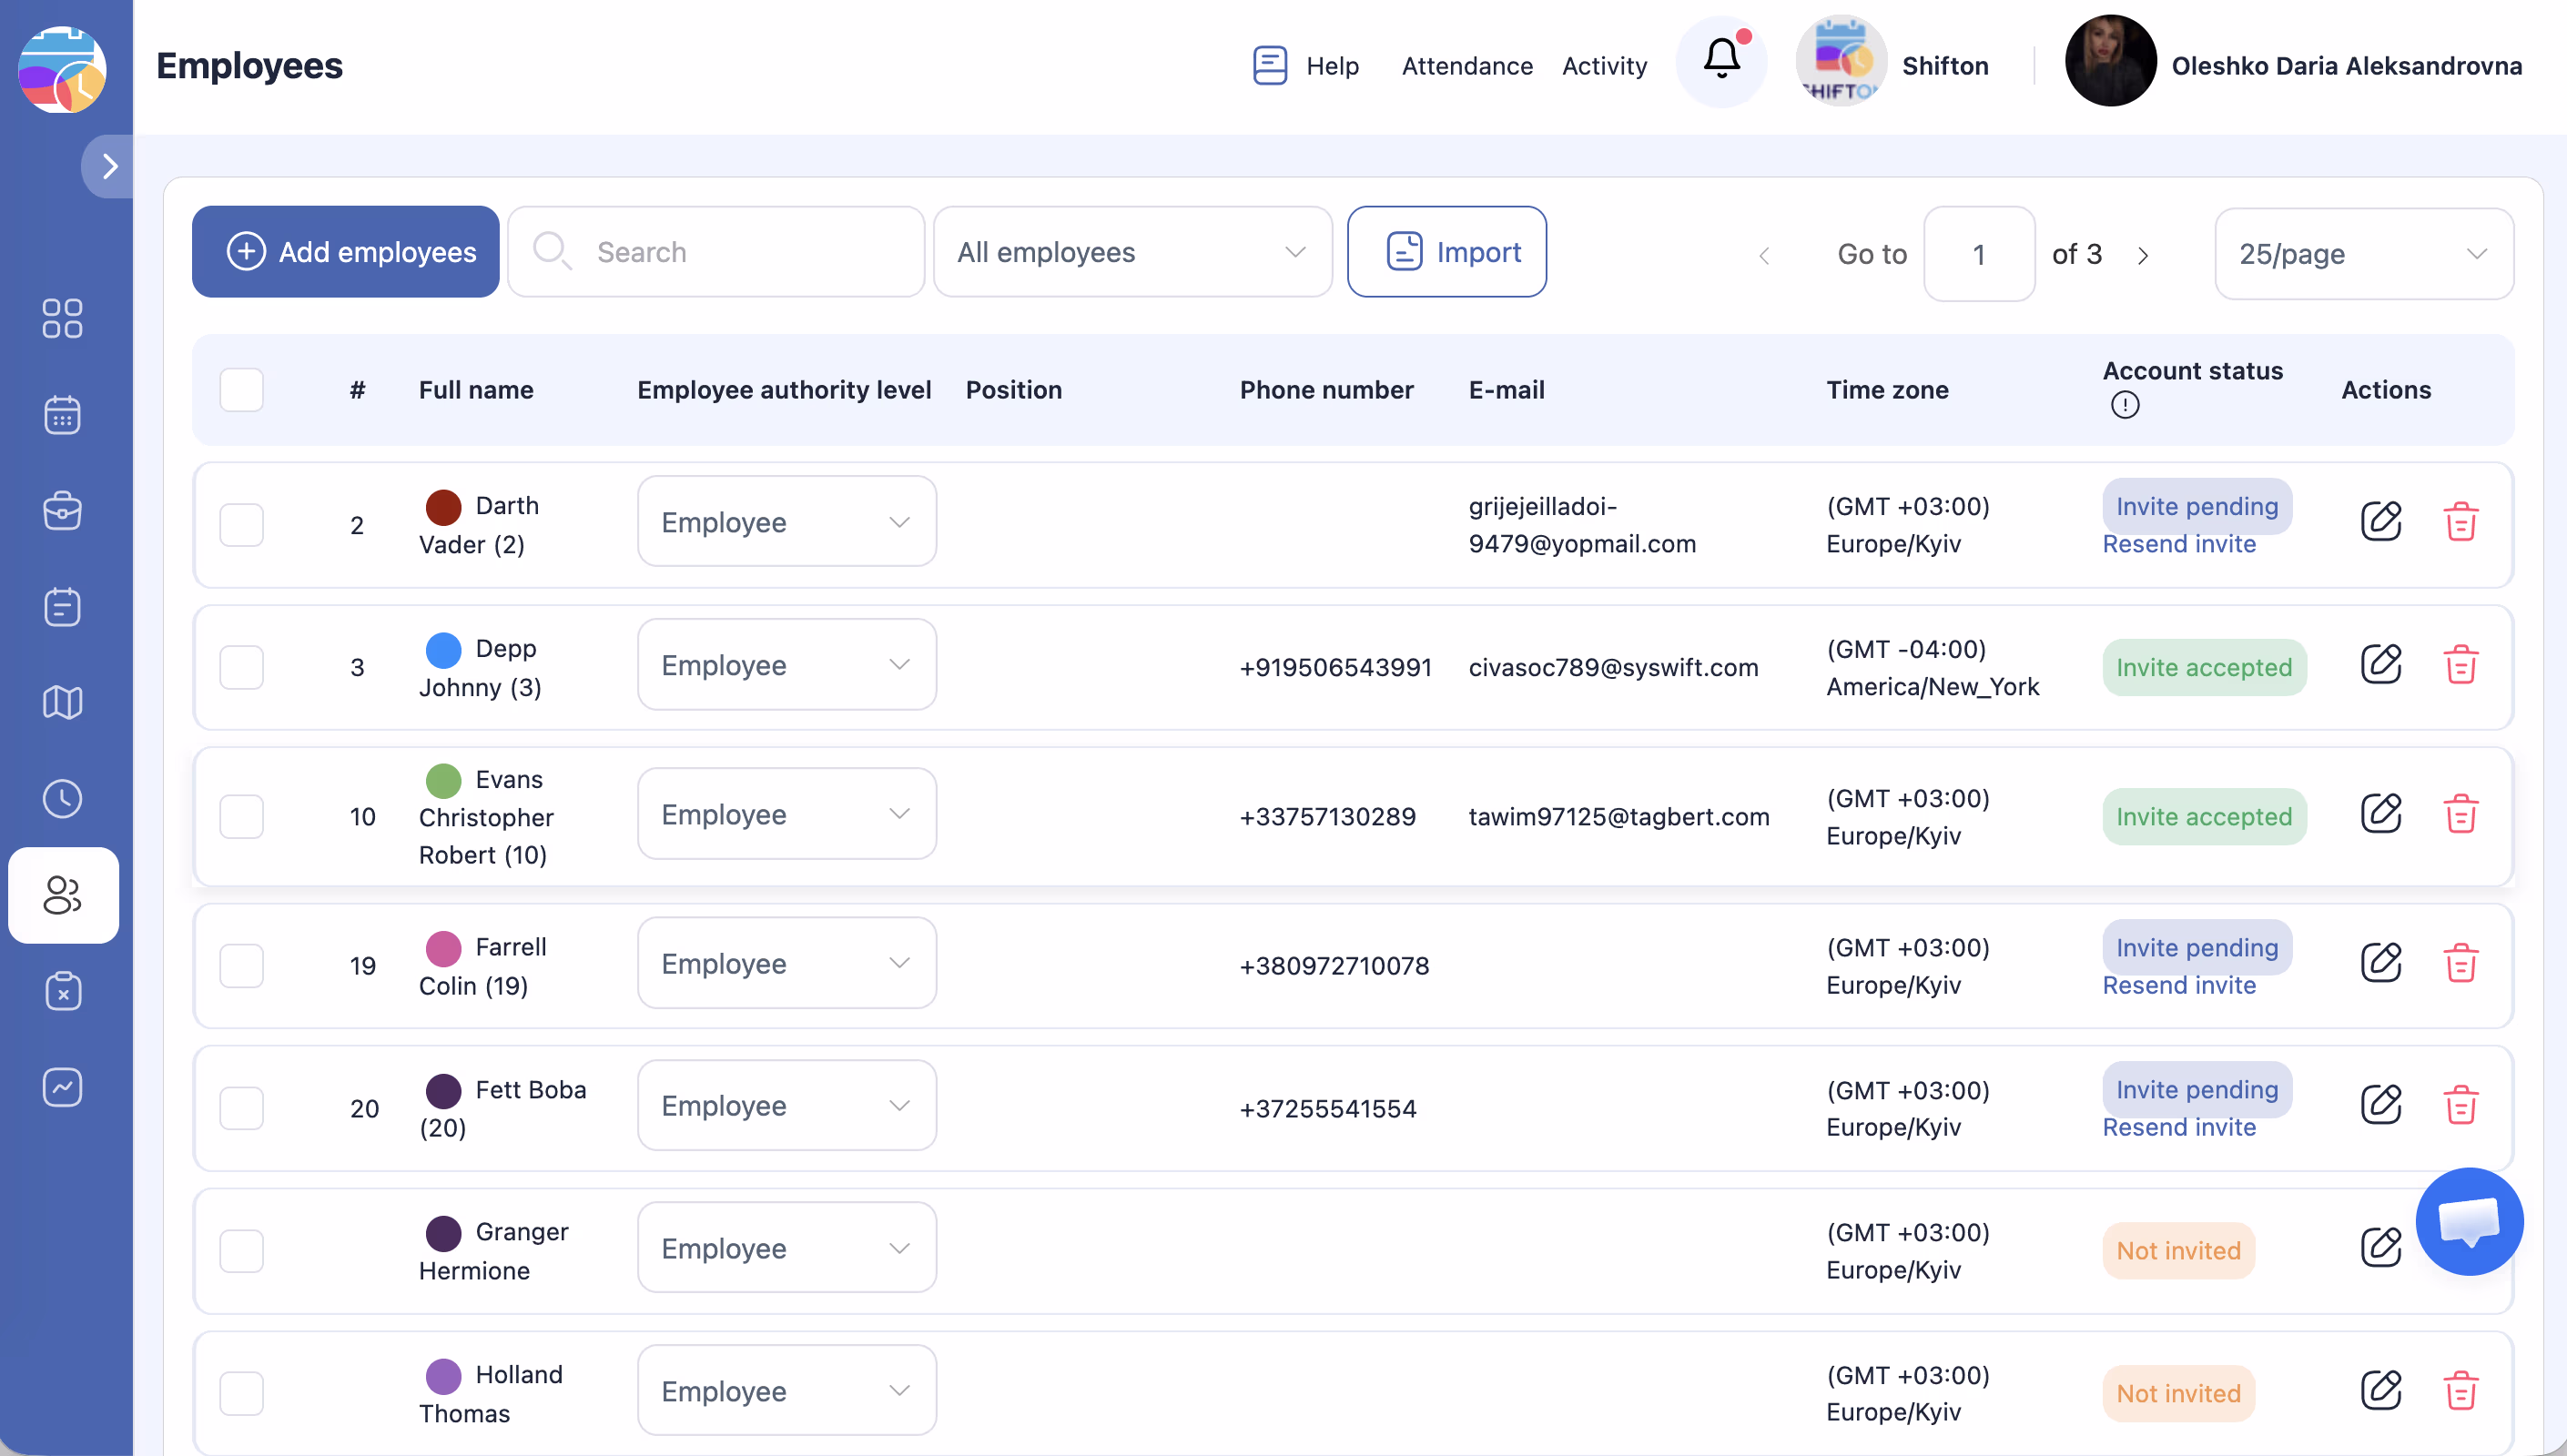
The Employees page is where you manage your entire workforce in Shifton. From here, you can add new team members one at a time by filling out a simple form with their basic information, assigning them to projects and schedules, and optionally sending them an invitation to join the platform.
When you click the + Add employees button, a side panel opens where you enter the new employee’s details. Once saved, the employee appears in your employee list and can be assigned to shifts right away.
Prerequisites
Before adding employees, make sure you have:
- An active Shifton account with Administrator or Manager access
- At least one project created (if you want to assign the employee to a project)
- At least one schedule created (if you want to assign the employee to a schedule)
The first 10 employees are included free with Basic Functions. Employees beyond 10 are billed at $1 per employee per month.
Step-by-Step Instructions
Step 1: Open the Employees Page
Navigate to the Employees page in the main menu.
Step 2: Click the Add Employees Button
Click the + Add employees button at the top of the page. A side panel will slide open from the right.
Step 3: Fill In Employee Details
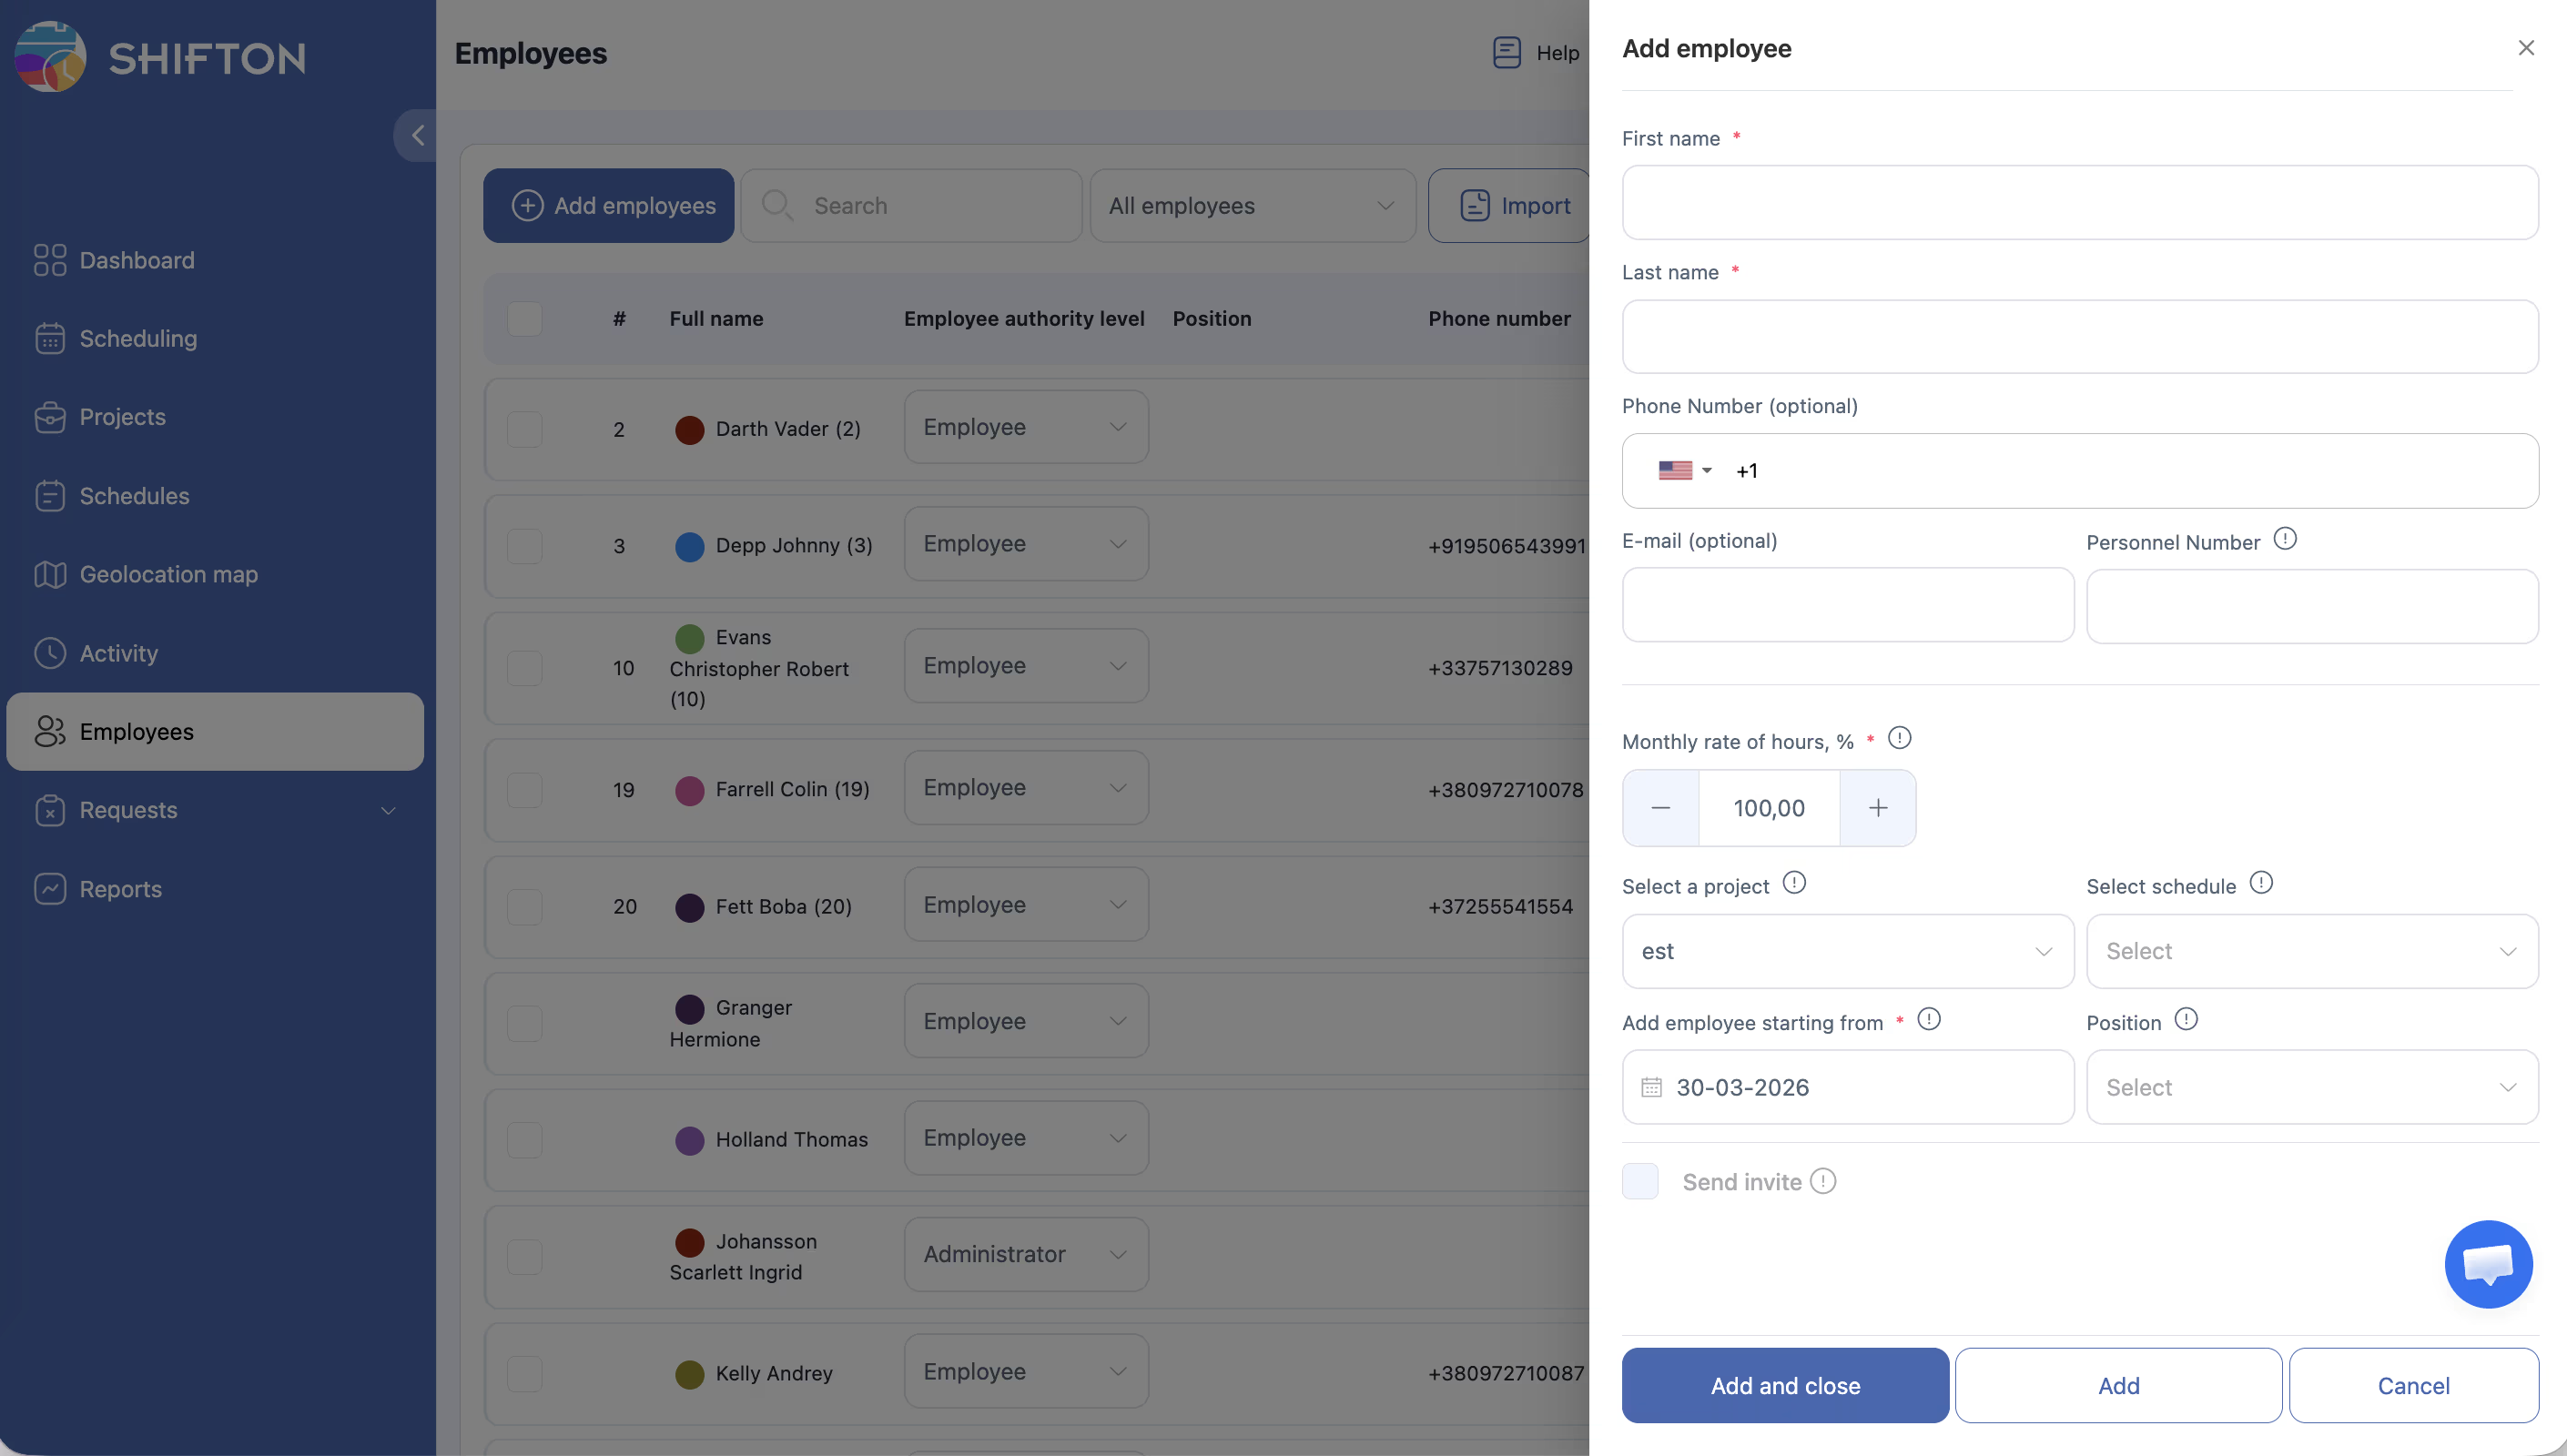
Complete the form fields as needed. Fields marked with an asterisk (*) are required.
| Field | Required | Description |
|---|---|---|
| First name | Yes* | Employee’s first name |
| Last name | Yes* | Employee’s last name |
| Yes* | Employee’s email address — required for login and to send an invitation. Must be unique across the system | |
| Phone | No | Phone number with country code selector (e.g., +1 for US) |
| Role | Yes* | Authority level: Employee, Manager, or Administrator |
| Personnel Number | No | Internal employee ID or payroll number used by your organization |
| Monthly rate of hours % | No | Percentage of full-time hours the employee works. Default is 100% (full-time). Set to 50% for half-time, etc. |
| Select project | No | Choose which project to assign the employee to |
| Select schedule | No | Choose which schedule the employee should follow |
| Add starting from date | No | The date from which the employee becomes active in the system |
| Position | No | The employee’s job title or role within the organization |
| Send invite | No | Check this box to send an invitation email to the employee immediately |
Step 4: Save the Employee
Choose one of the available actions at the bottom of the panel:
| Button | What It Does |
|---|---|
| Add and close | Saves the employee and closes the side panel |
| Add | Saves the employee and keeps the panel open so you can add another employee |
| Cancel | Discards all entered information and closes the panel |
Step 5: Verify the Employee Was Added
After saving, the new employee will appear in your employee list. You can search for them by name or filter by project to confirm.
The employee’s initial status depends on whether an invitation was sent:
| Status | Meaning |
|---|---|
| Invited | The employee was added and an invitation email was sent. They have not yet accepted the invite |
| Active | The employee accepted the invitation and created their password |
Once the employee accepts the invitation and logs in, their status changes from Invited to Active.
Employee List Columns
The employee list shows the following information for each employee:
| Column | Description |
|---|---|
| Full name | Employee’s first and last name |
| Employee authority level | Role: Employee / Manager / Administrator |
| Position | Job title, if assigned |
| Phone number | Phone number, if provided |
| Email address | |
| Time zone | Employee’s time zone |
| Account status | Active / Invited / Dismissed |
| Actions | Edit (pencil icon) and Delete (trash icon) buttons |
Access Permissions
| Role | Can Add Employees? |
|---|---|
| Administrator | Yes |
| Manager | Yes |
| Employee | No |
FAQ
Q: Can I add multiple employees at once?
A: Using this method, you add employees one at a time. To add many employees at once, use the Import Employees feature instead.
Q: What happens if I do not fill in the email address?
A: Email is required. Without it, the employee cannot receive an invitation or log in to Shifton. Each email address must be unique — you cannot register the same email address twice.
Q: The employee accepted the invitation but sees a blank white screen — what is wrong?
A: This usually means the email address is already linked to another Shifton account. Ask the employee to check with support to resolve the duplicate account situation.
Q: What does “Monthly rate of hours %” mean?
A: This setting defines what percentage of a full-time schedule the employee should work. For example, 100% means full-time, 50% means half-time. This is used in scheduling calculations to determine how many hours the employee should be assigned.
Q: Can I change the employee’s project or schedule after adding them?
A: Yes. You can update all employee details at any time from their profile page.
Q: Is it mandatory to assign a project when adding an employee?
A: No. You can create the employee first and assign them to a project later through their profile’s Projects tab.
Possible Issues and Solutions
| Issue | Cause | Solution |
|---|---|---|
| The + Add employees button is not visible | You do not have Administrator access | Ask your account administrator to grant you the appropriate permissions |
| Cannot select a project | No projects have been created yet | Go to the Projects section and create a project first |
| Cannot select a schedule | No schedules have been created yet | Go to the Schedules section and create a schedule first |
| Employee does not receive the invitation email | Email address was not provided, or the Send invite checkbox was not checked | Open the employee’s profile, add their email, and resend the invitation |
| Phone number field does not accept input | Country code was not selected | Click the country code dropdown next to the phone field and select the correct country first |