This guide describes the correct order for setting up the Shifton platform from registration to full operation. Follow the steps sequentially — each subsequent step depends on the previous one.
Steps Overview
| Step | Action | Where to Configure |
|---|---|---|
| 1 | Company registration | shifton.com → Sign Up |
| 2 | Phone verification and adding a card | My Profile → Phone / Company → Billing |
| 3 | Salary settings | Company Settings → Salary Settings |
| 4 | Enabling modules | Company menu → Modules |
| 5 | Module configuration | Company menu → Modules → Settings |
| 6 | Adding and inviting employees | Employees → + Add employees |
| 7 | Creating a project | Projects → + Create a project |
| 8 | Creating a schedule | Schedules → + Add schedule |
| 9 | Working with the Schedule page | Schedule page → adding/editing shifts |
| 10 | Additional features | Activities, map, requests, reports |
Step 1. Company Registration
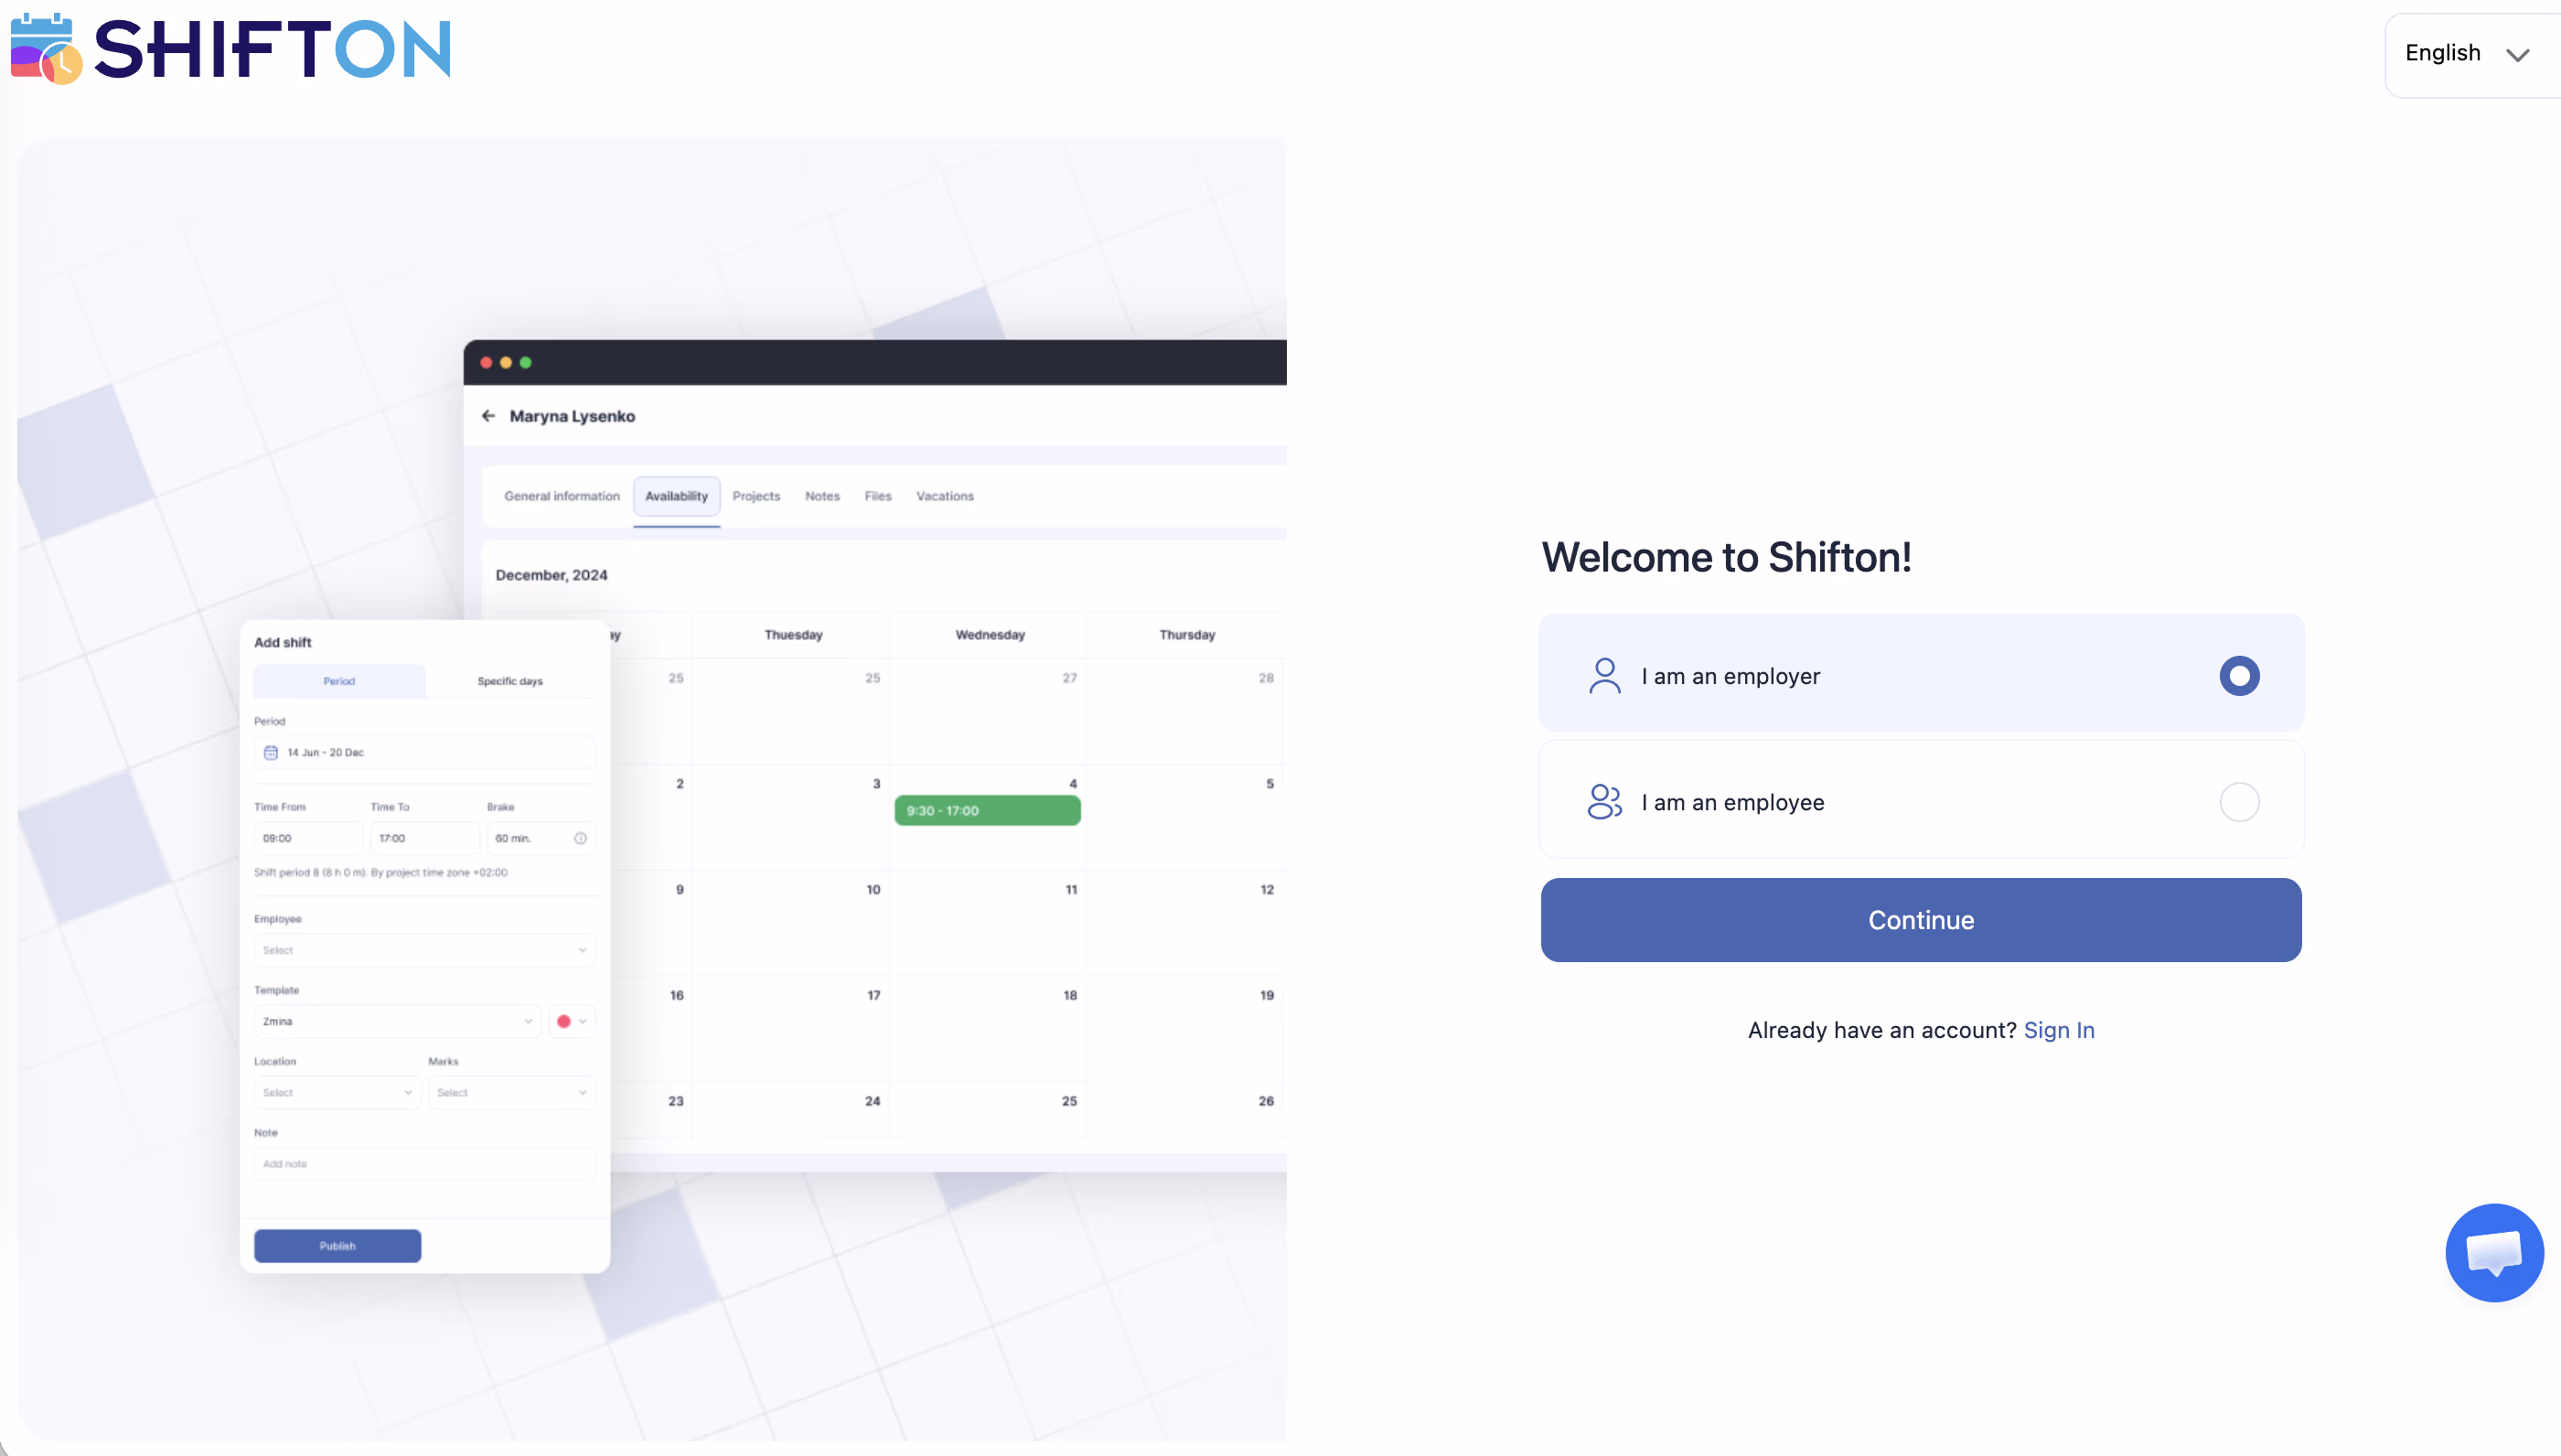
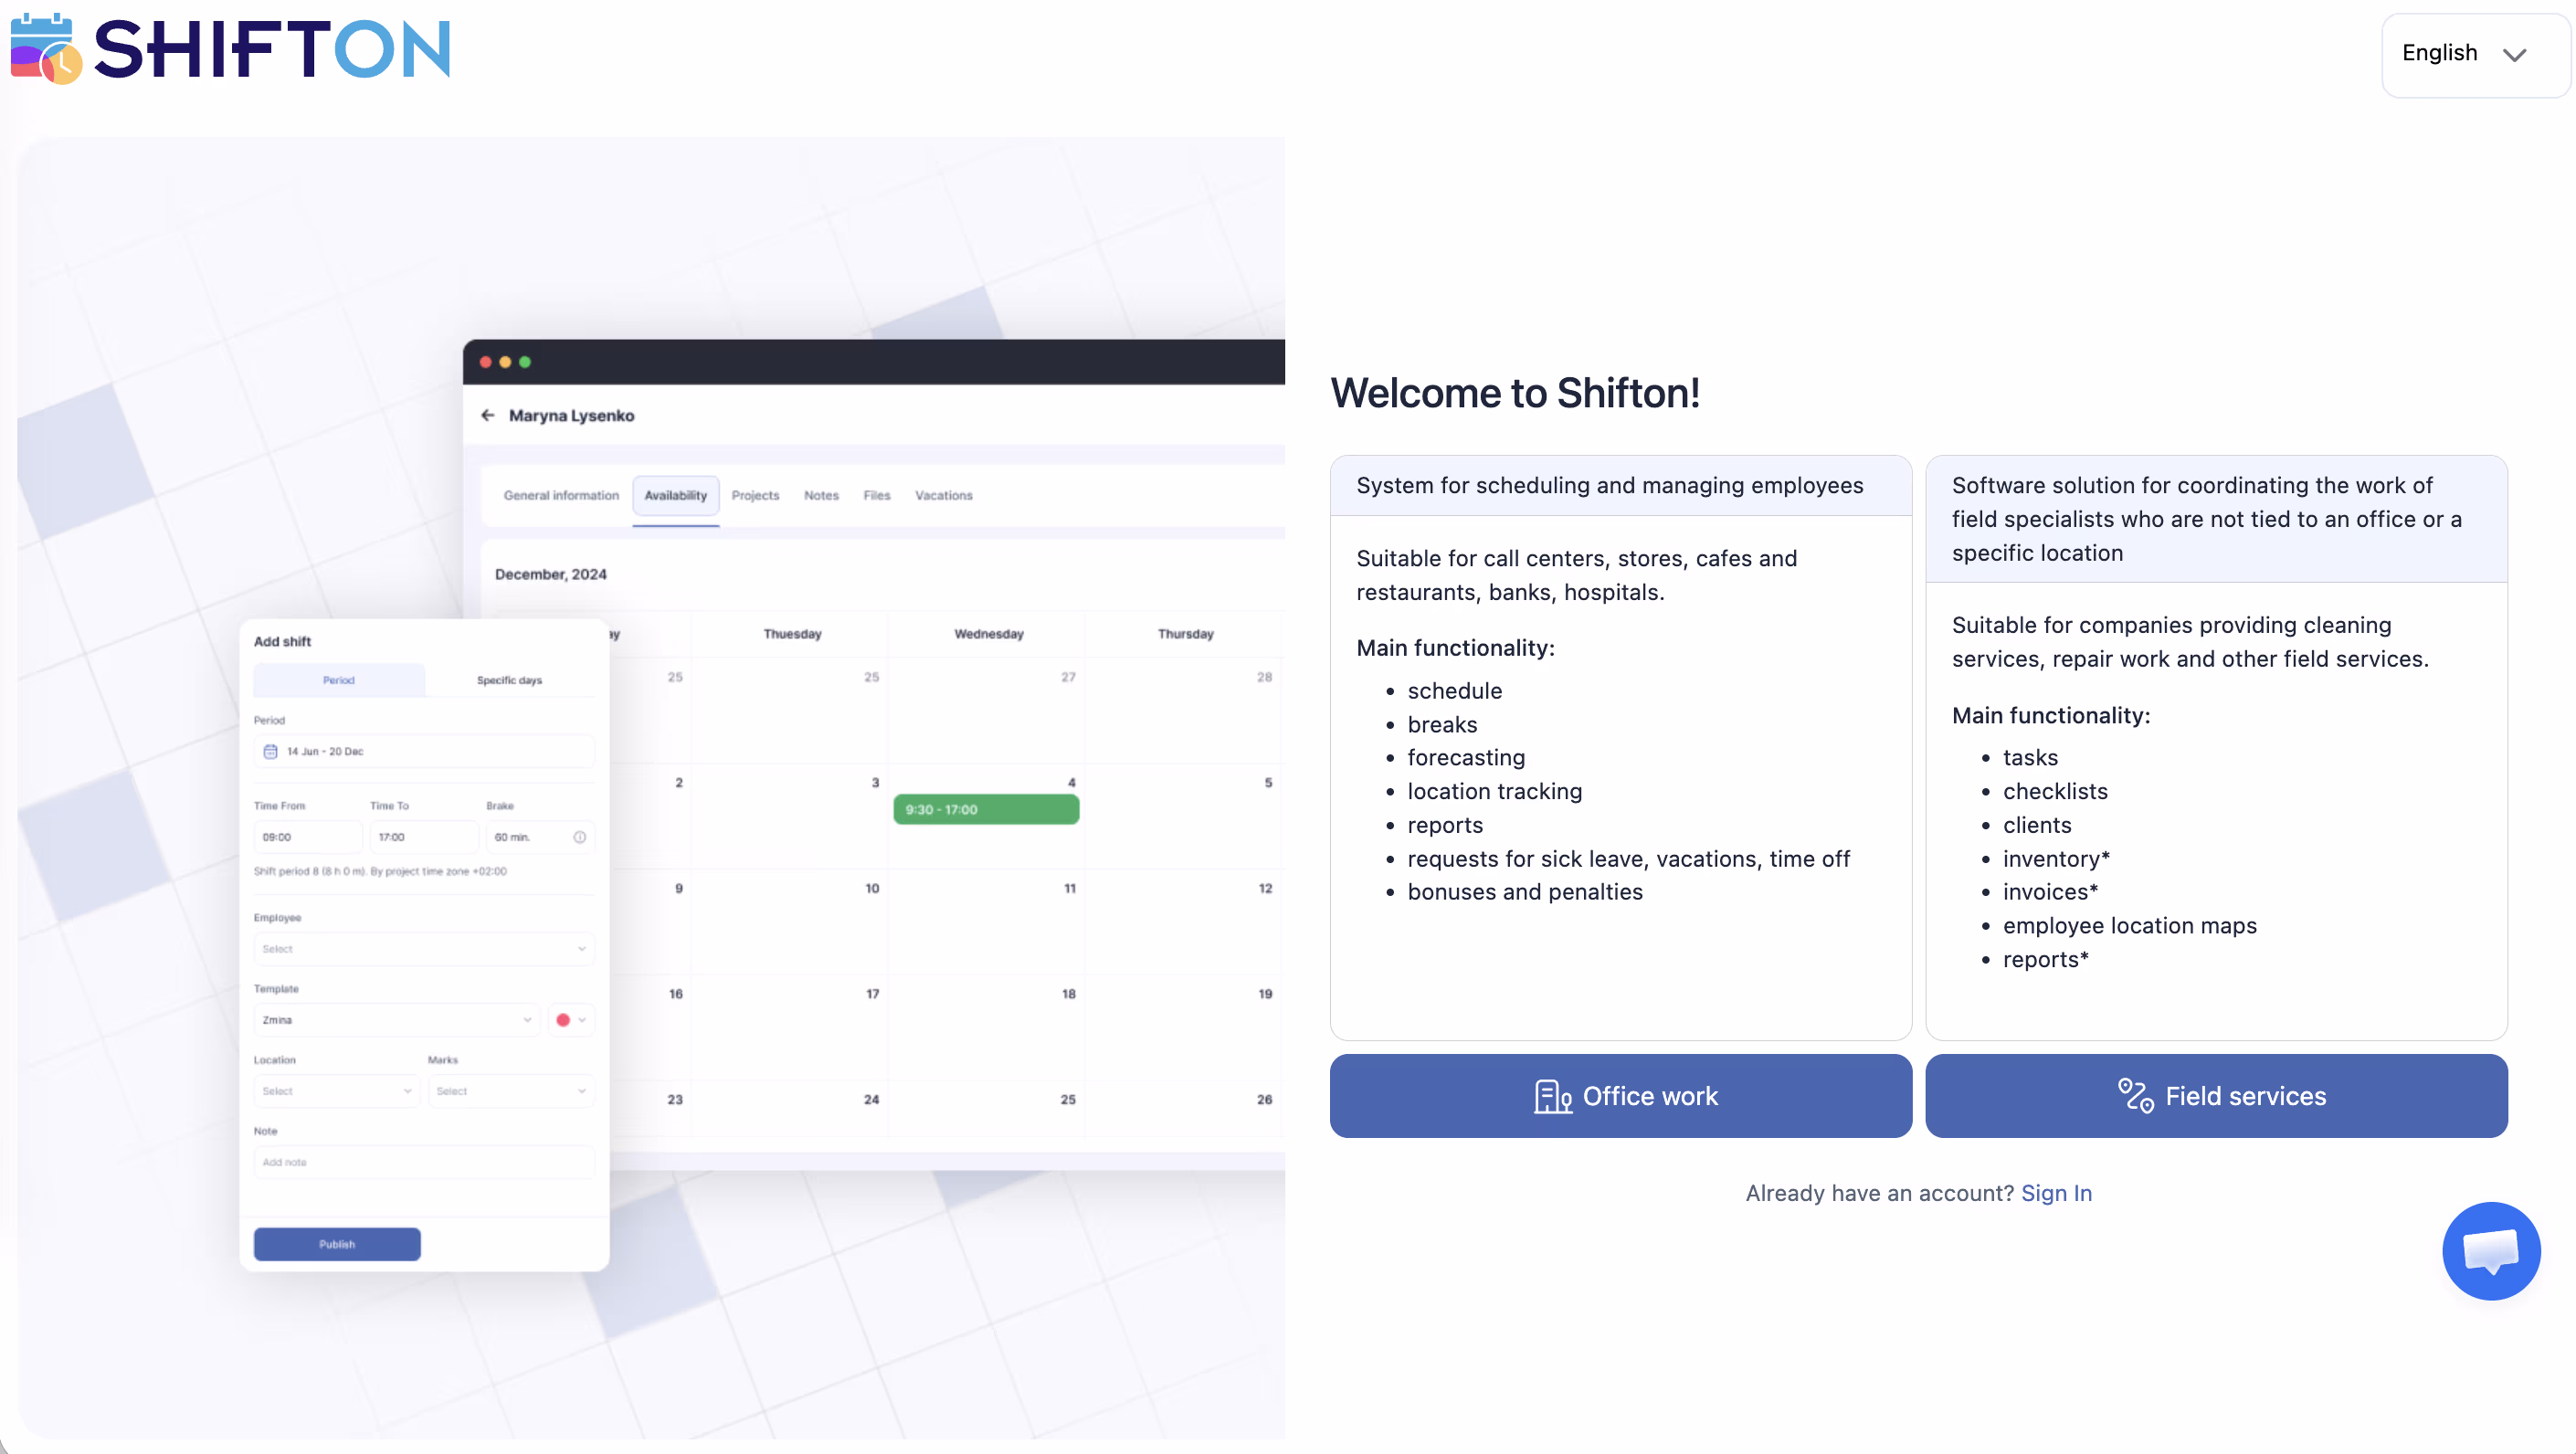
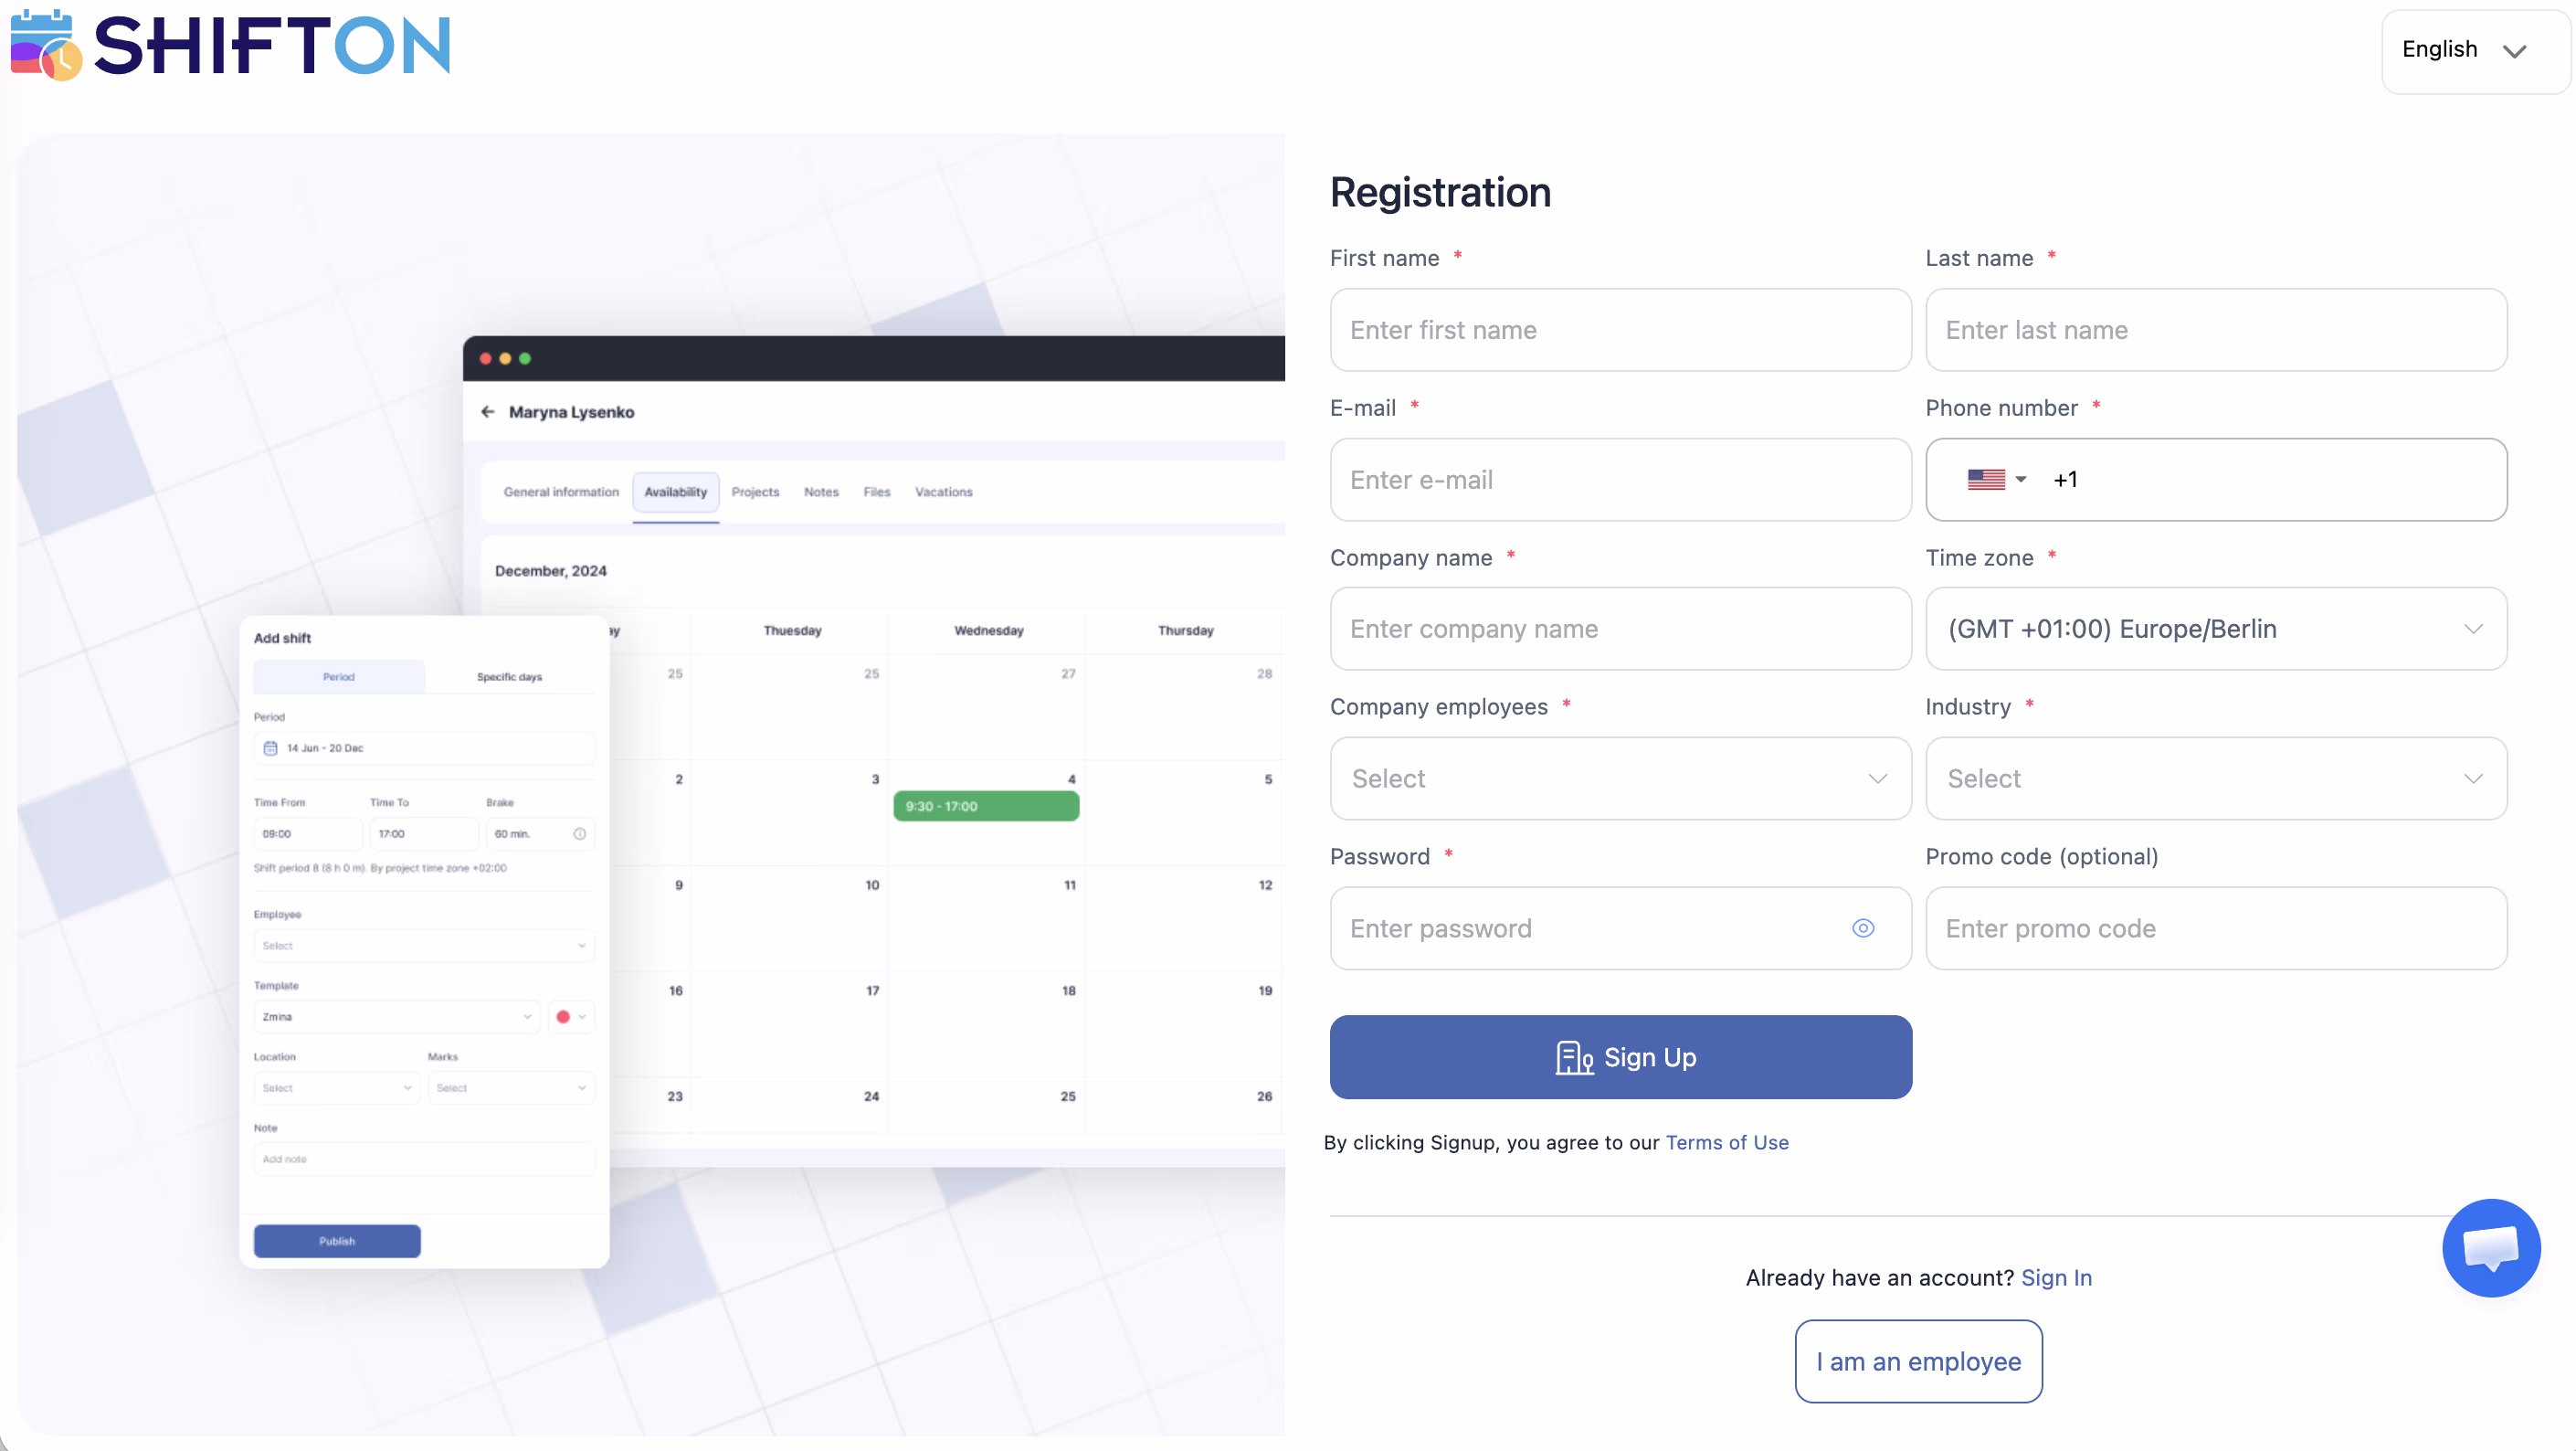
The person who fills in the form becomes the company Owner with full access to all settings.
More details: Company Registration. About Scheduling and Field Service modes, see the article Work Modes.
Step 2. Phone Verification and Adding a Card
Before inviting employees, you need to complete three mandatory actions:
2.1 Verify Your Phone Number
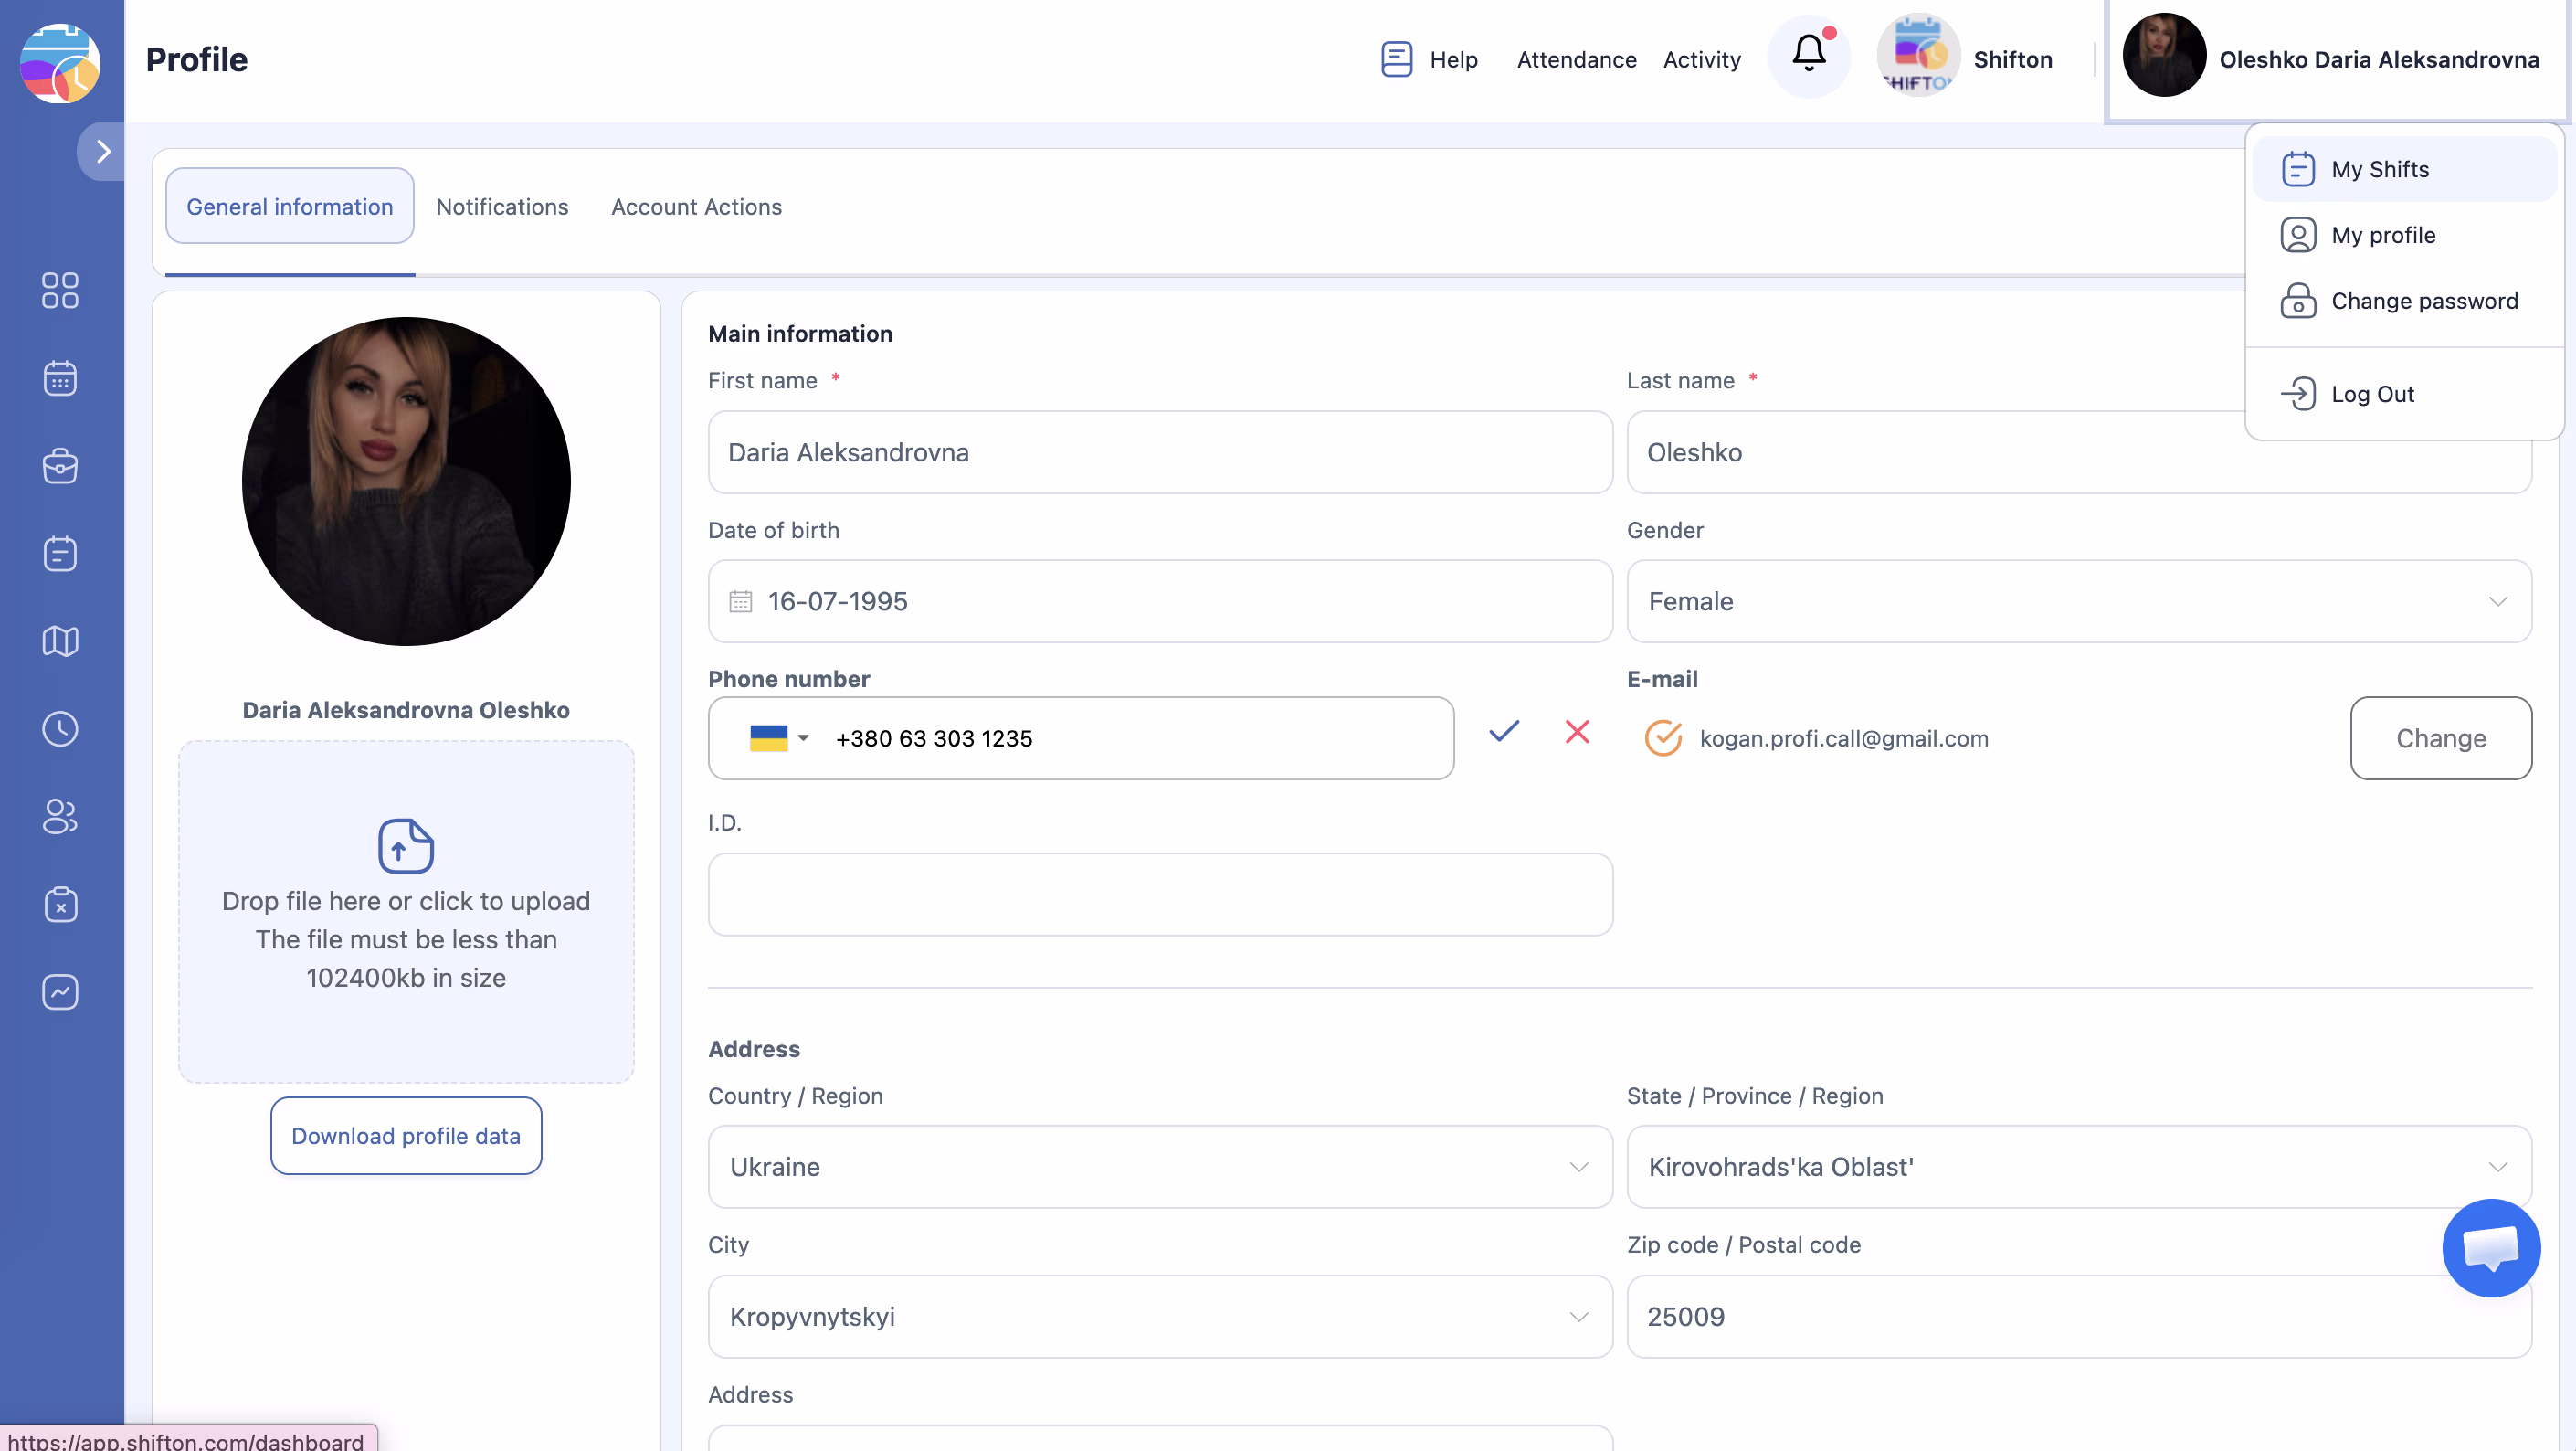
2.2 Add a Bank Card
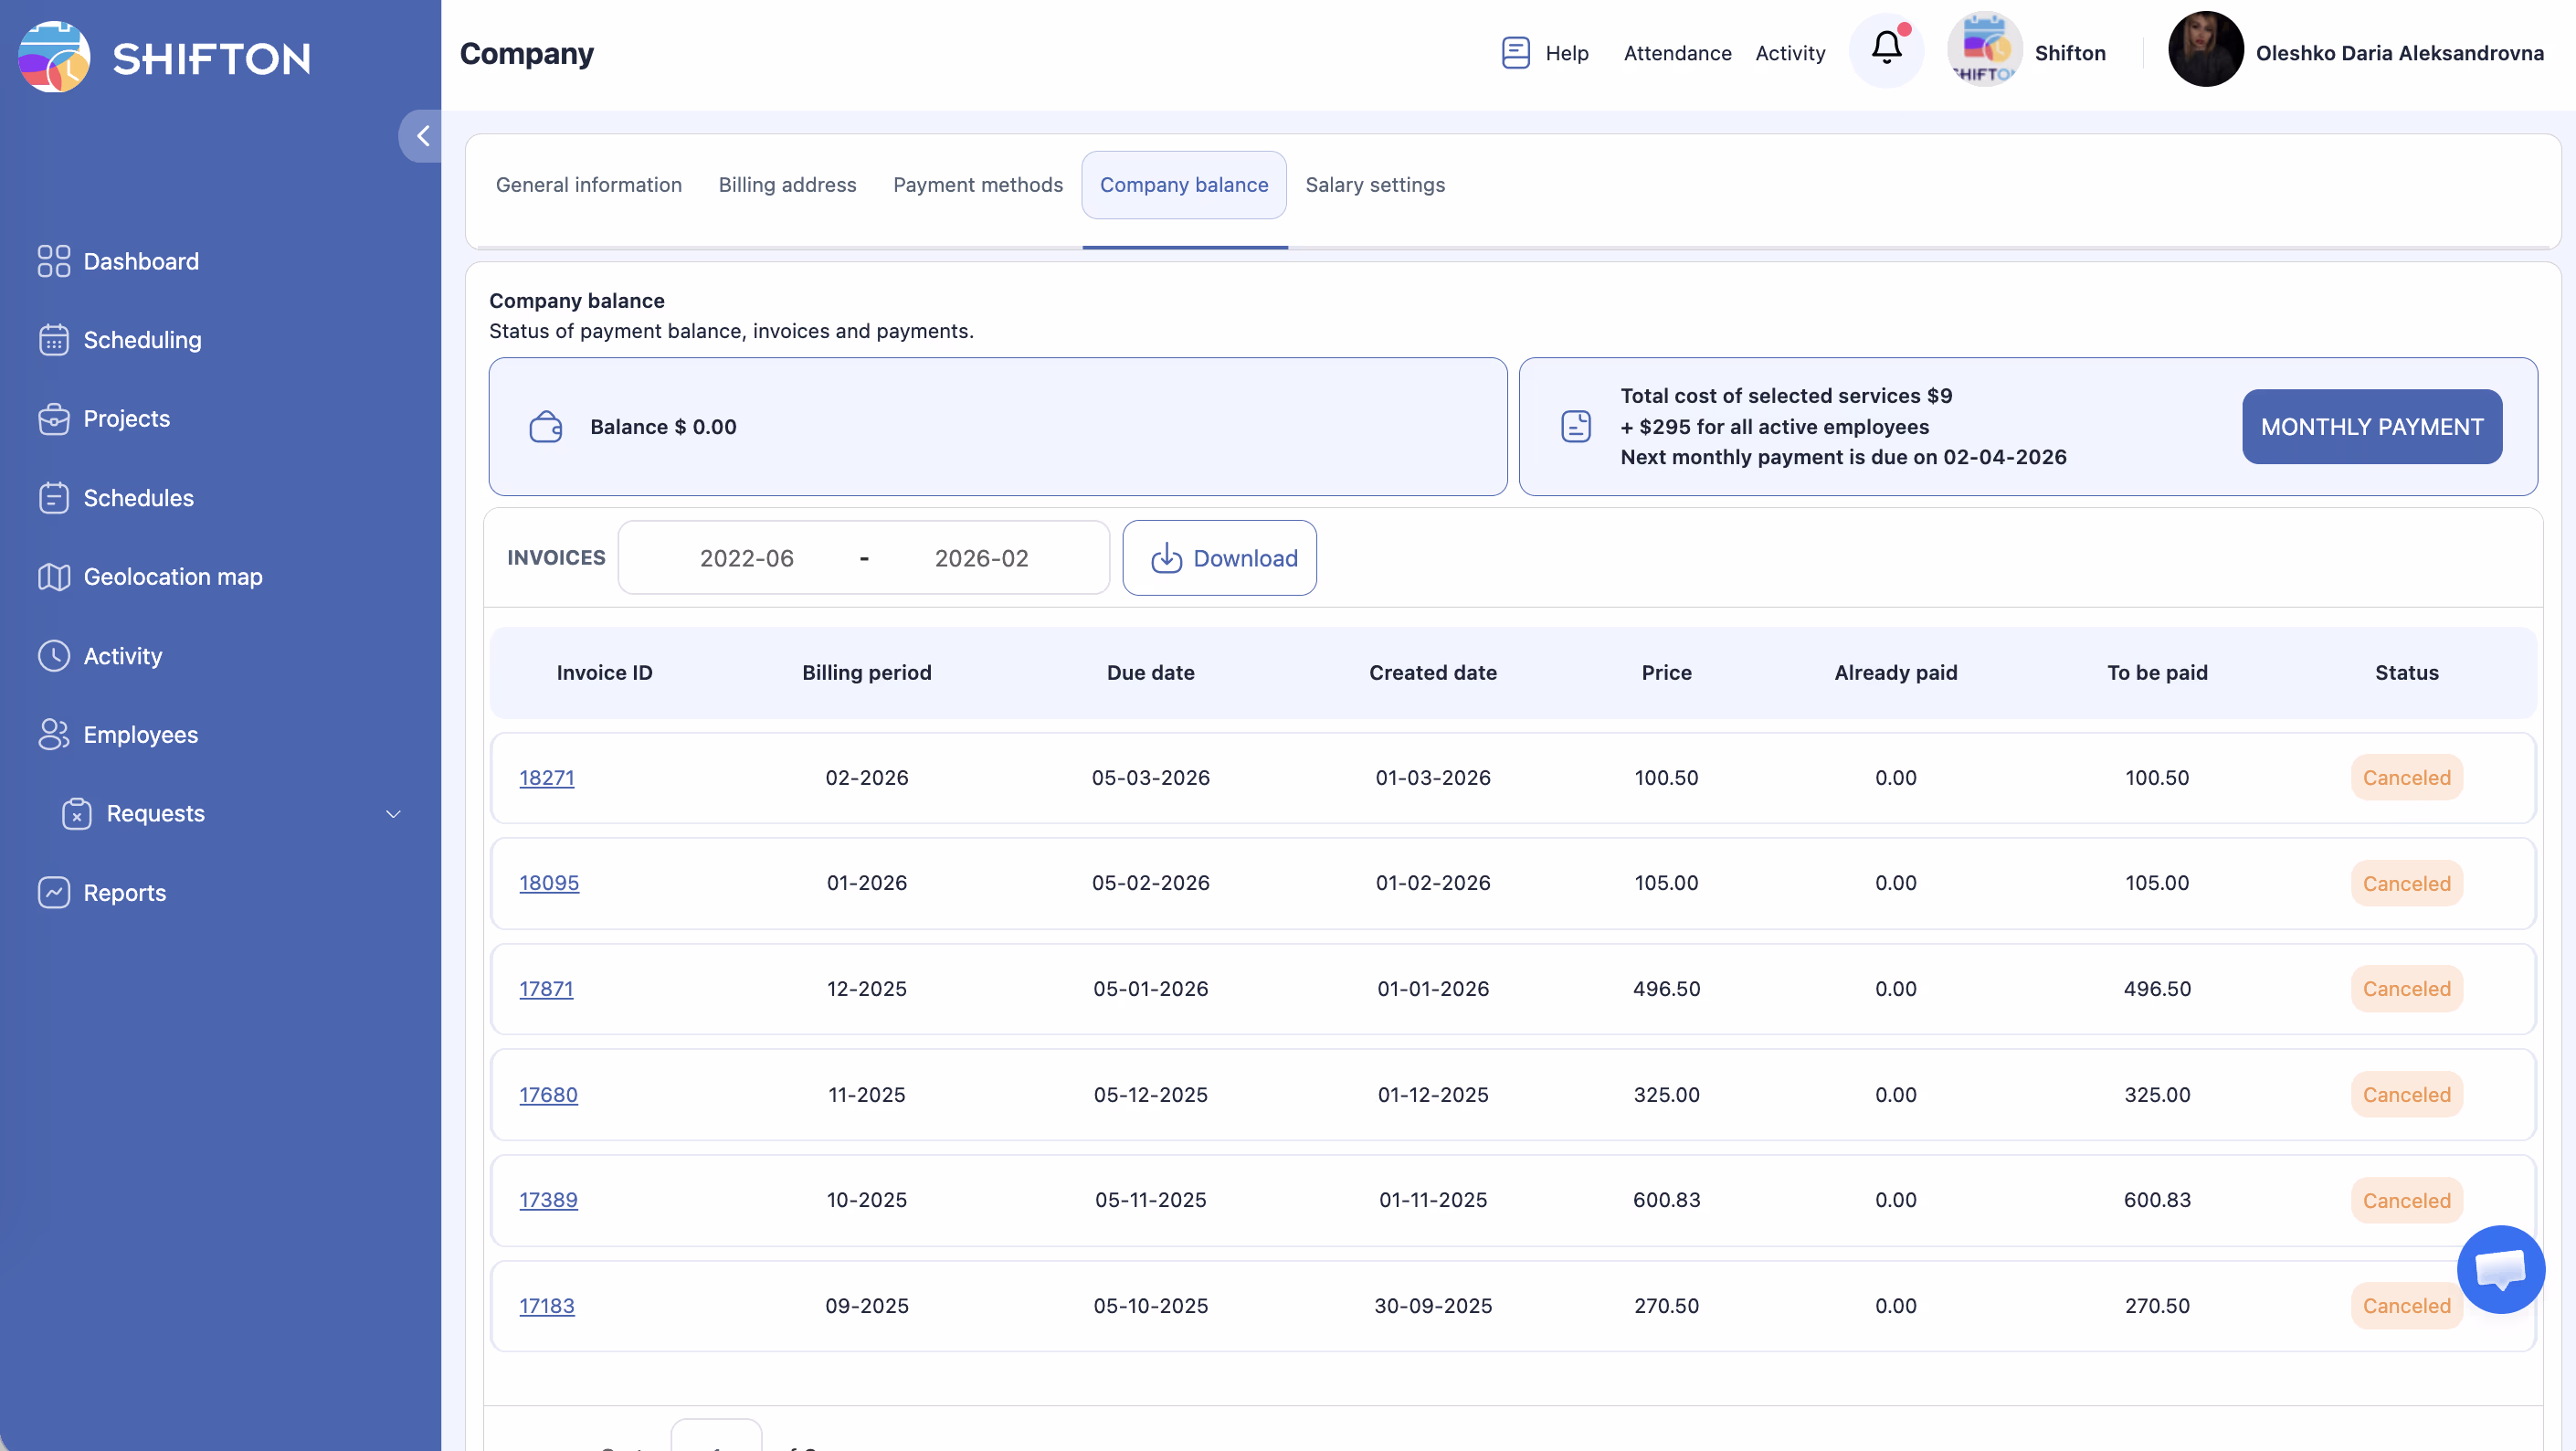
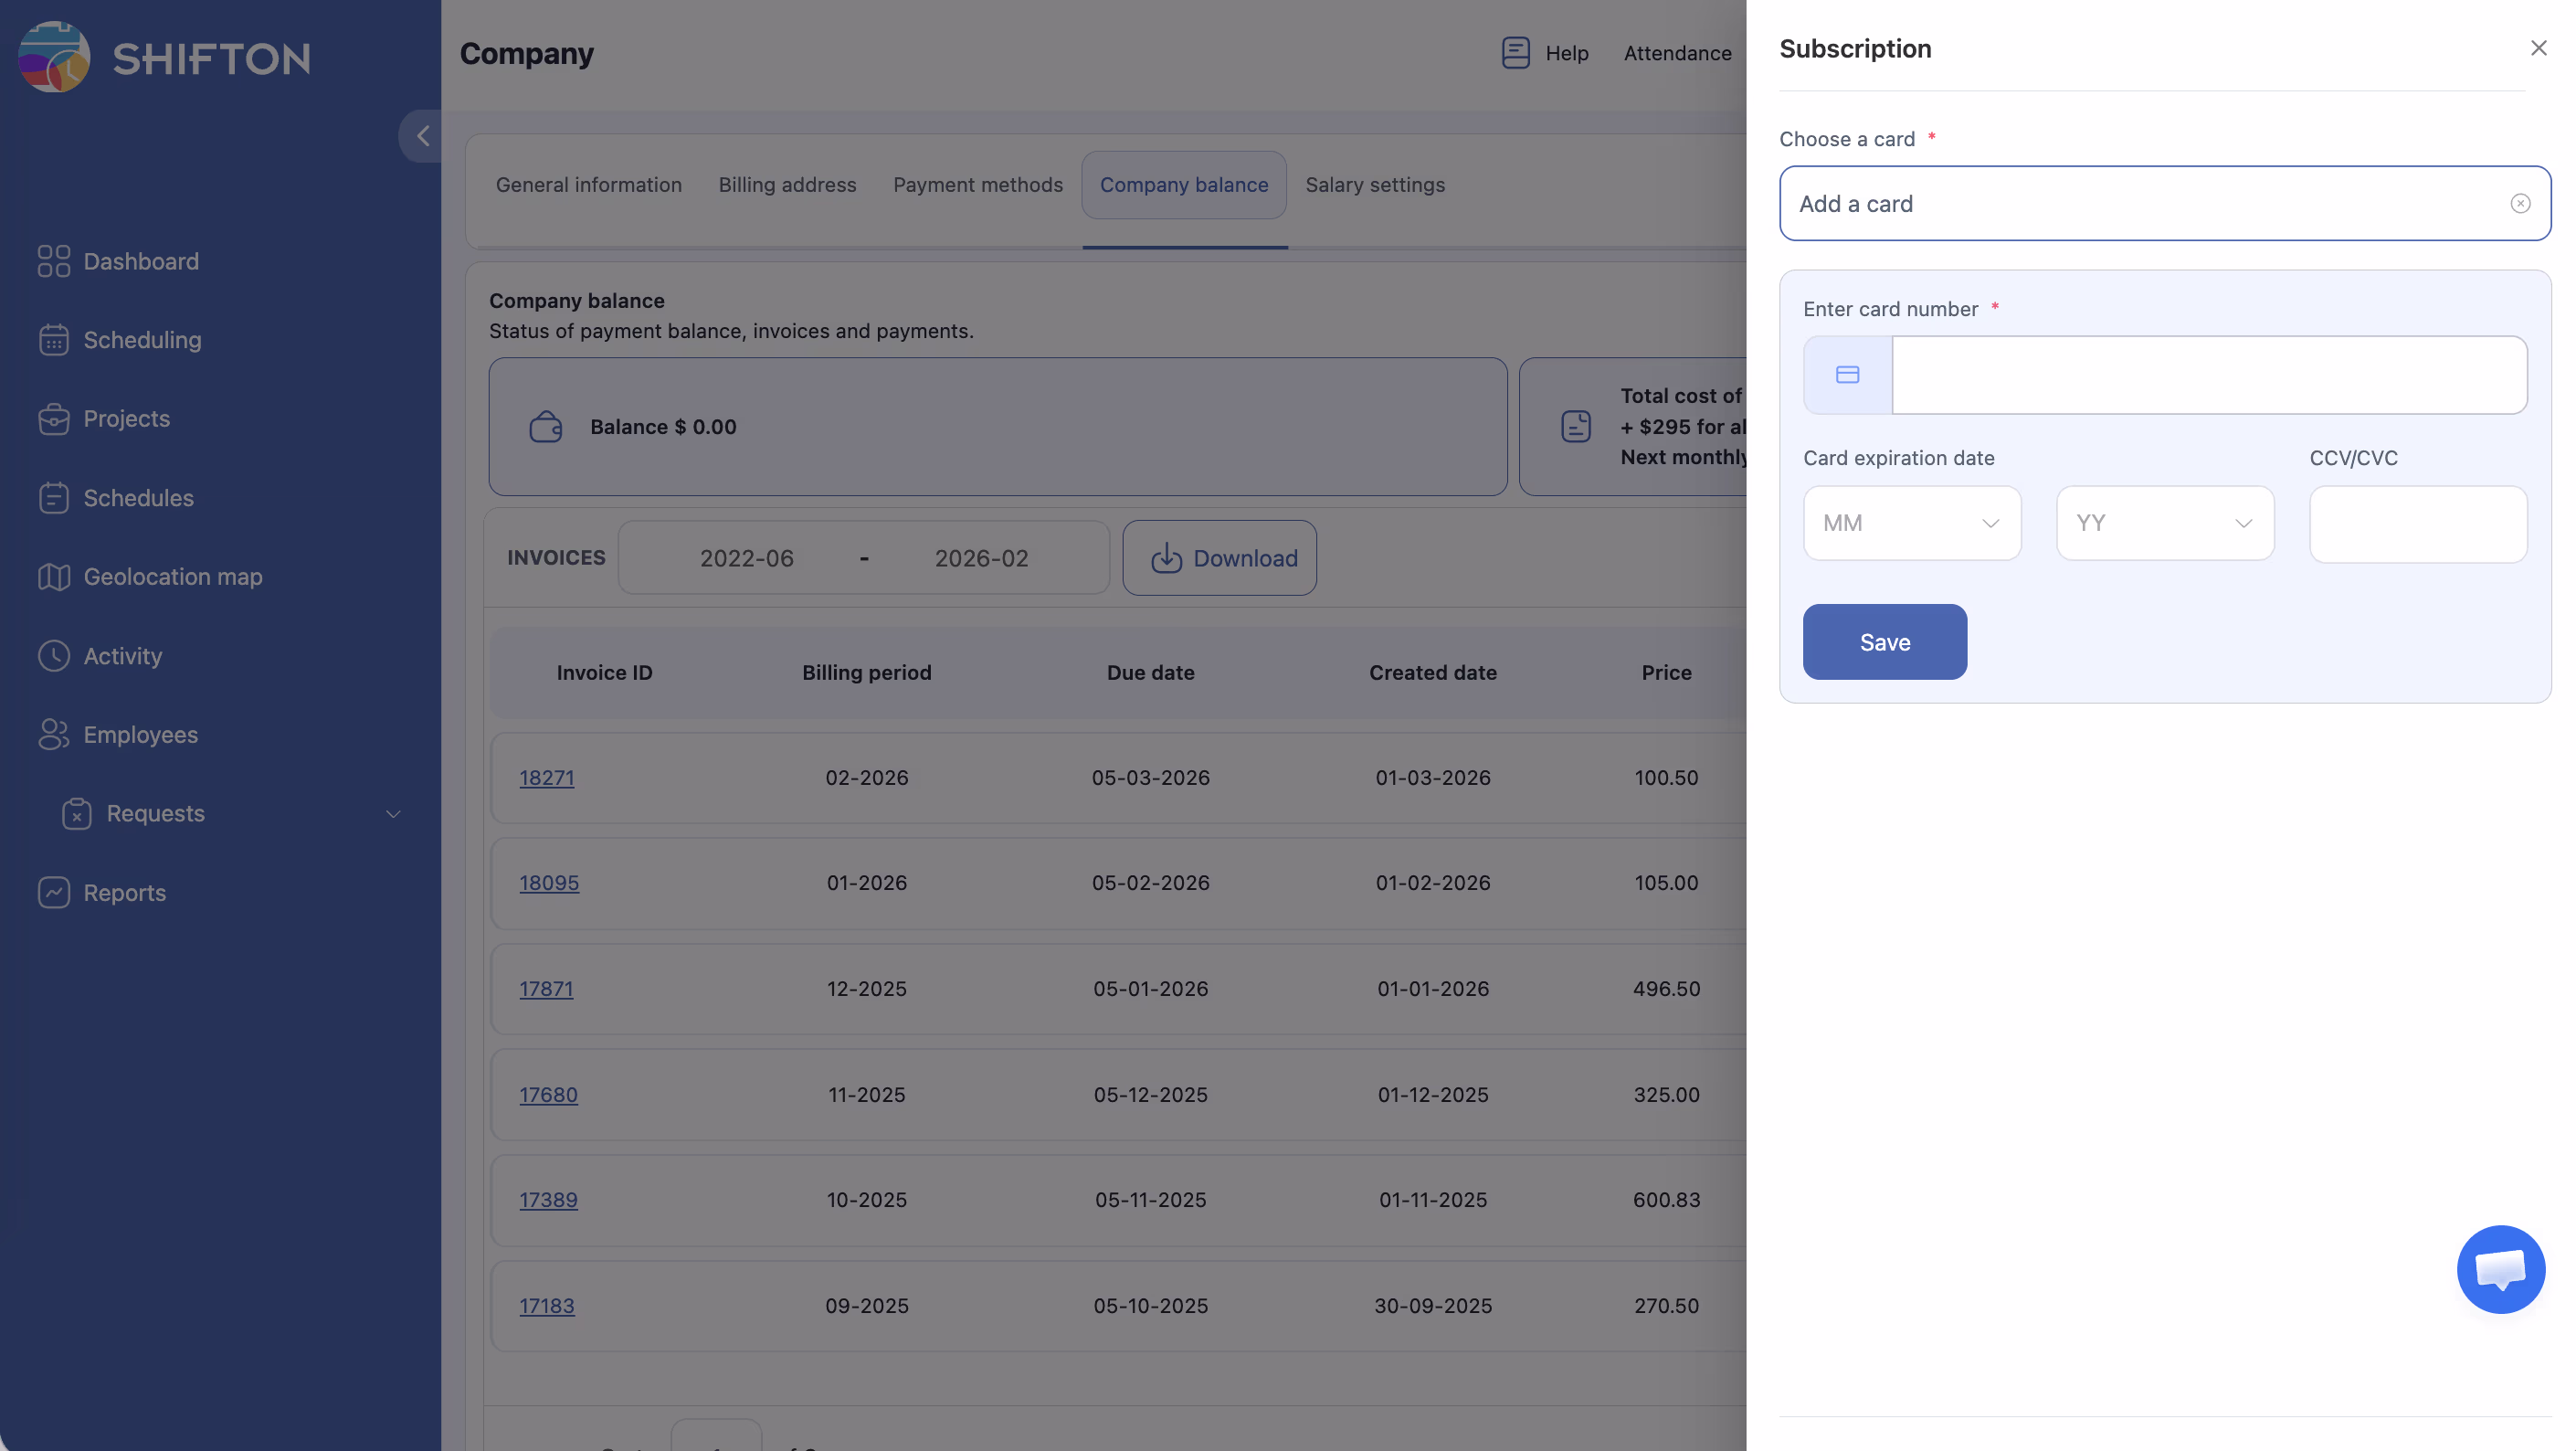
2.3 Subscribe
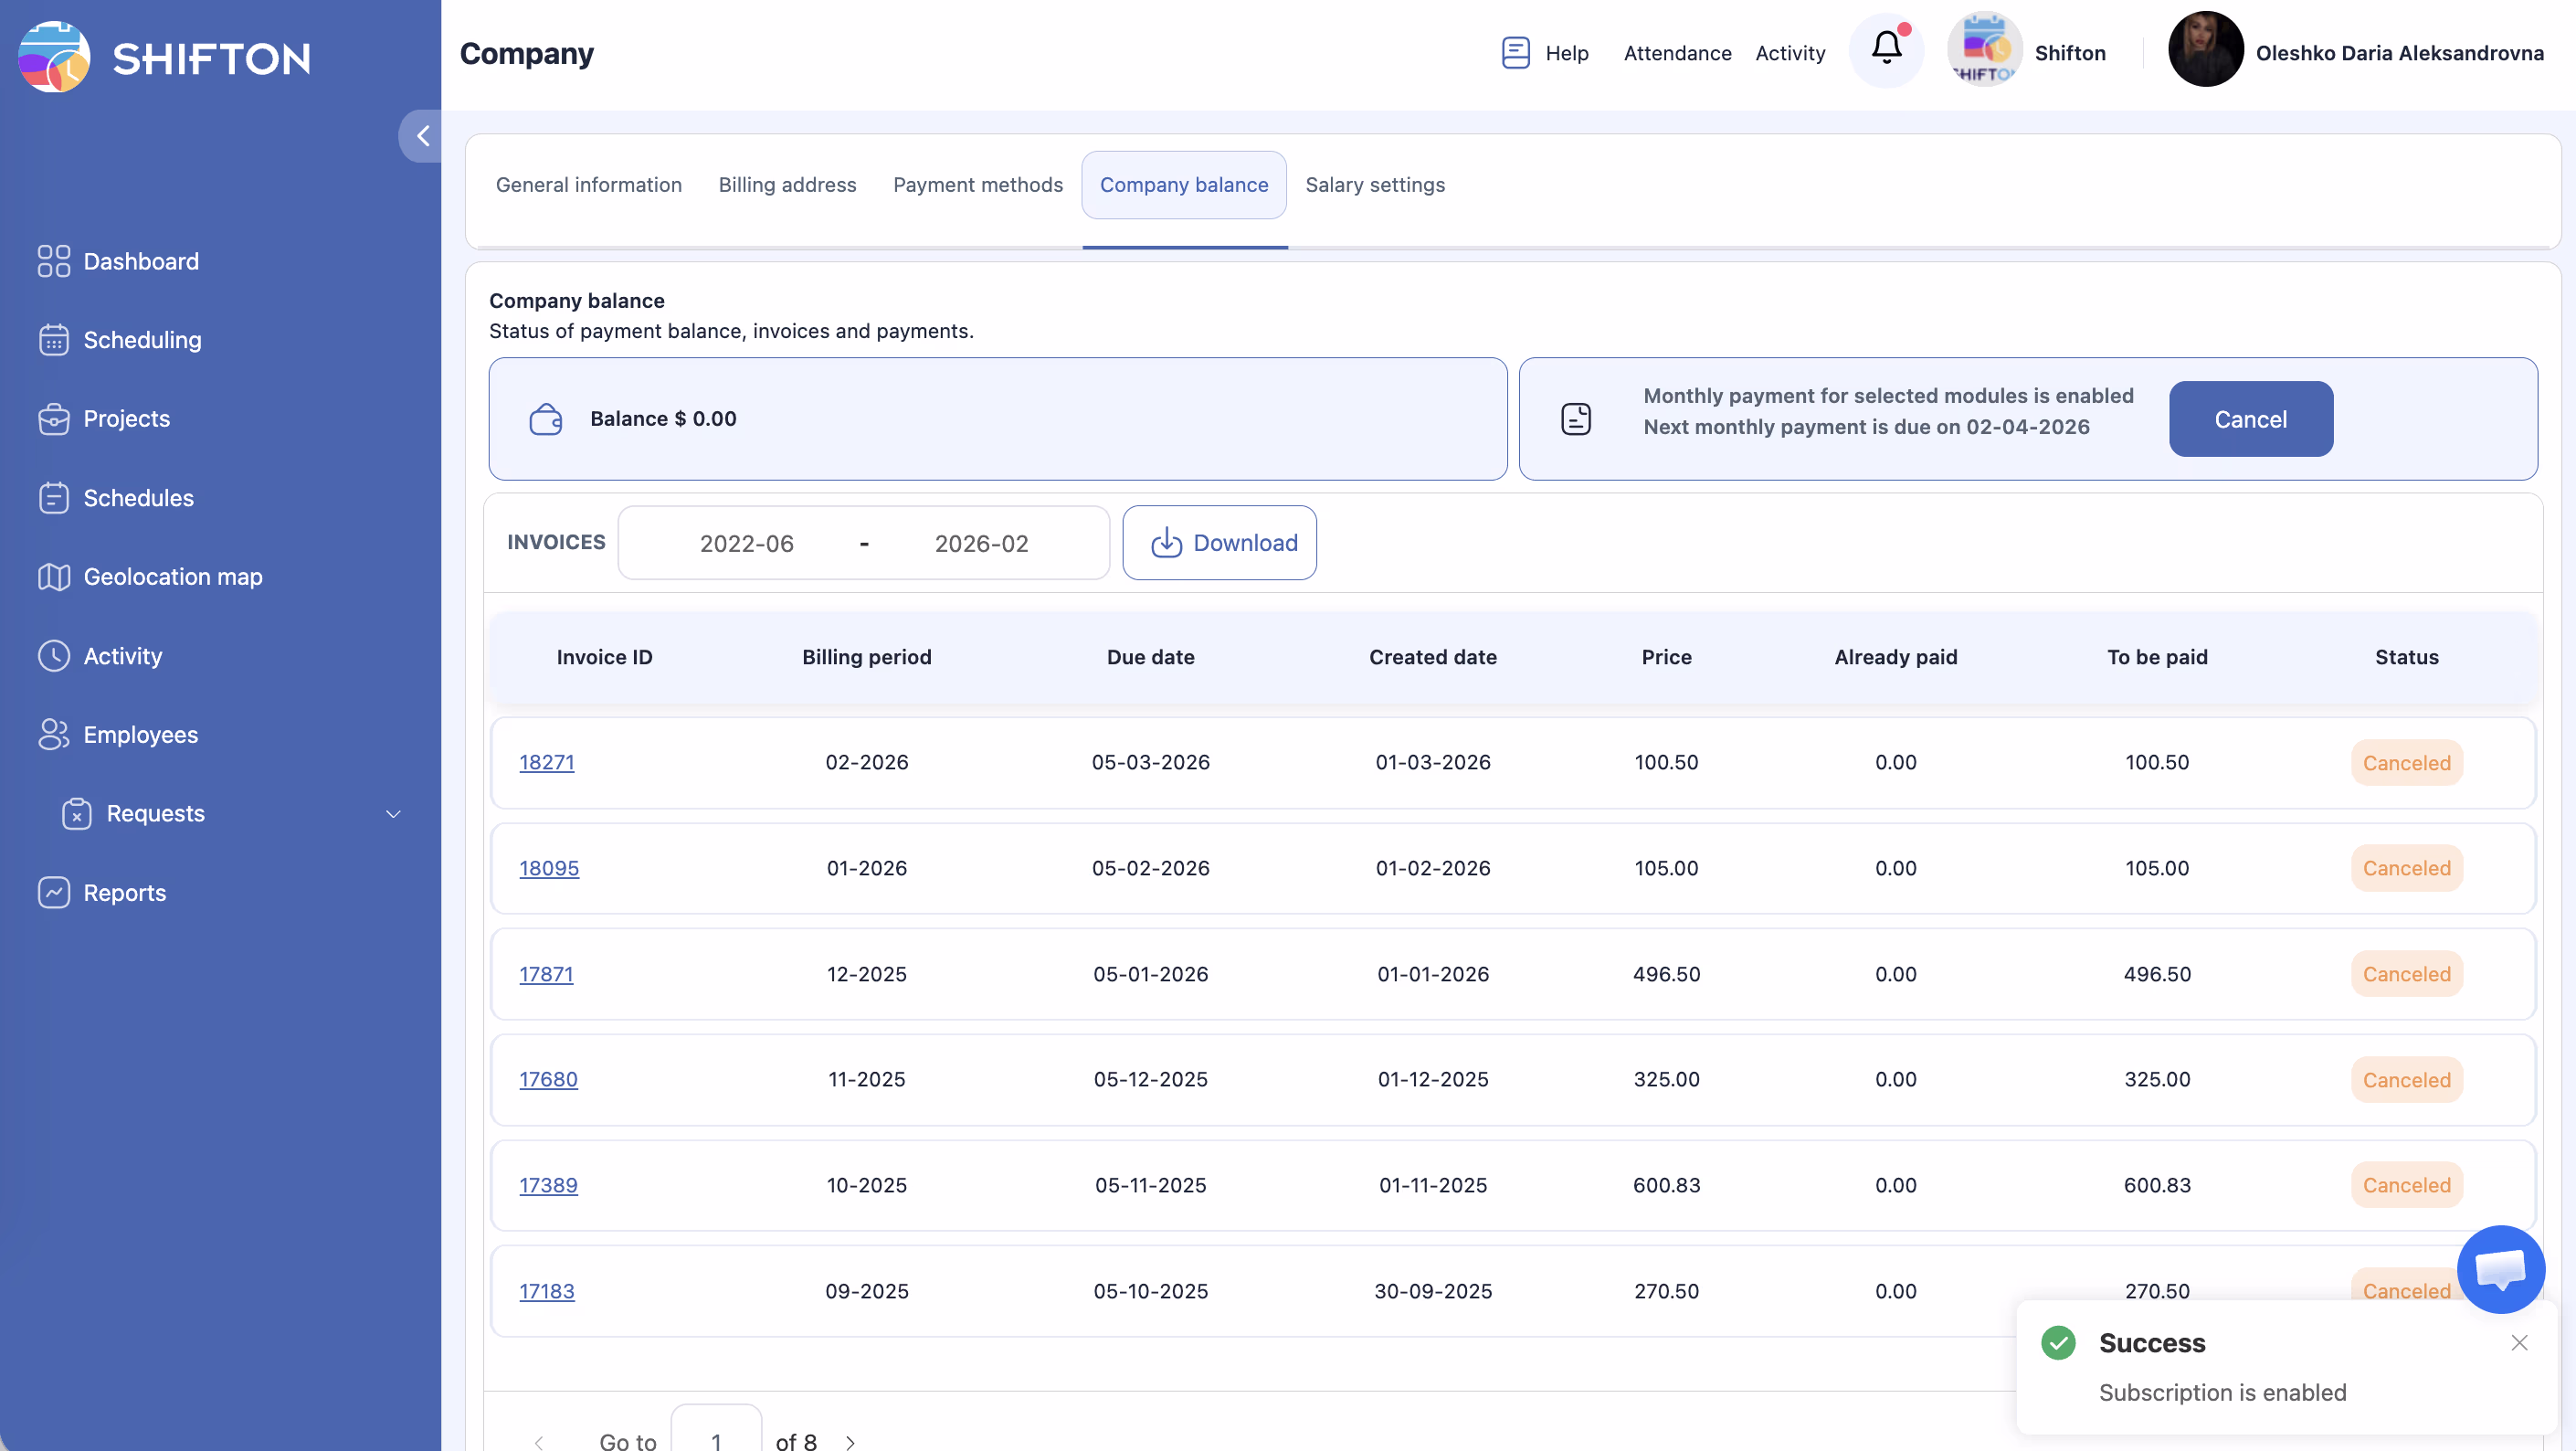
Without these steps, sending invitations to employees is not possible.
More details: Phone Verification. For payment methods and subscription, see Payment Methods and Company Balance and Invoices.
Step 3. Salary Settings
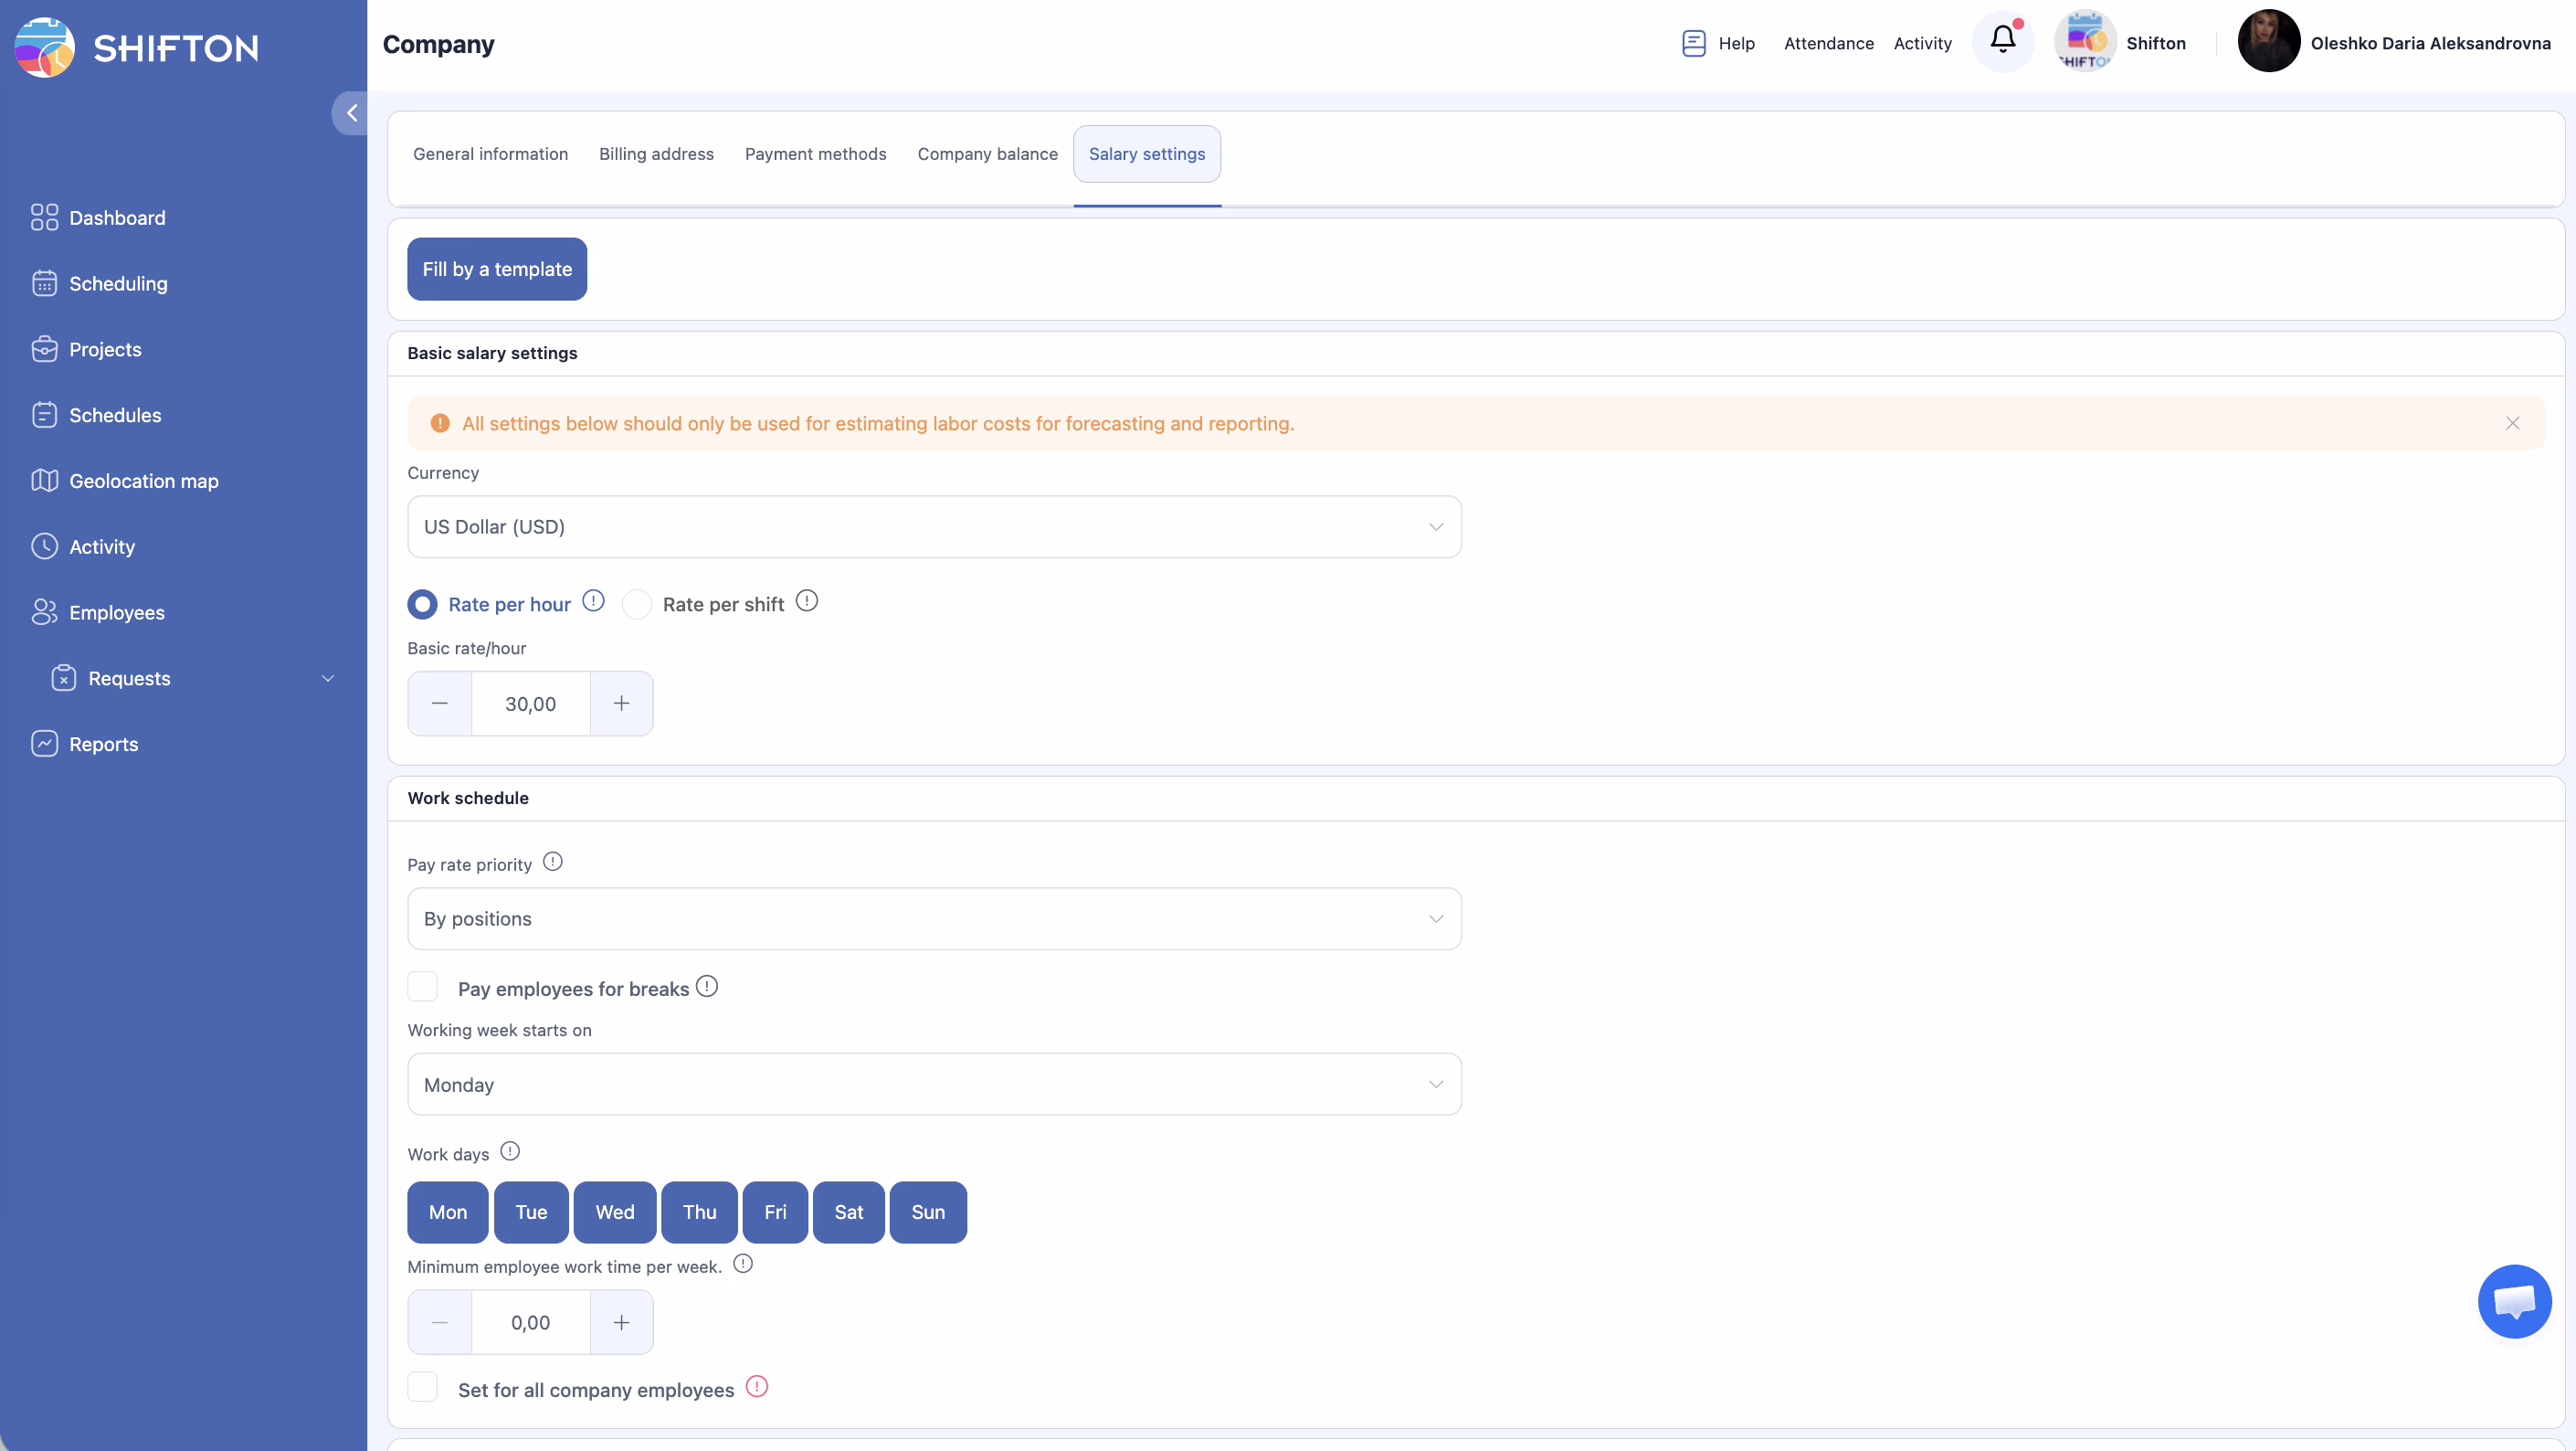
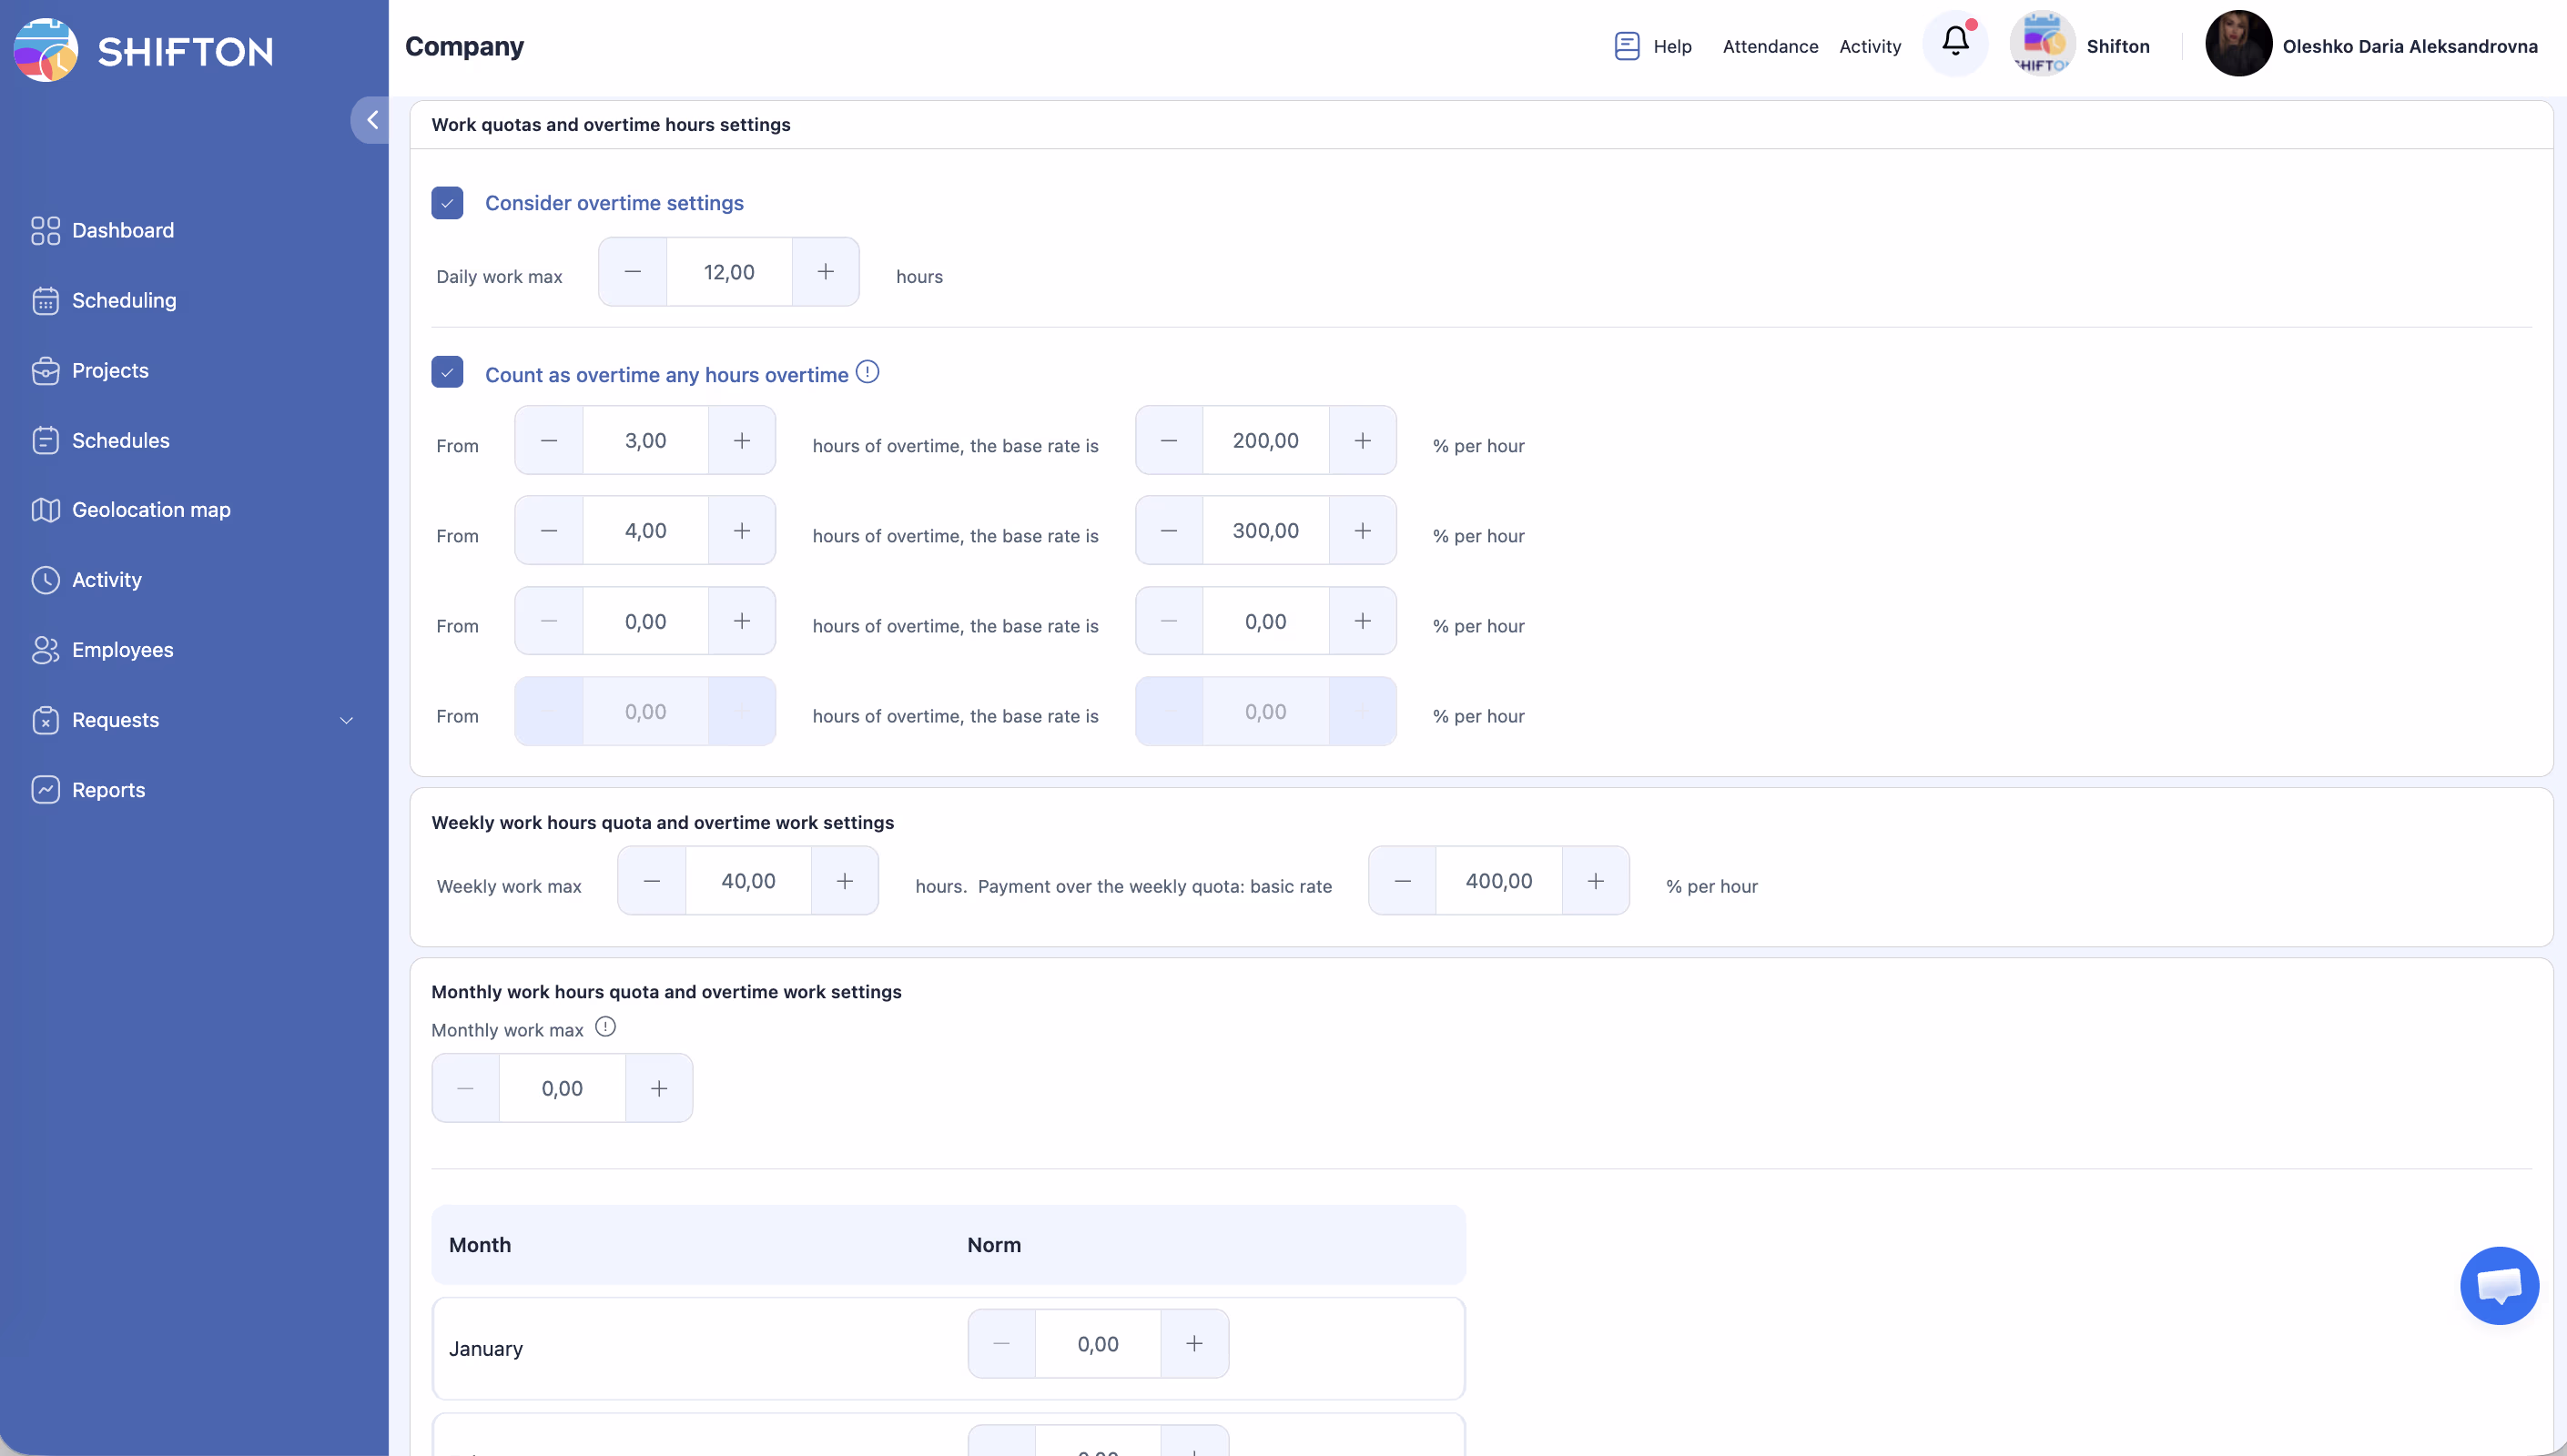
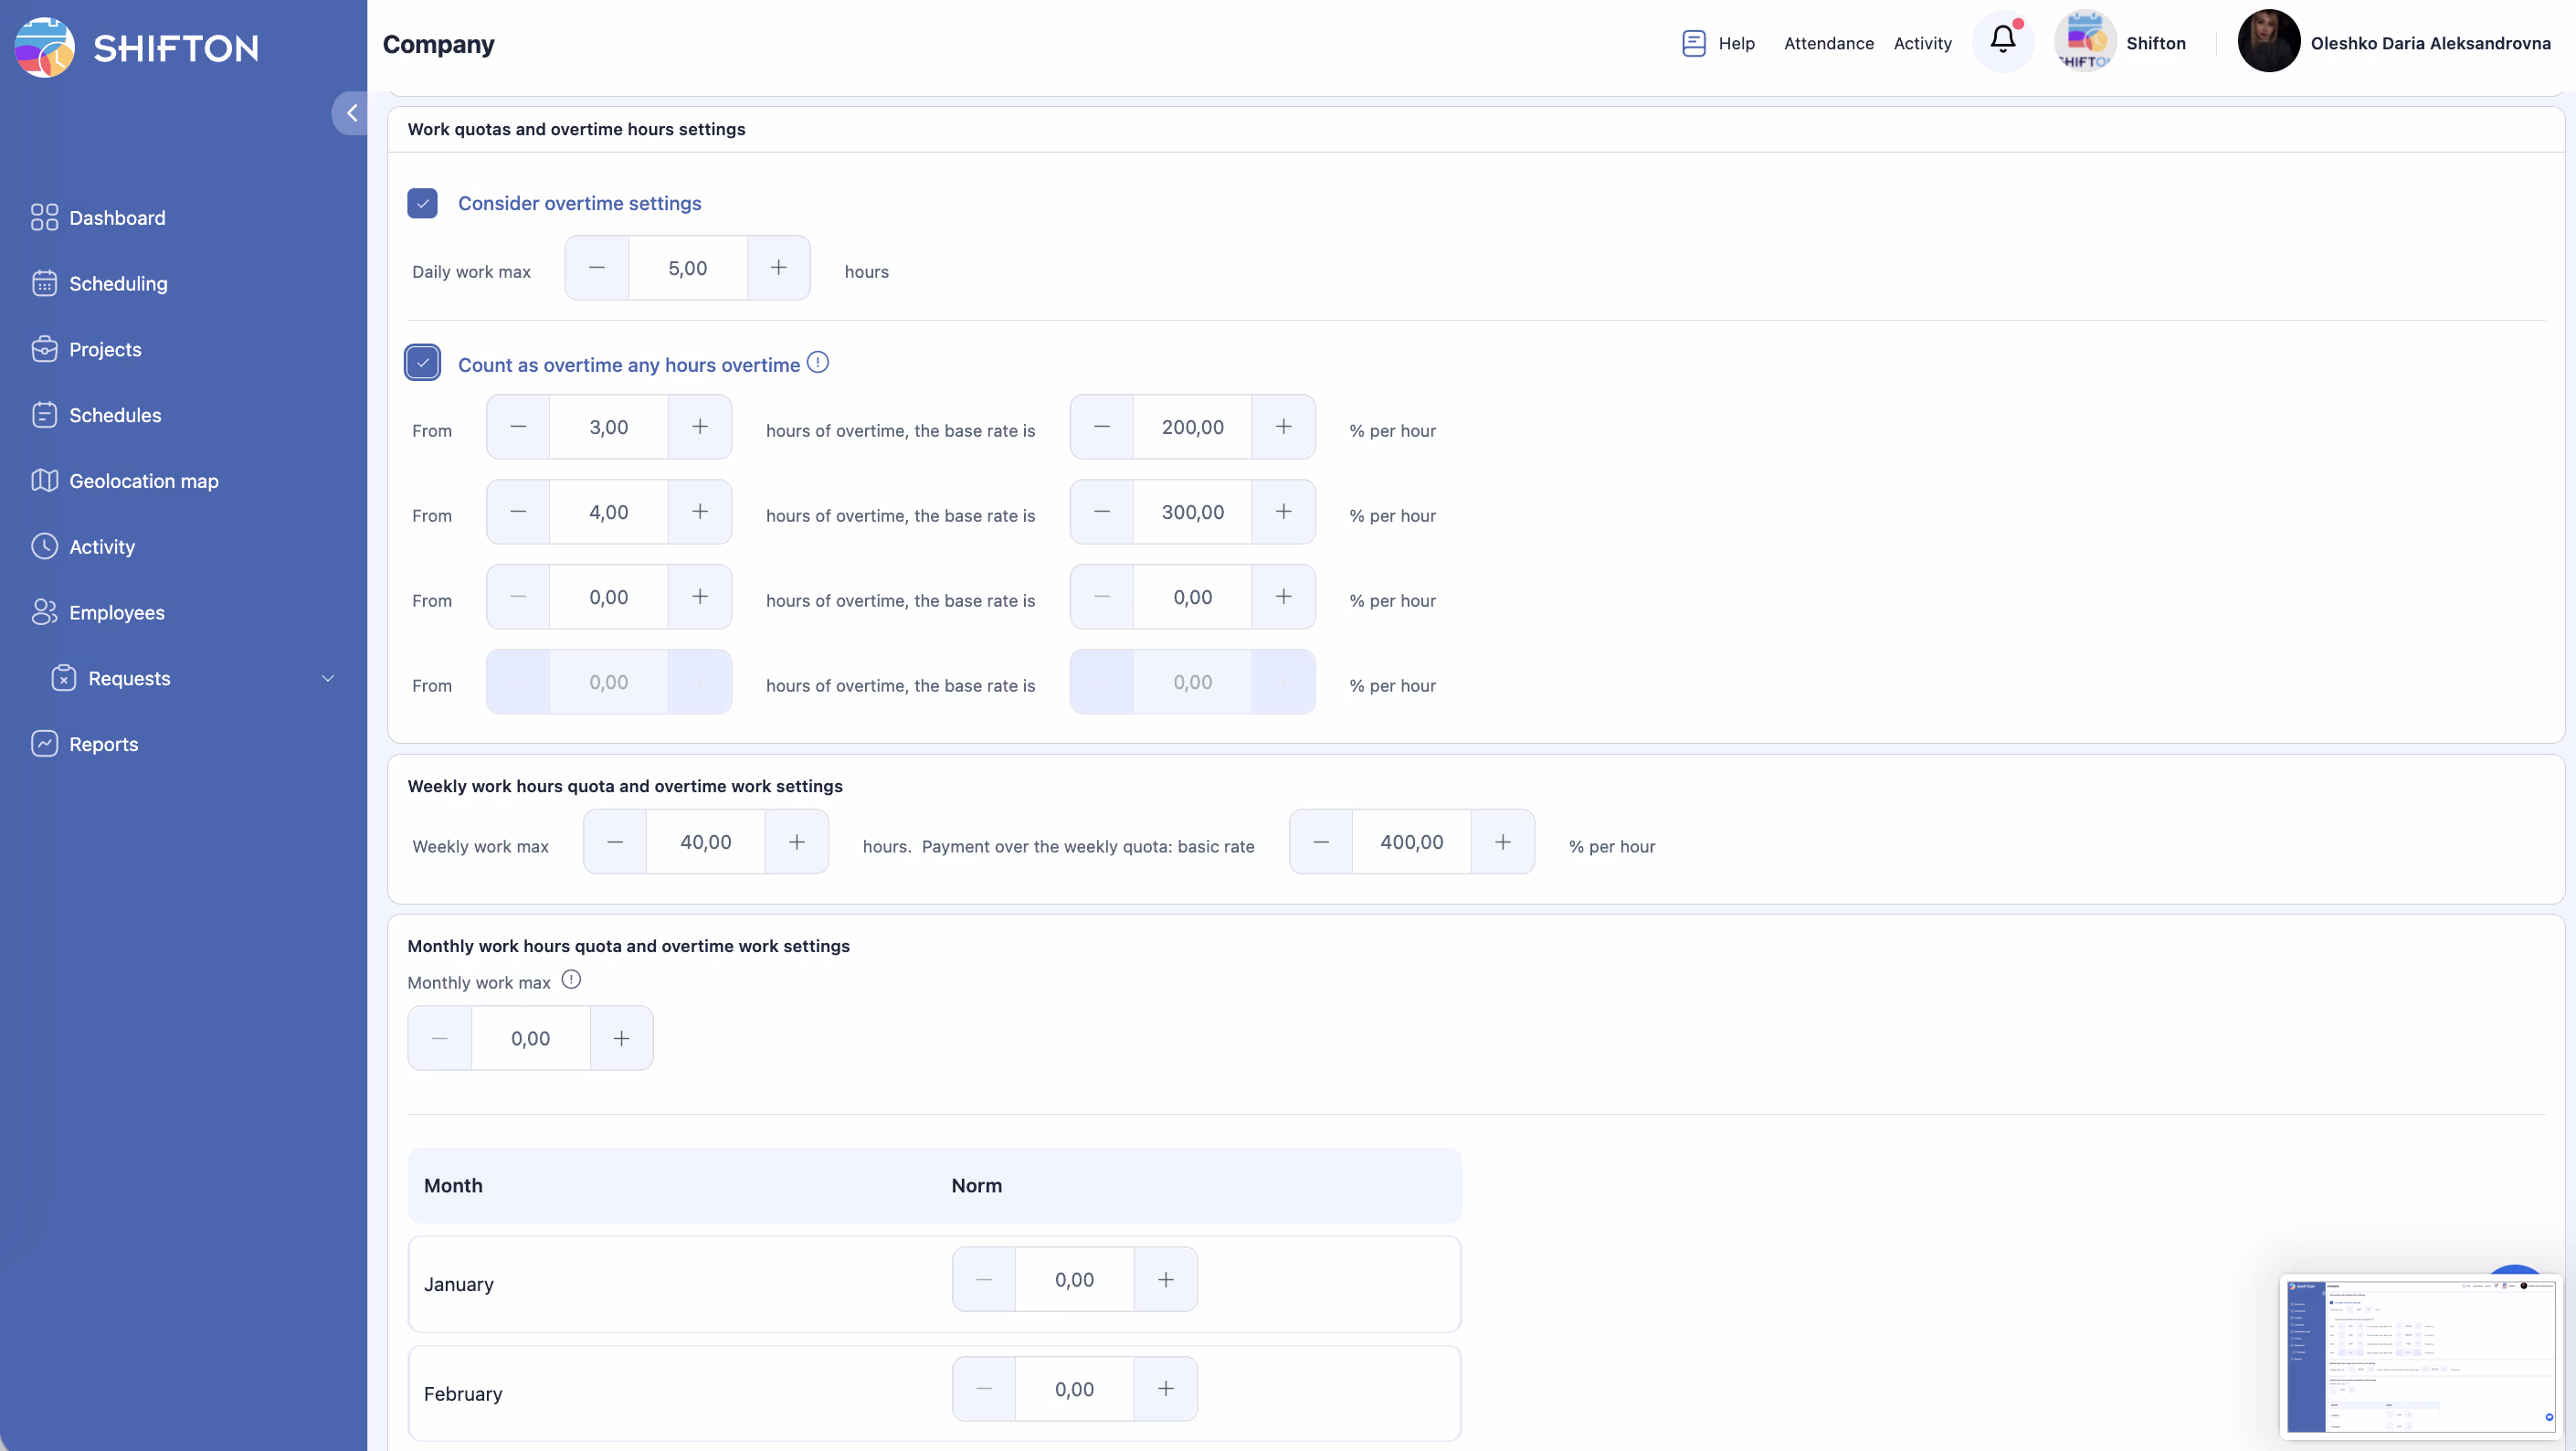

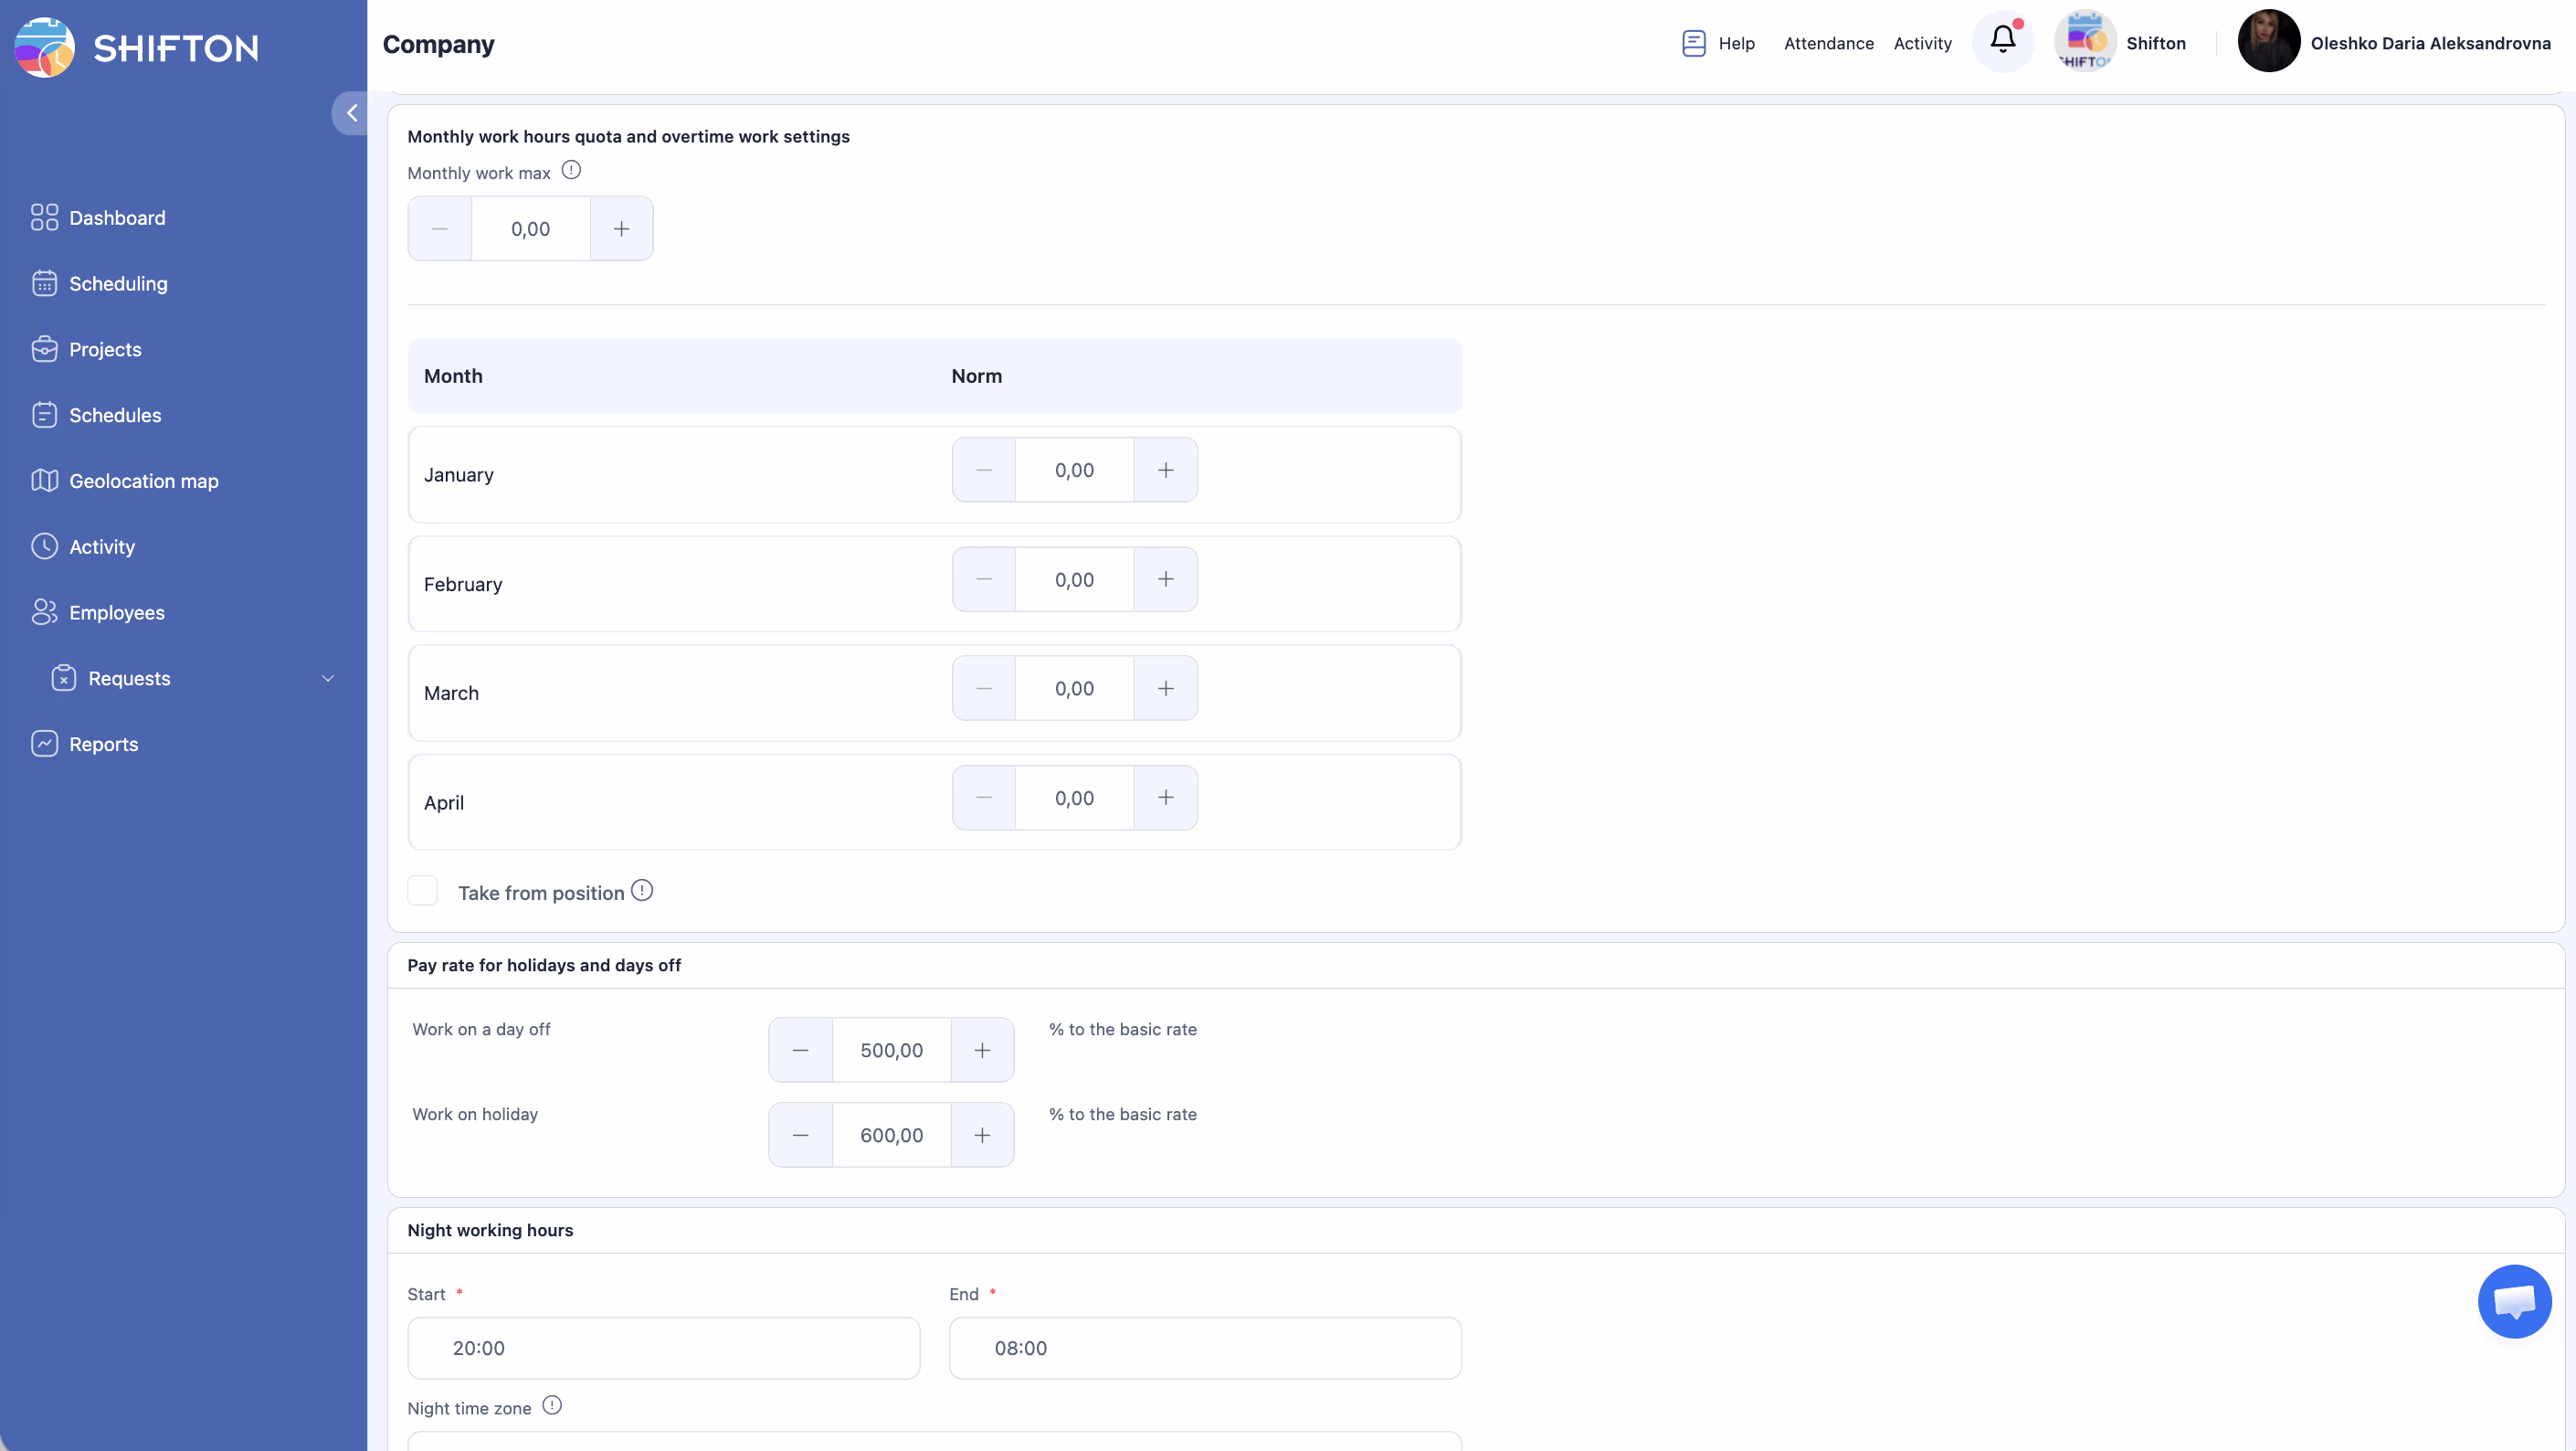
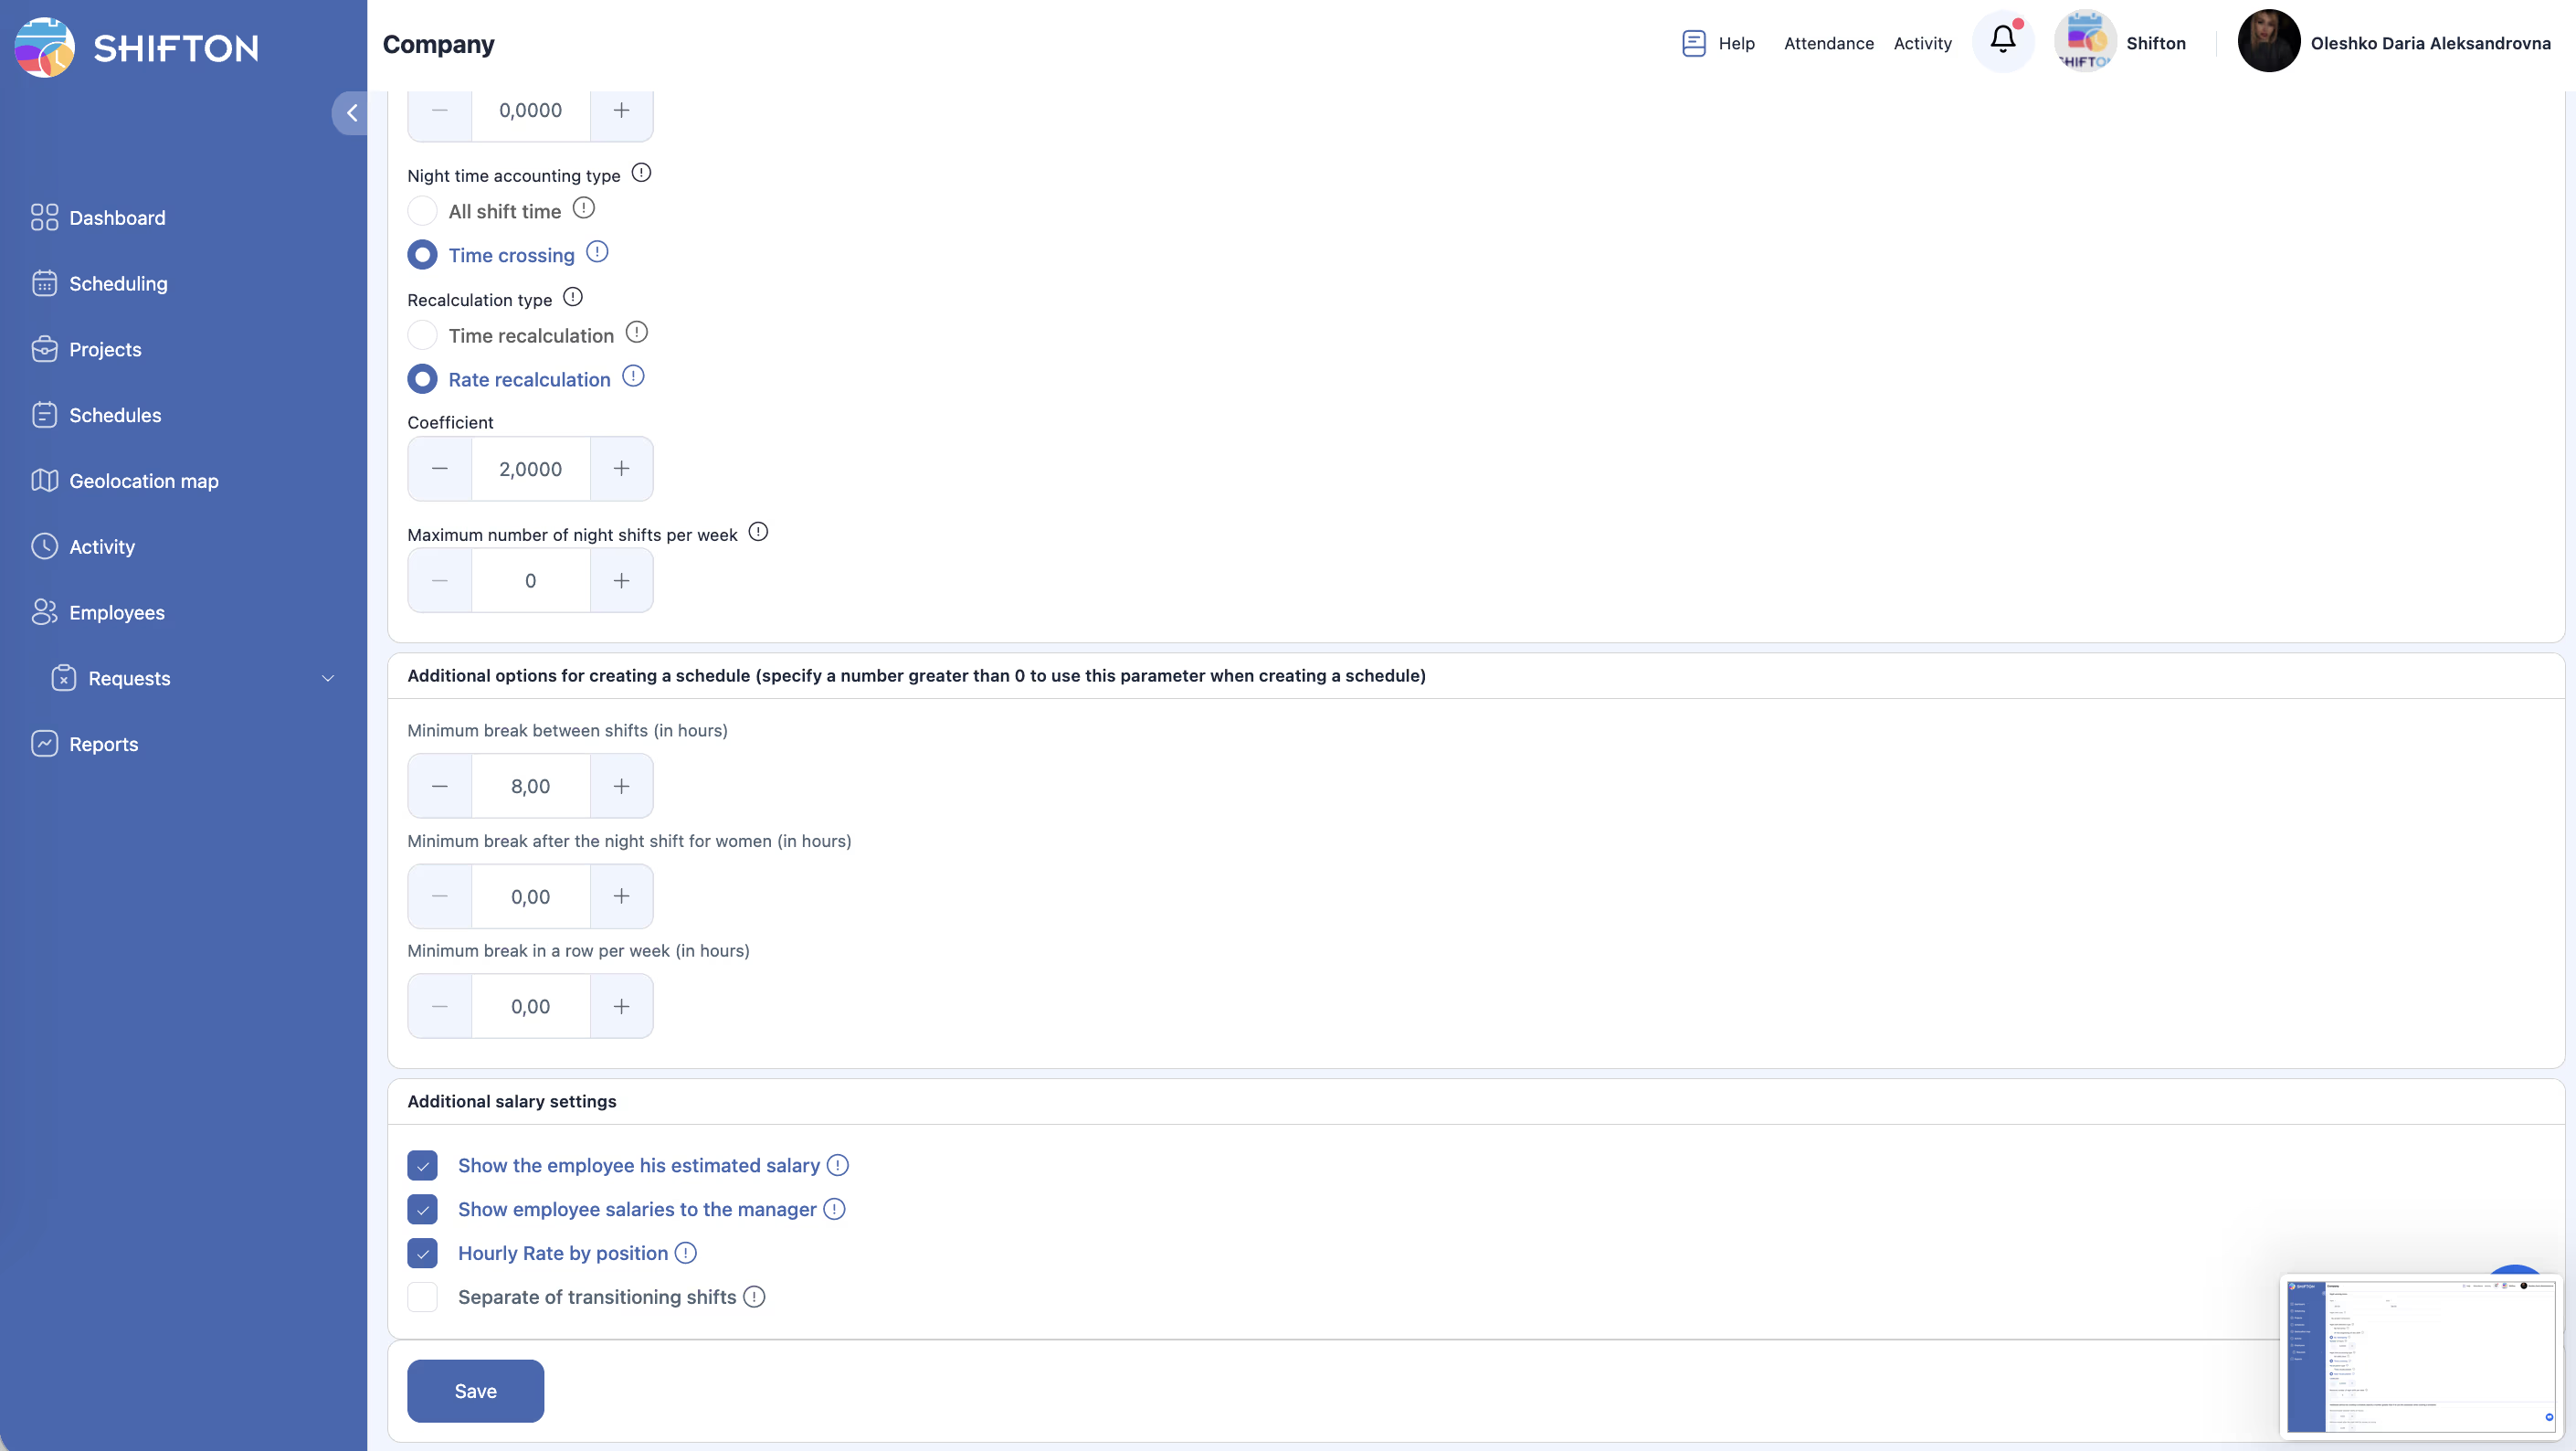
Configure payment parameters before creating schedules — they affect payroll calculations for all future shifts.
| Parameter | Description |
|---|---|
| Currency | Calculation currency (154 world currencies) |
| Rate mode | Rate per hour — payment for each hour worked. Rate per shift — fixed payment per shift |
| Daily / Weekly / Monthly quotas | Working time quotas after which overtime is calculated |
| Overtime tiers | Overtime rates (e.g., first 2 hours → 150%, then → 200%) |
| Night shift coefficients | Coefficients for night shifts |
| Holiday rates | Rates for working on holidays |
| Pay rate priority | By positions — rate from position. By location — rate from the shift location |
More details: Salary Settings. For the cascading rate hierarchy, see Pay Rate Hierarchy.
Step 4. Enabling Modules
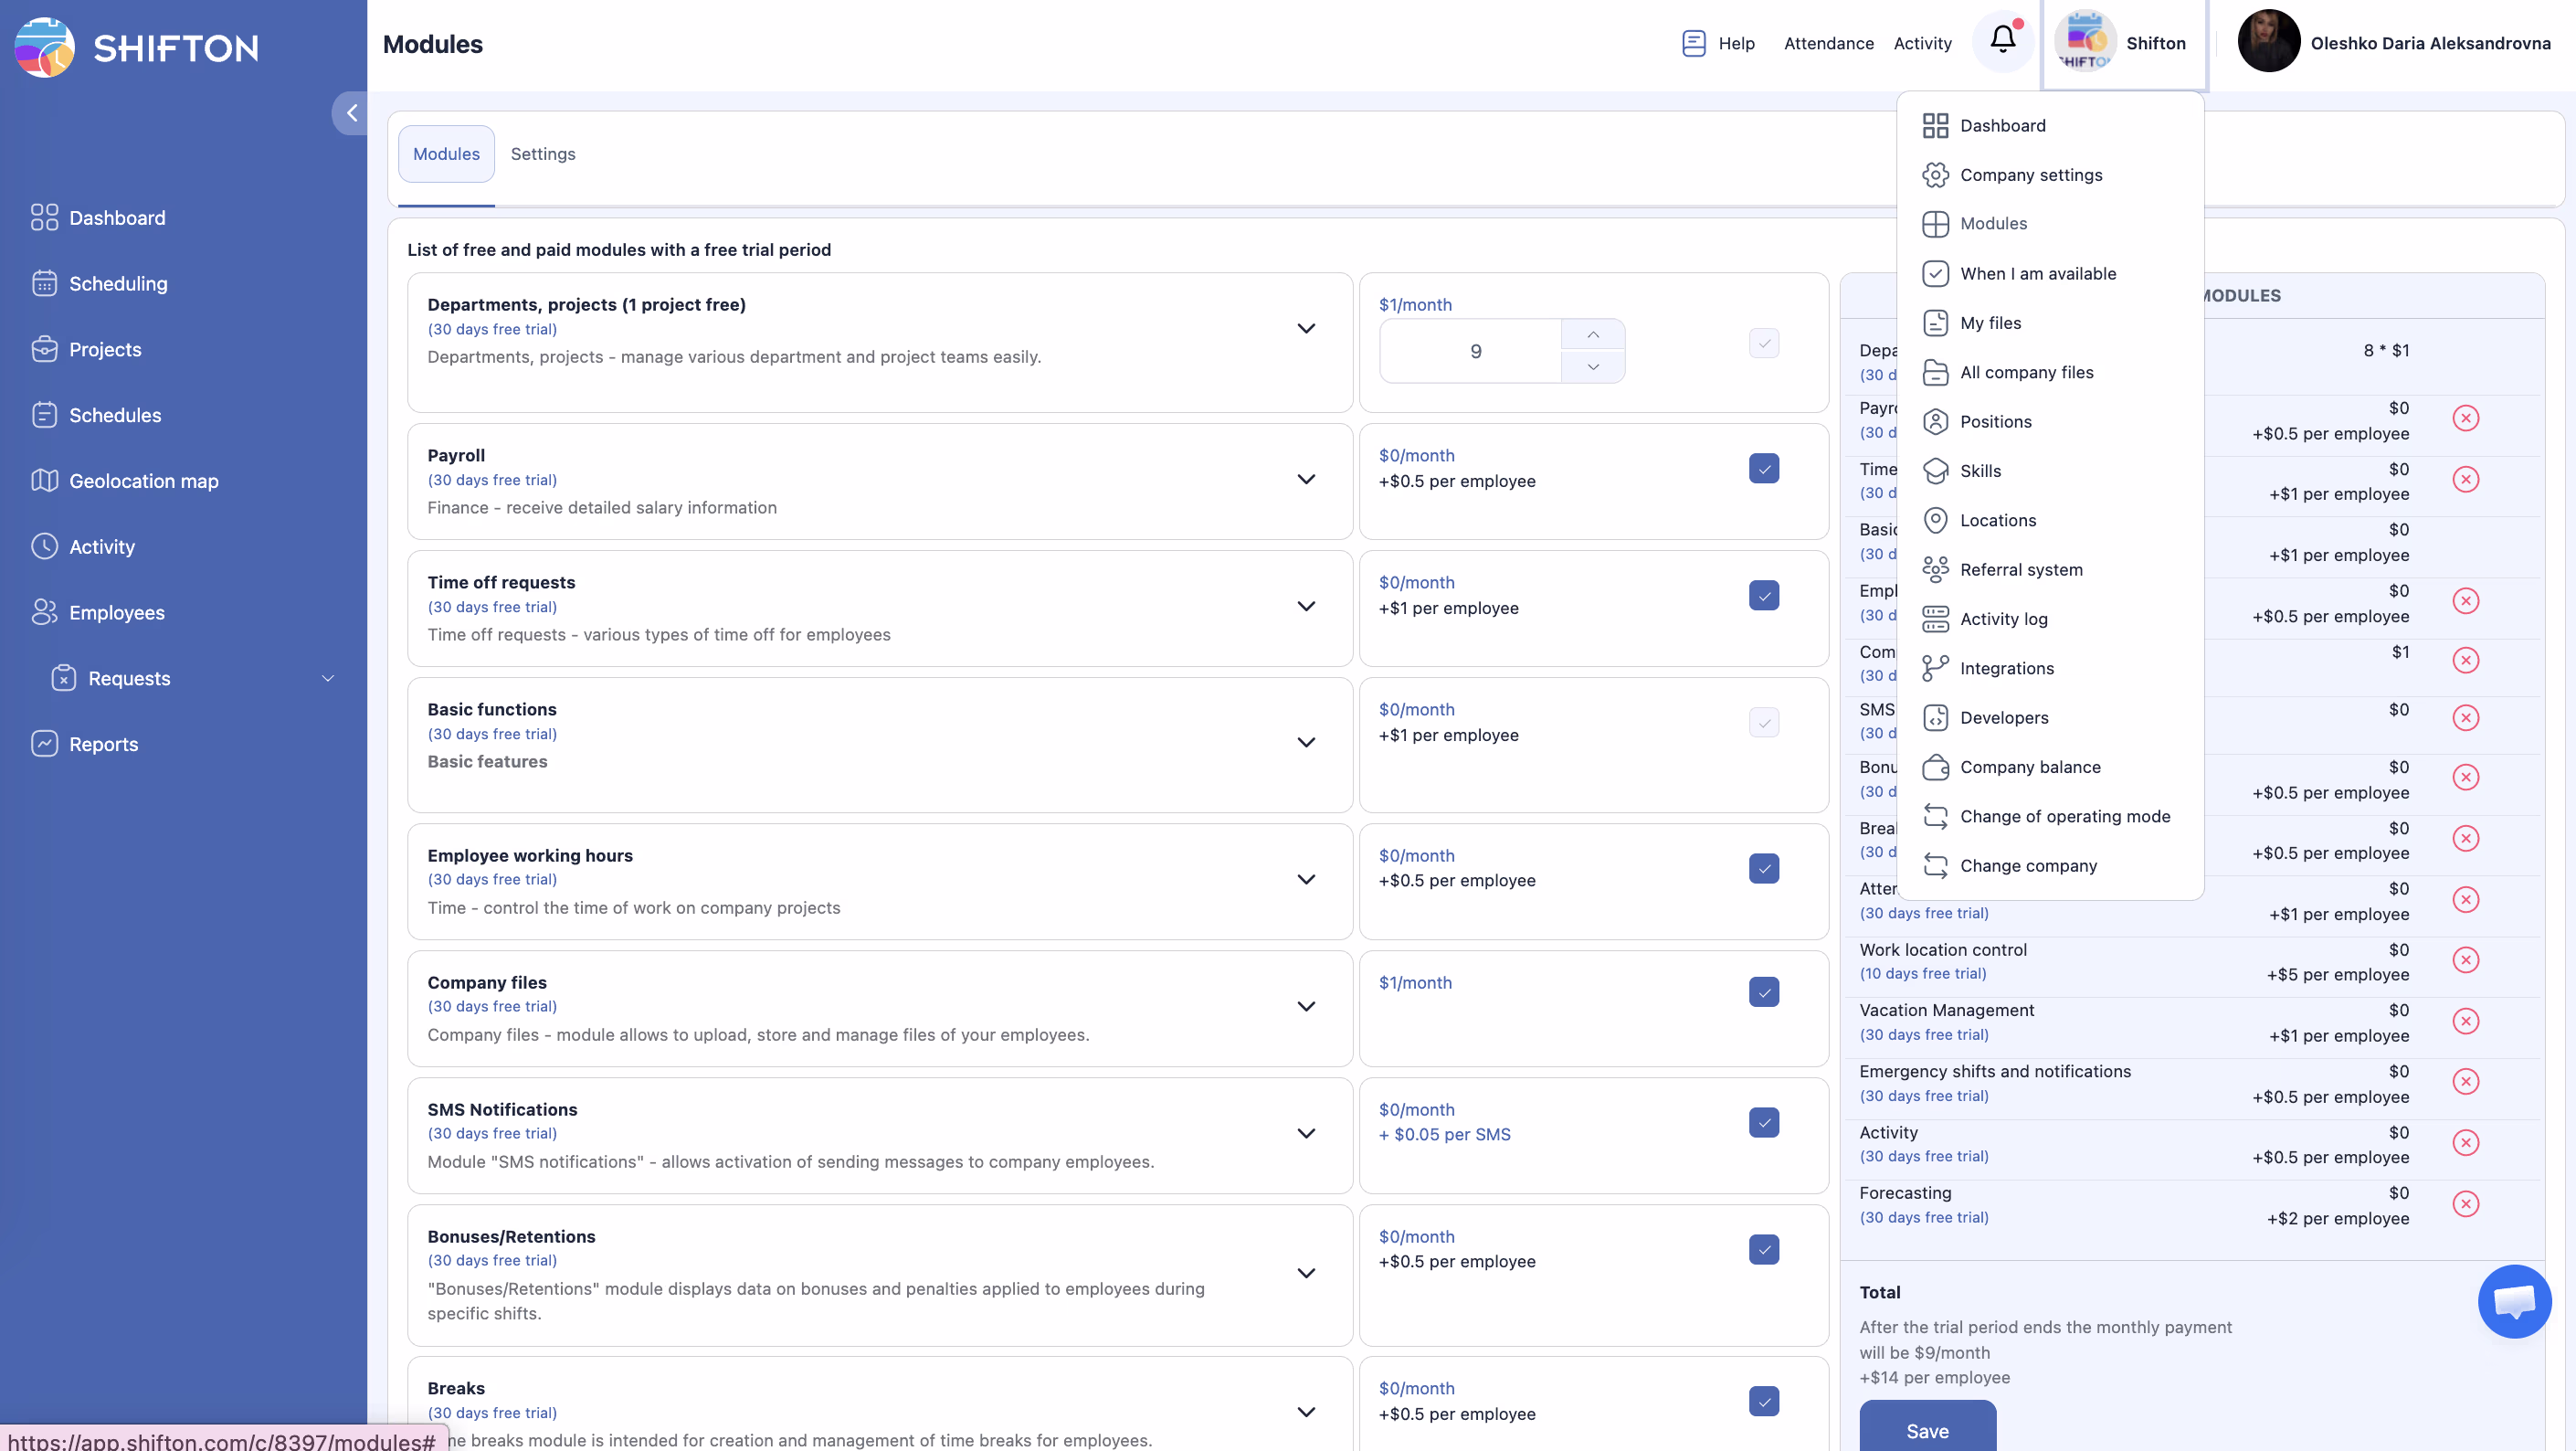
Shifton uses a modular system — enable only the features you need.
Recommended Modules for Getting Started
| Module | Purpose | Price |
|---|---|---|
| Departments and Projects | Multiple projects/departments (1 free) | $1/mo per additional project |
| Payroll | Payroll calculation and reports | $0.50/employee/mo |
| Time-Off Requests | Time-off/vacation requests | $1/employee/mo |
| Attendance | Clock-in/Clock-out tracking | $1/employee/mo |
| Breaks | Break tracking | $0.50/employee/mo |
All modules have a 30-day free trial (Work Location Control — only 10 days).
More details: Module System Overview
Step 5. Module Configuration
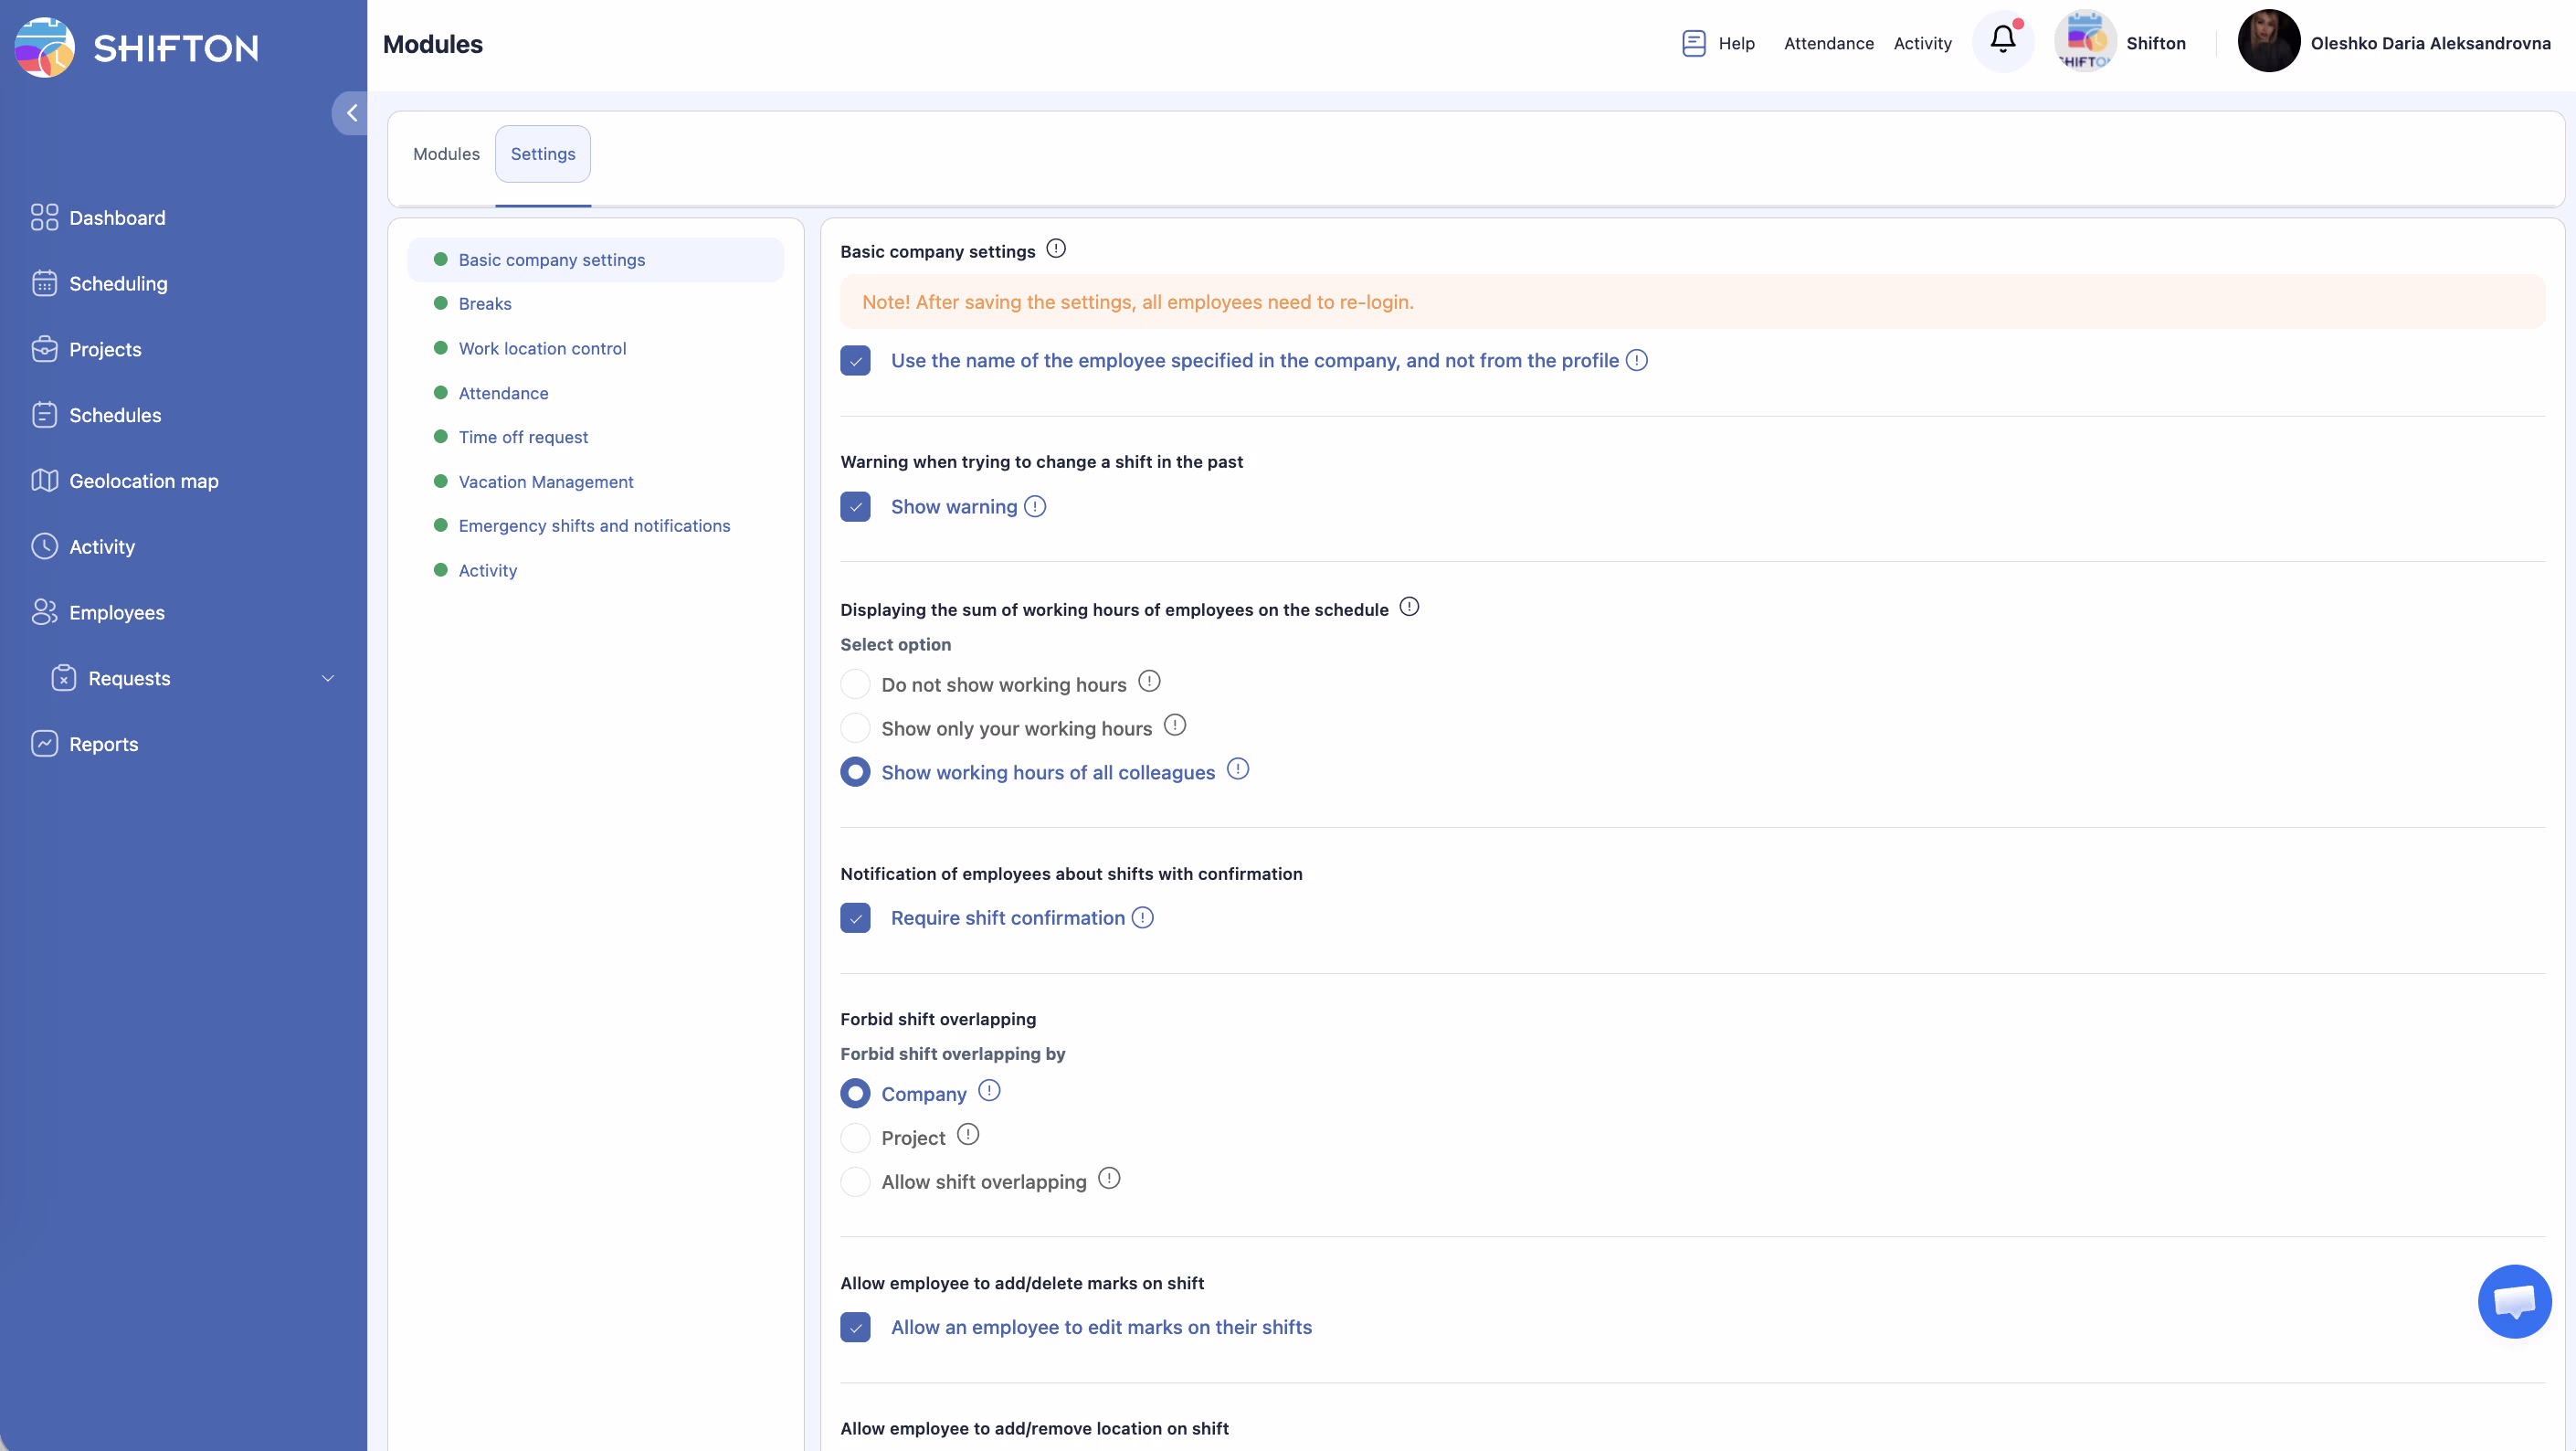
After enabling modules, configure their parameters.
Key Settings
| Module | What to Configure |
|---|---|
| Basic | Time format, date format, notification language, SMS alerts |
| Breaks | Break types (paid/unpaid), duration, limits |
| Attendance | Check-in methods (button / GPS / QR), automatic completion, reminders |
| Time off request | Time-off types (sick leave, vacation, holiday), custom types |
| Vacation | Auto-accrual of days, balance, carryover |
| Work location control | GPS radius, validation at clock-in/clock-out |
| Emergency shifts | Urgent shift notifications |
| Activity | Activity templates, linking to schedules |
More details: articles in the Modules section
Step 6. Adding and Inviting Employees
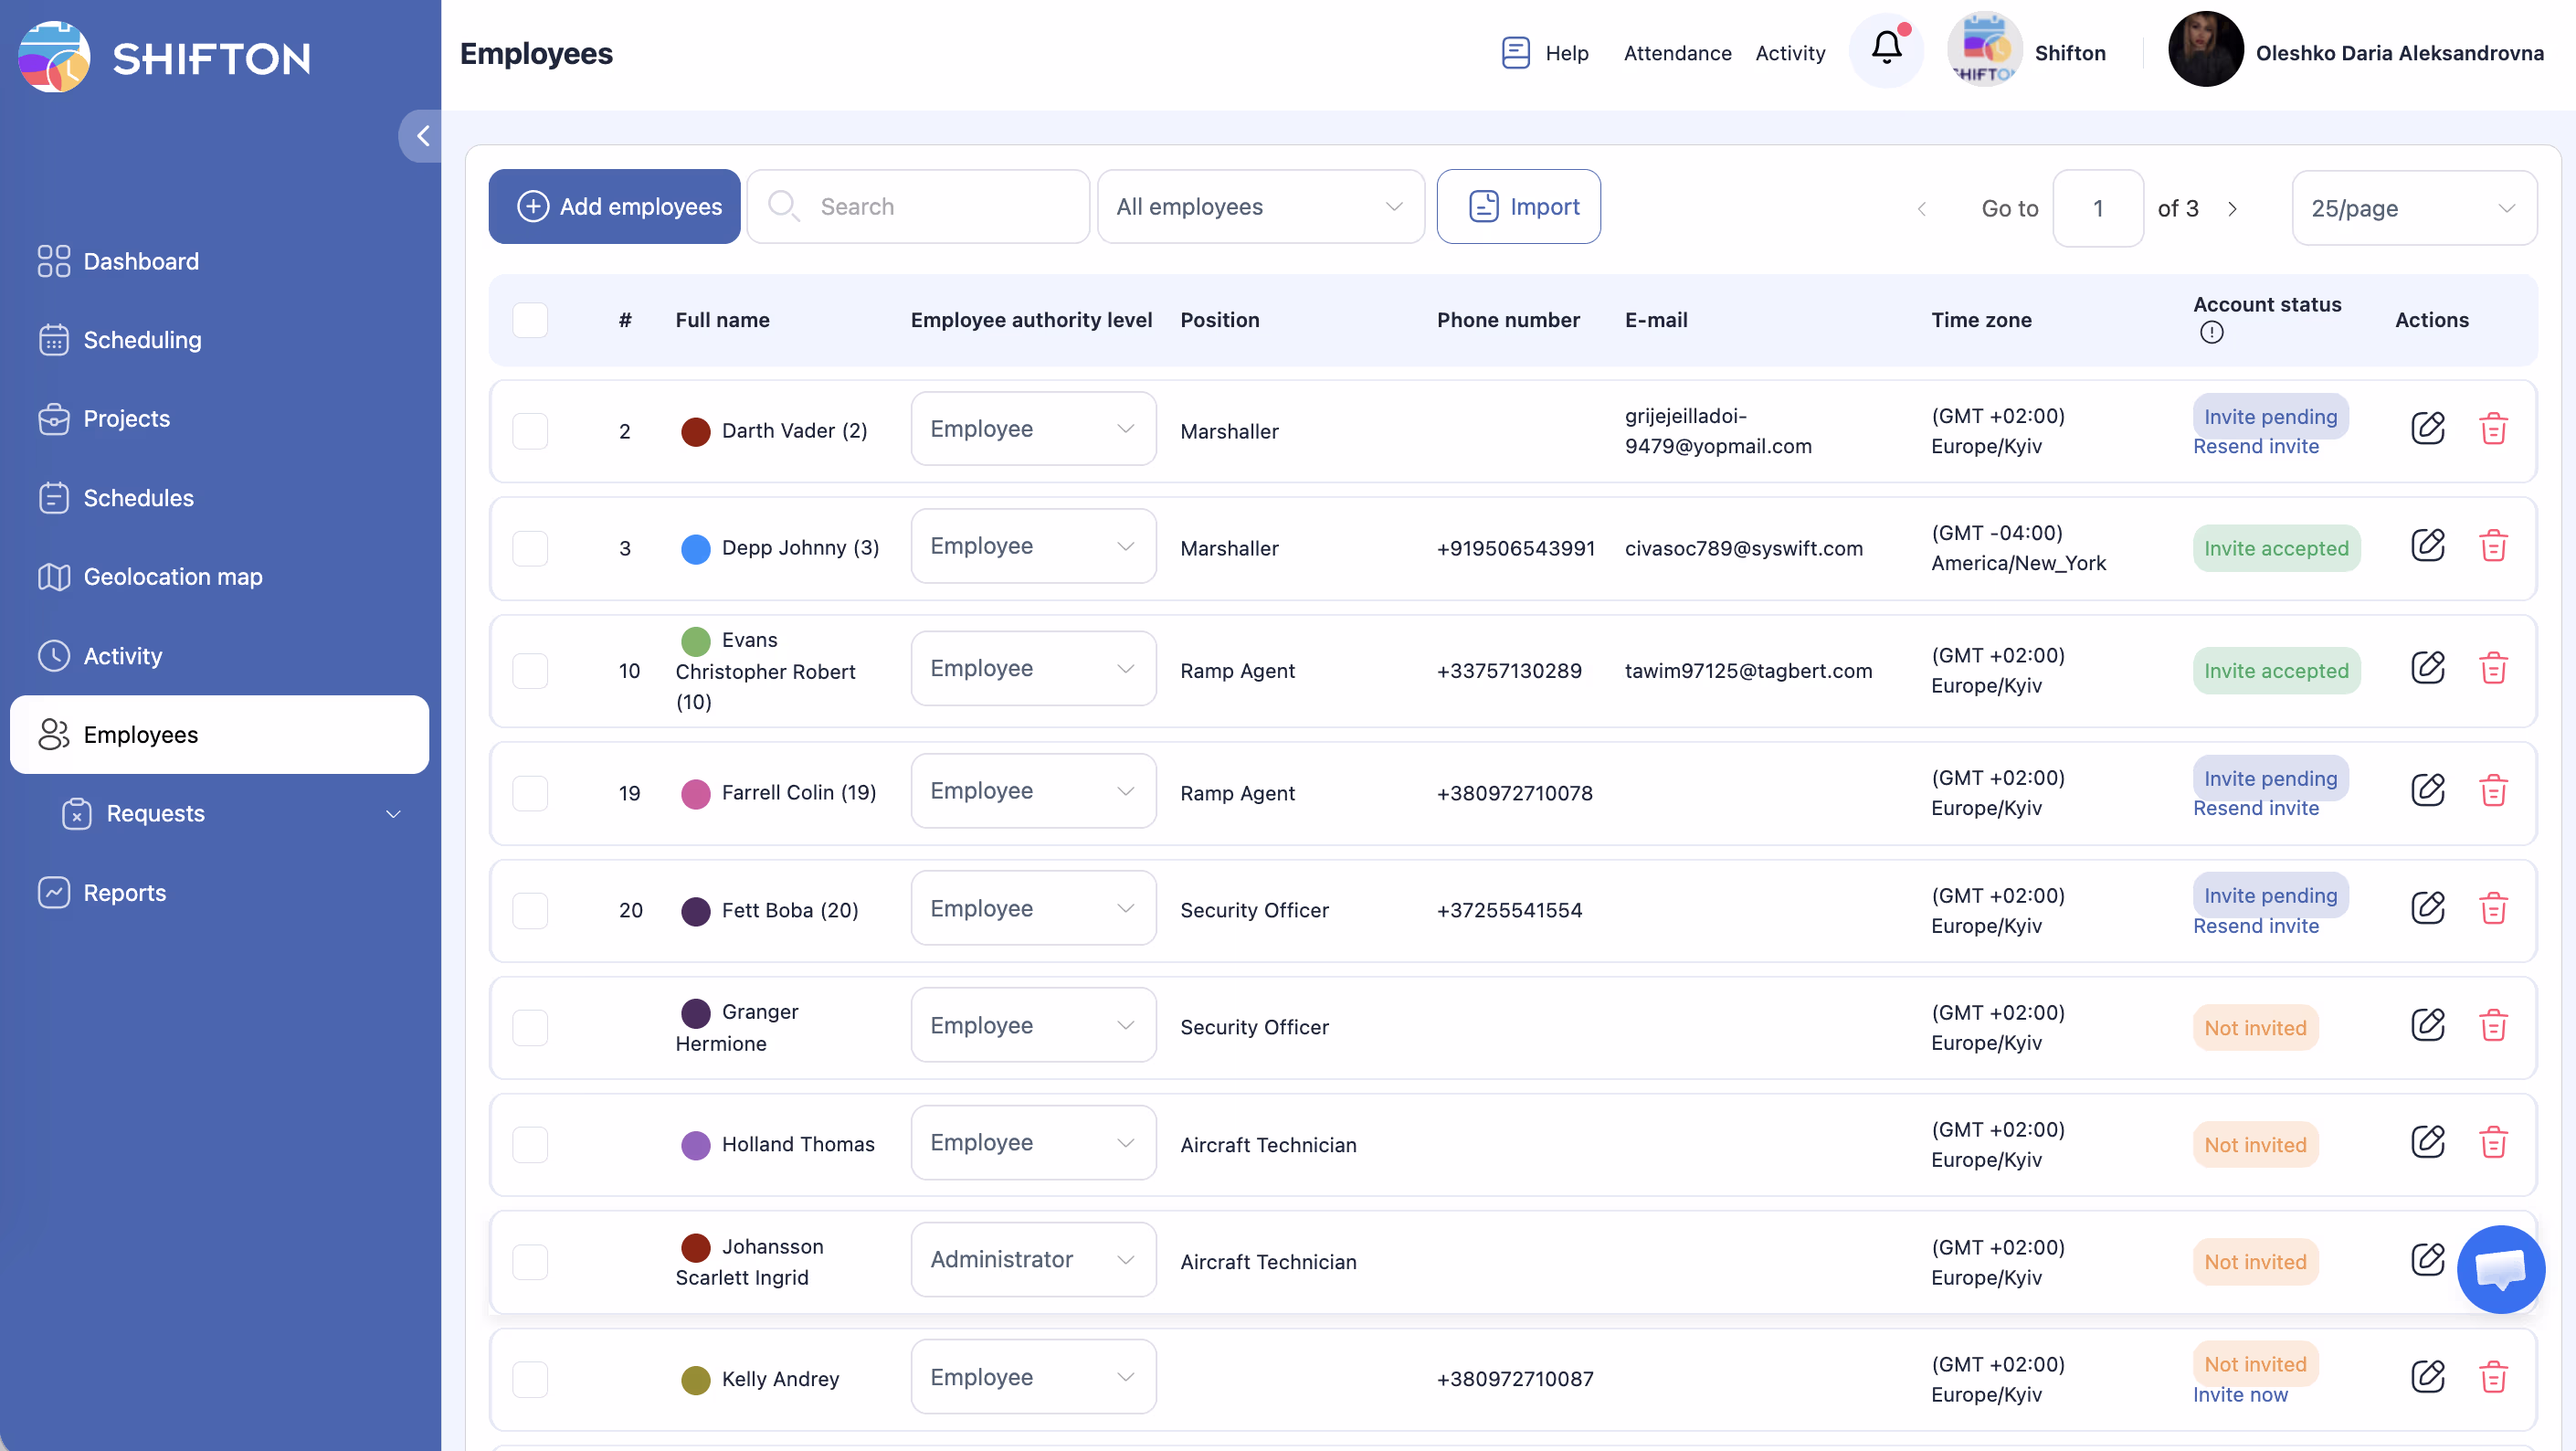
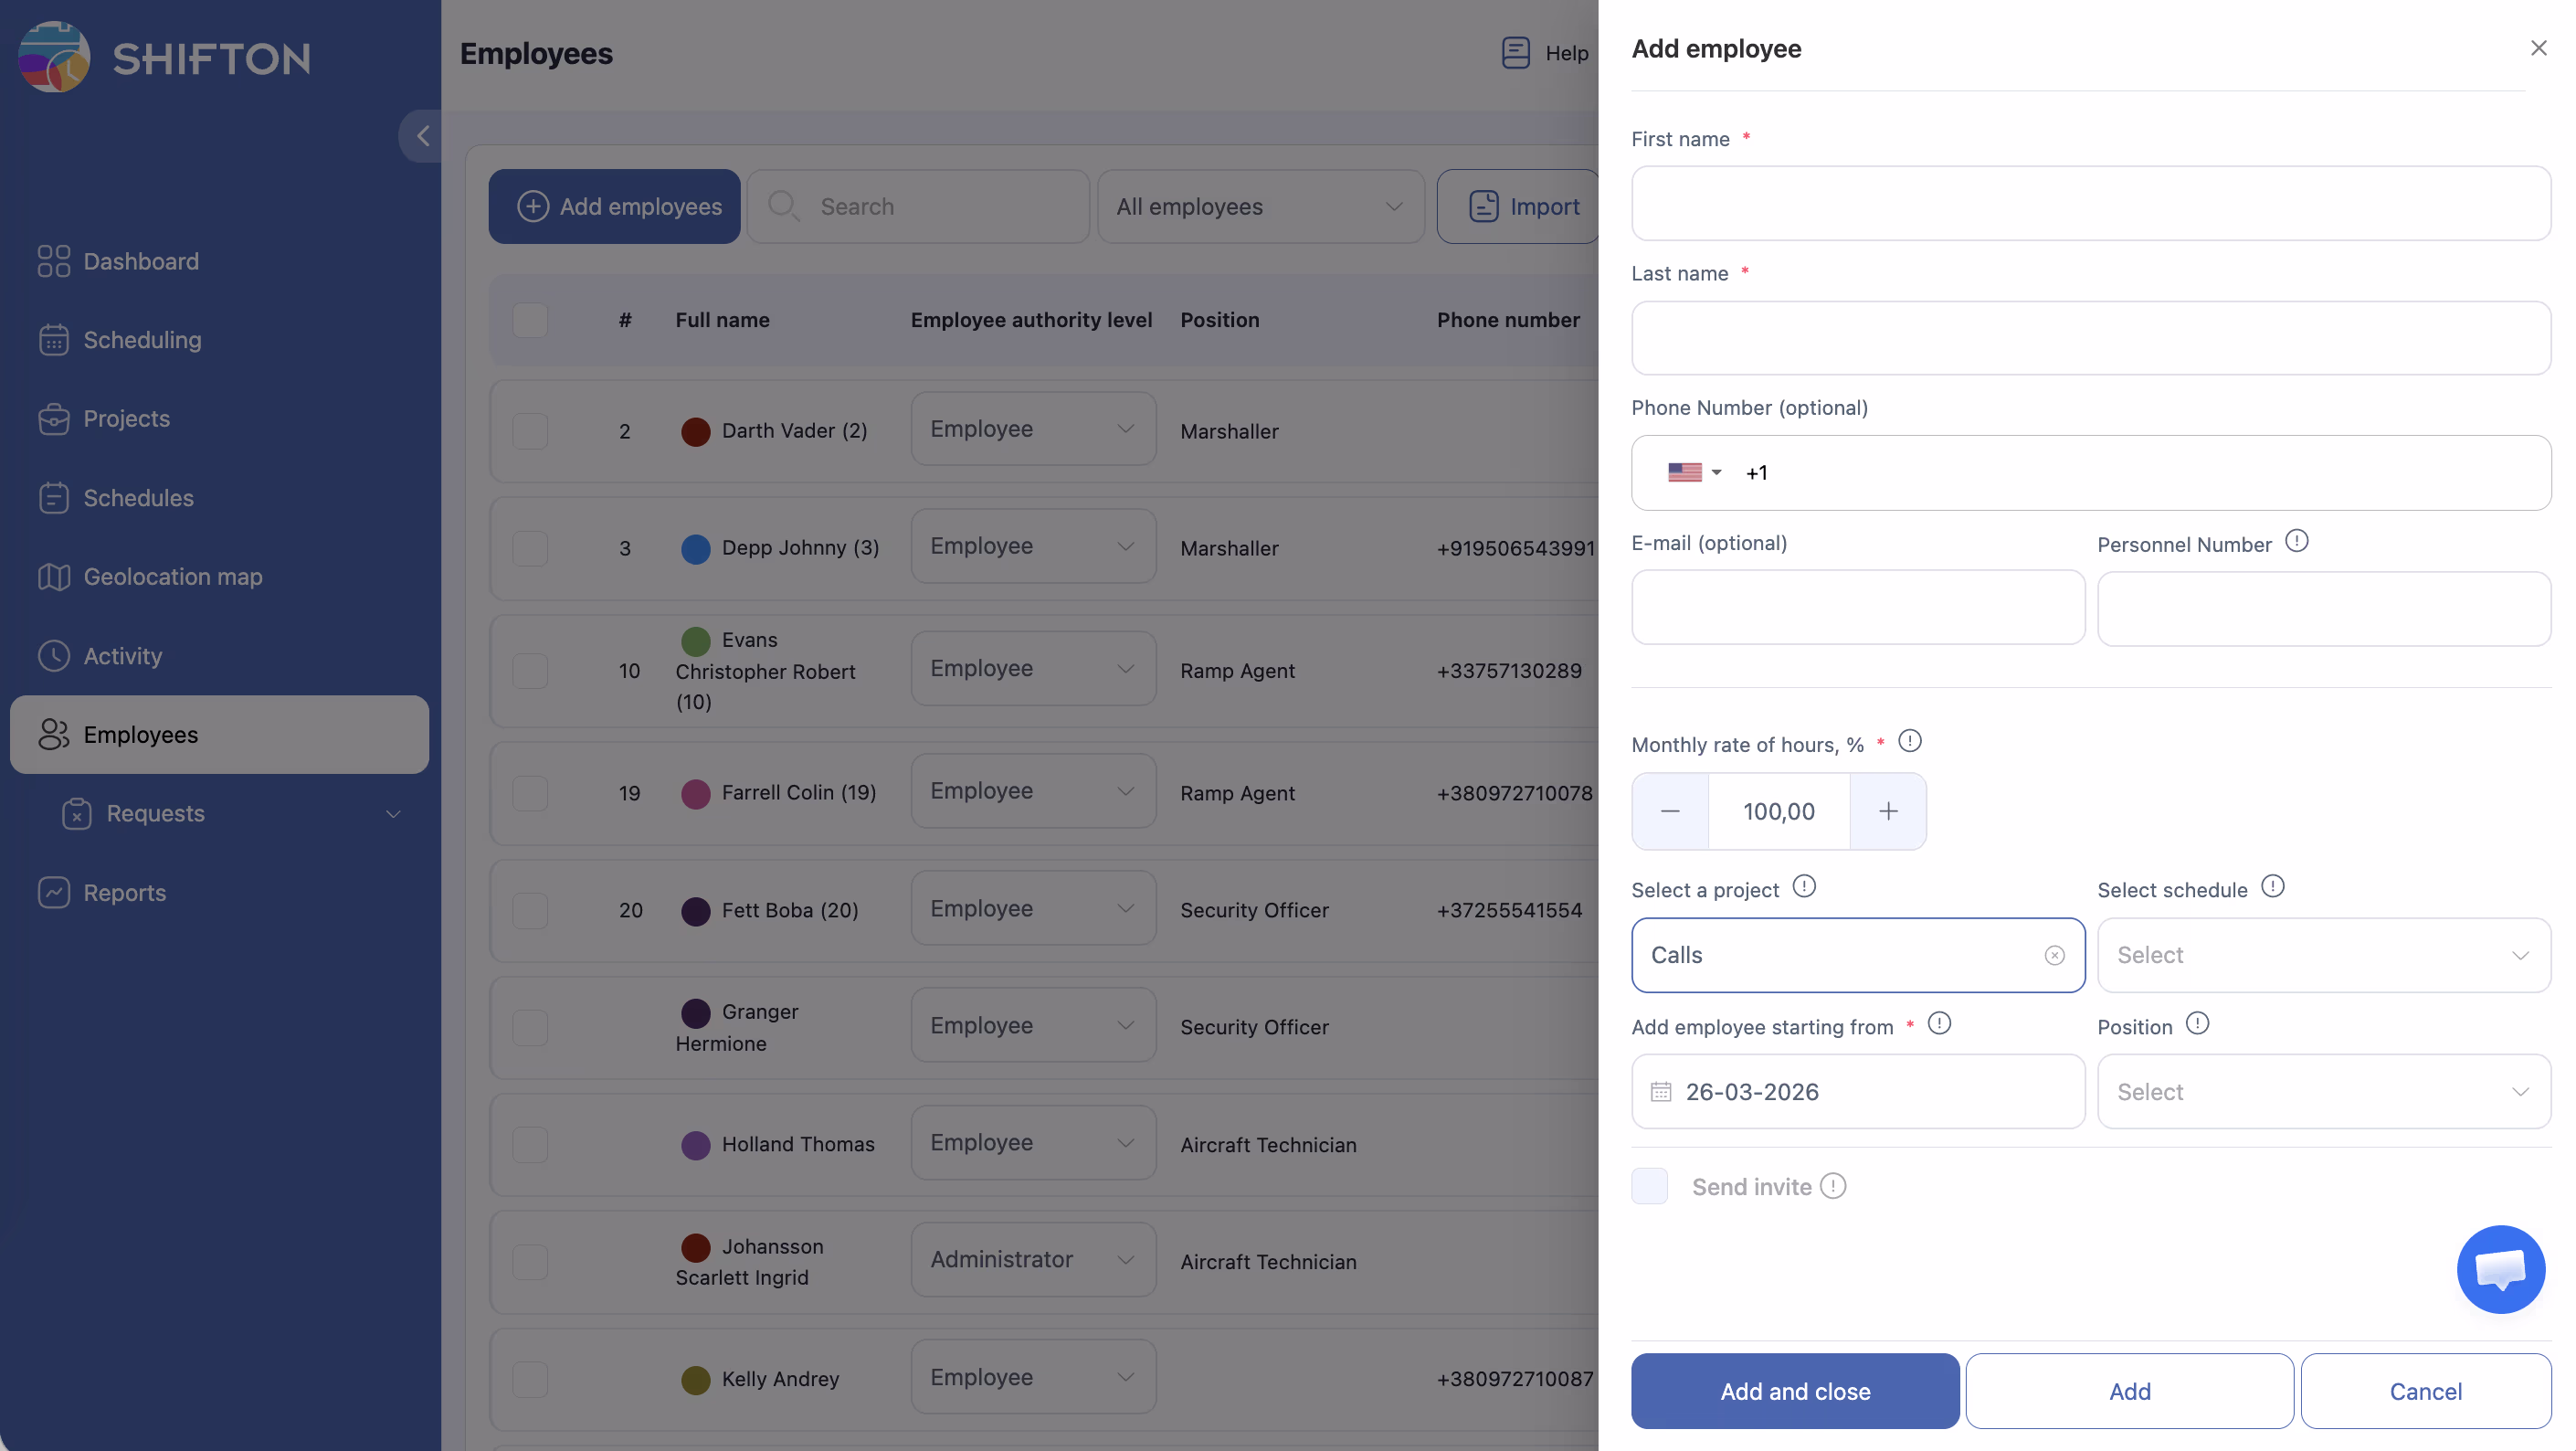
| Field | Required | Description |
|---|---|---|
| First name | Yes | First name |
| Last name | Yes | Last name |
| Phone Number | No | Mobile with country code |
| No | For sending invitations | |
| Monthly rate of hours, % | Yes | 100% = full-time, 50% = half-time |
| Select a project | No | Assign to a project immediately |
| Select schedule | No | Assign to a schedule immediately |
| Position | No | Position |
| Send invite | No | Send an email invitation |
Alternative: import employees from Excel/CSV using the Import button — download the template, fill it in, and upload.
More details: Adding Employees
Step 7. Creating a Project
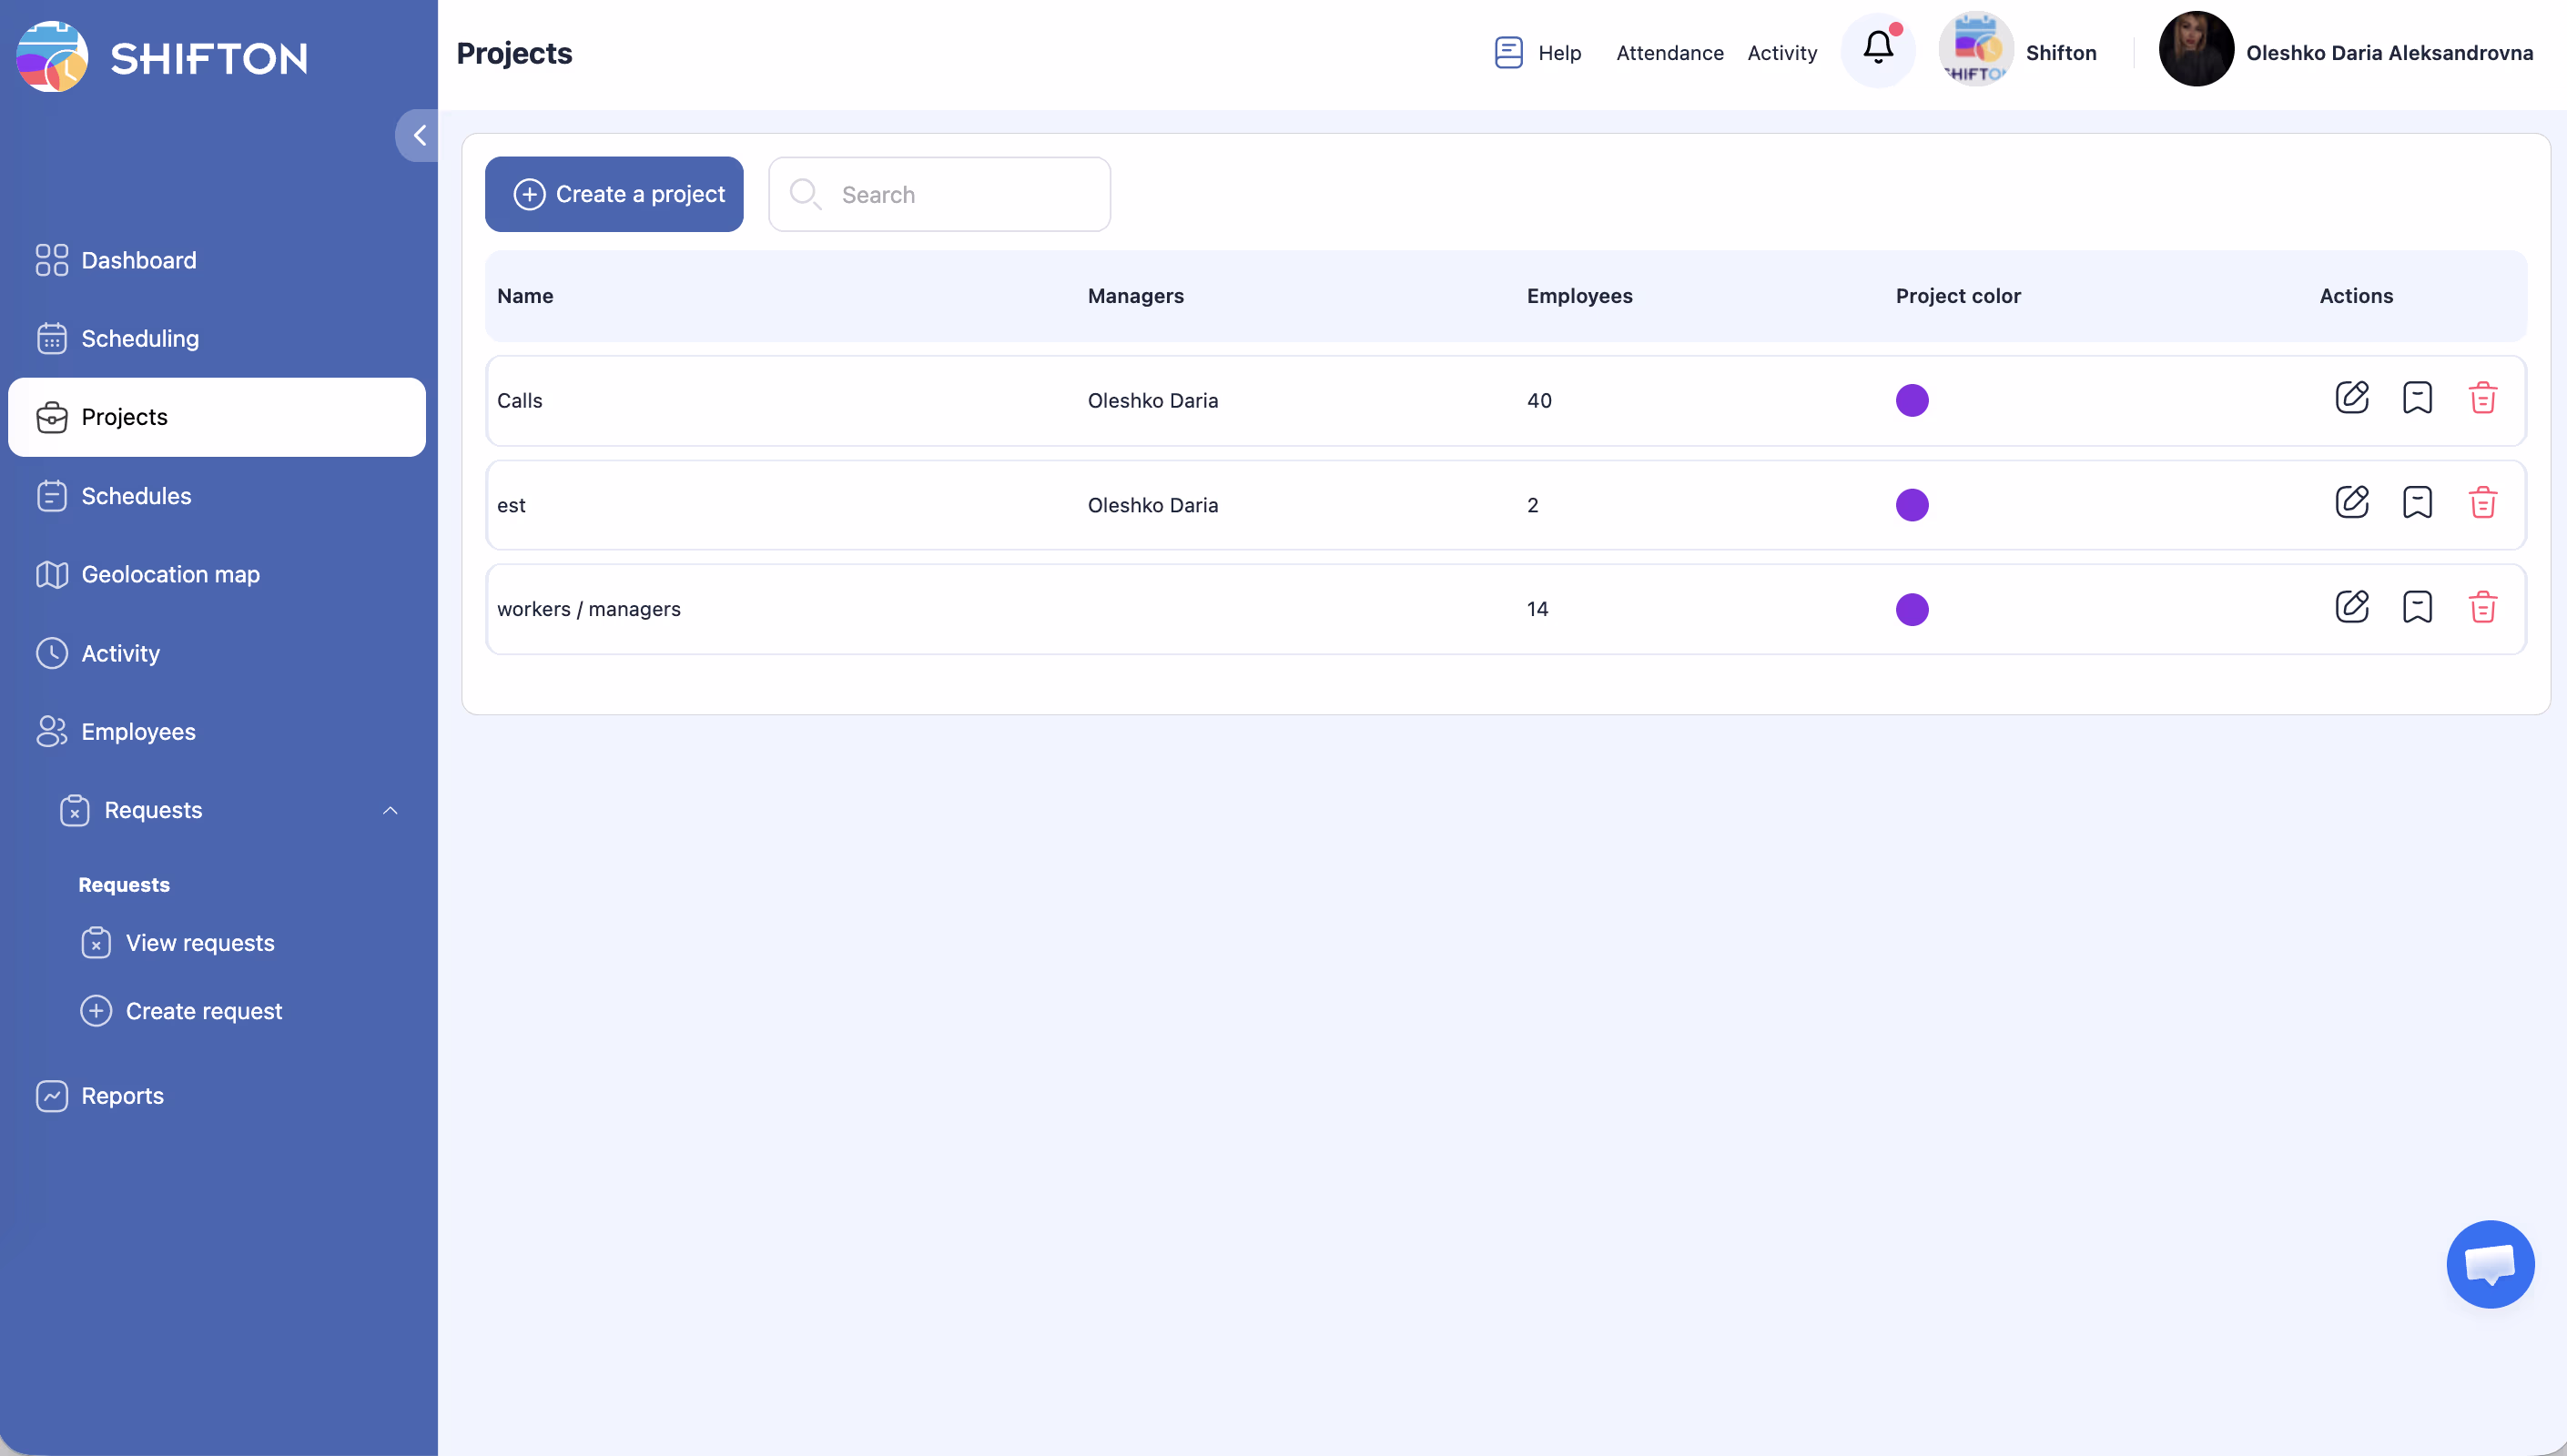
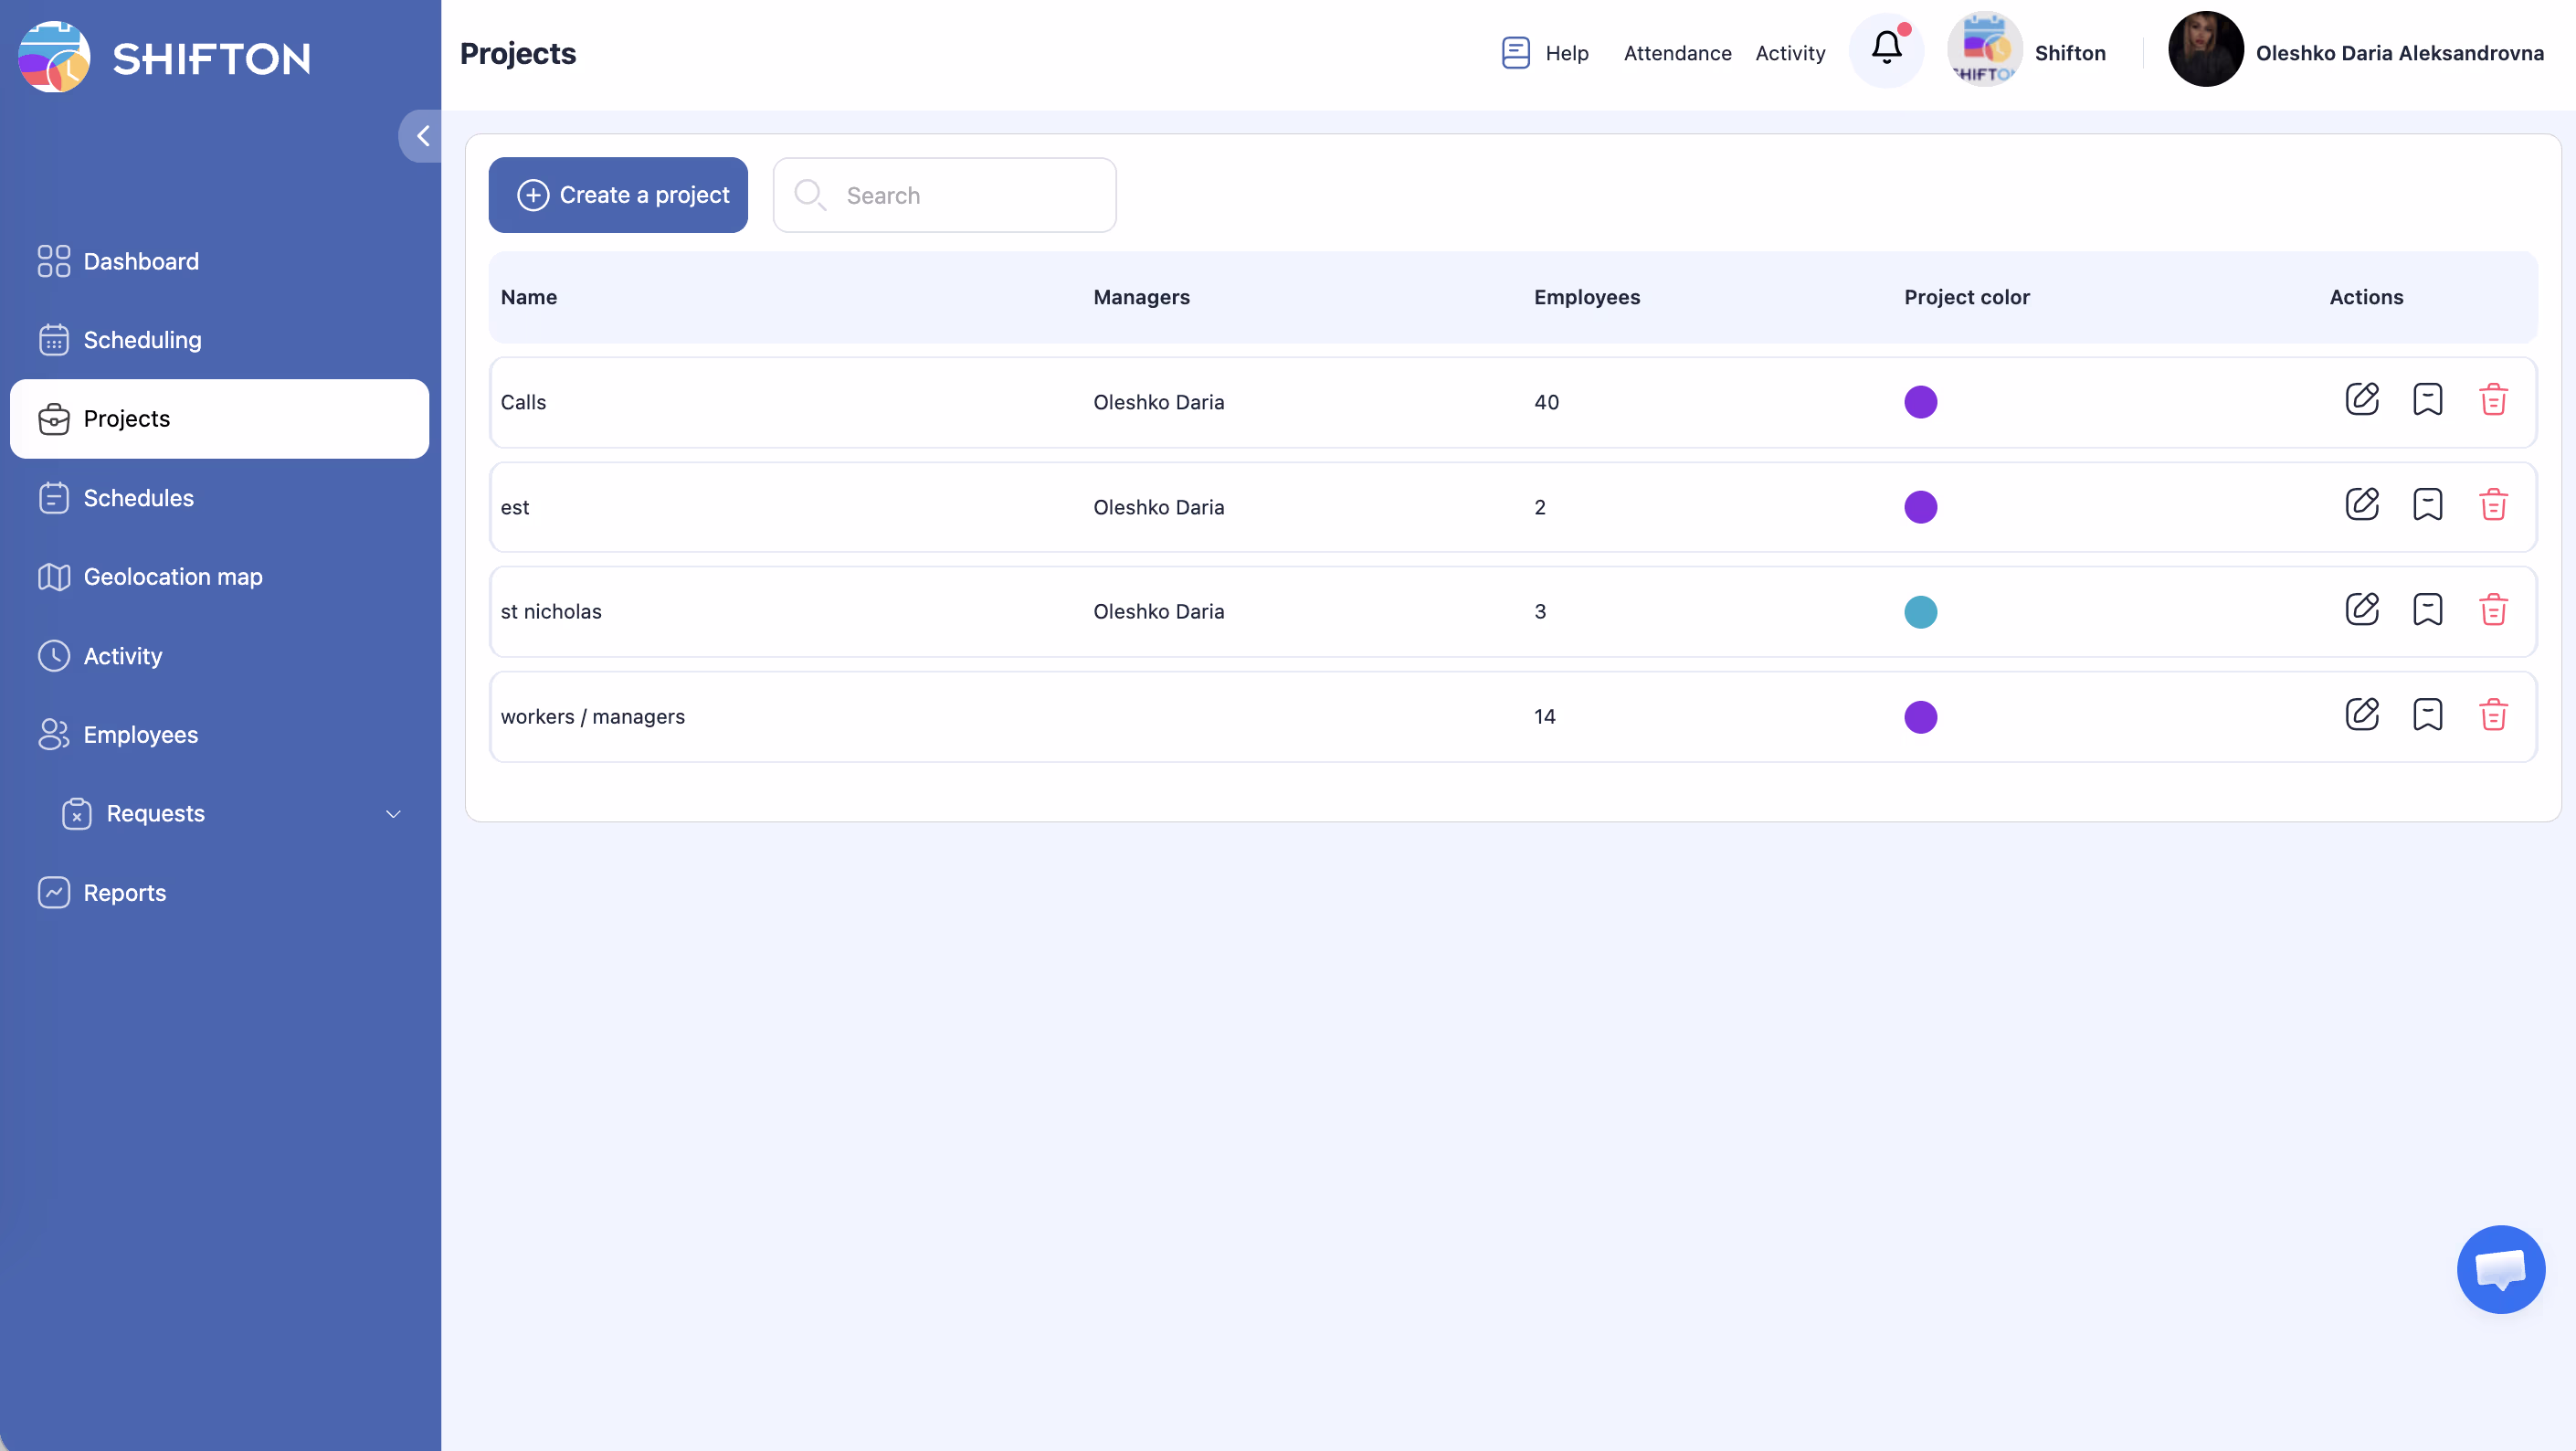

A project is a container for grouping employees and schedules (department, team, branch).
The first project is created automatically upon registration. You can rename it and configure its settings.
Project Setup
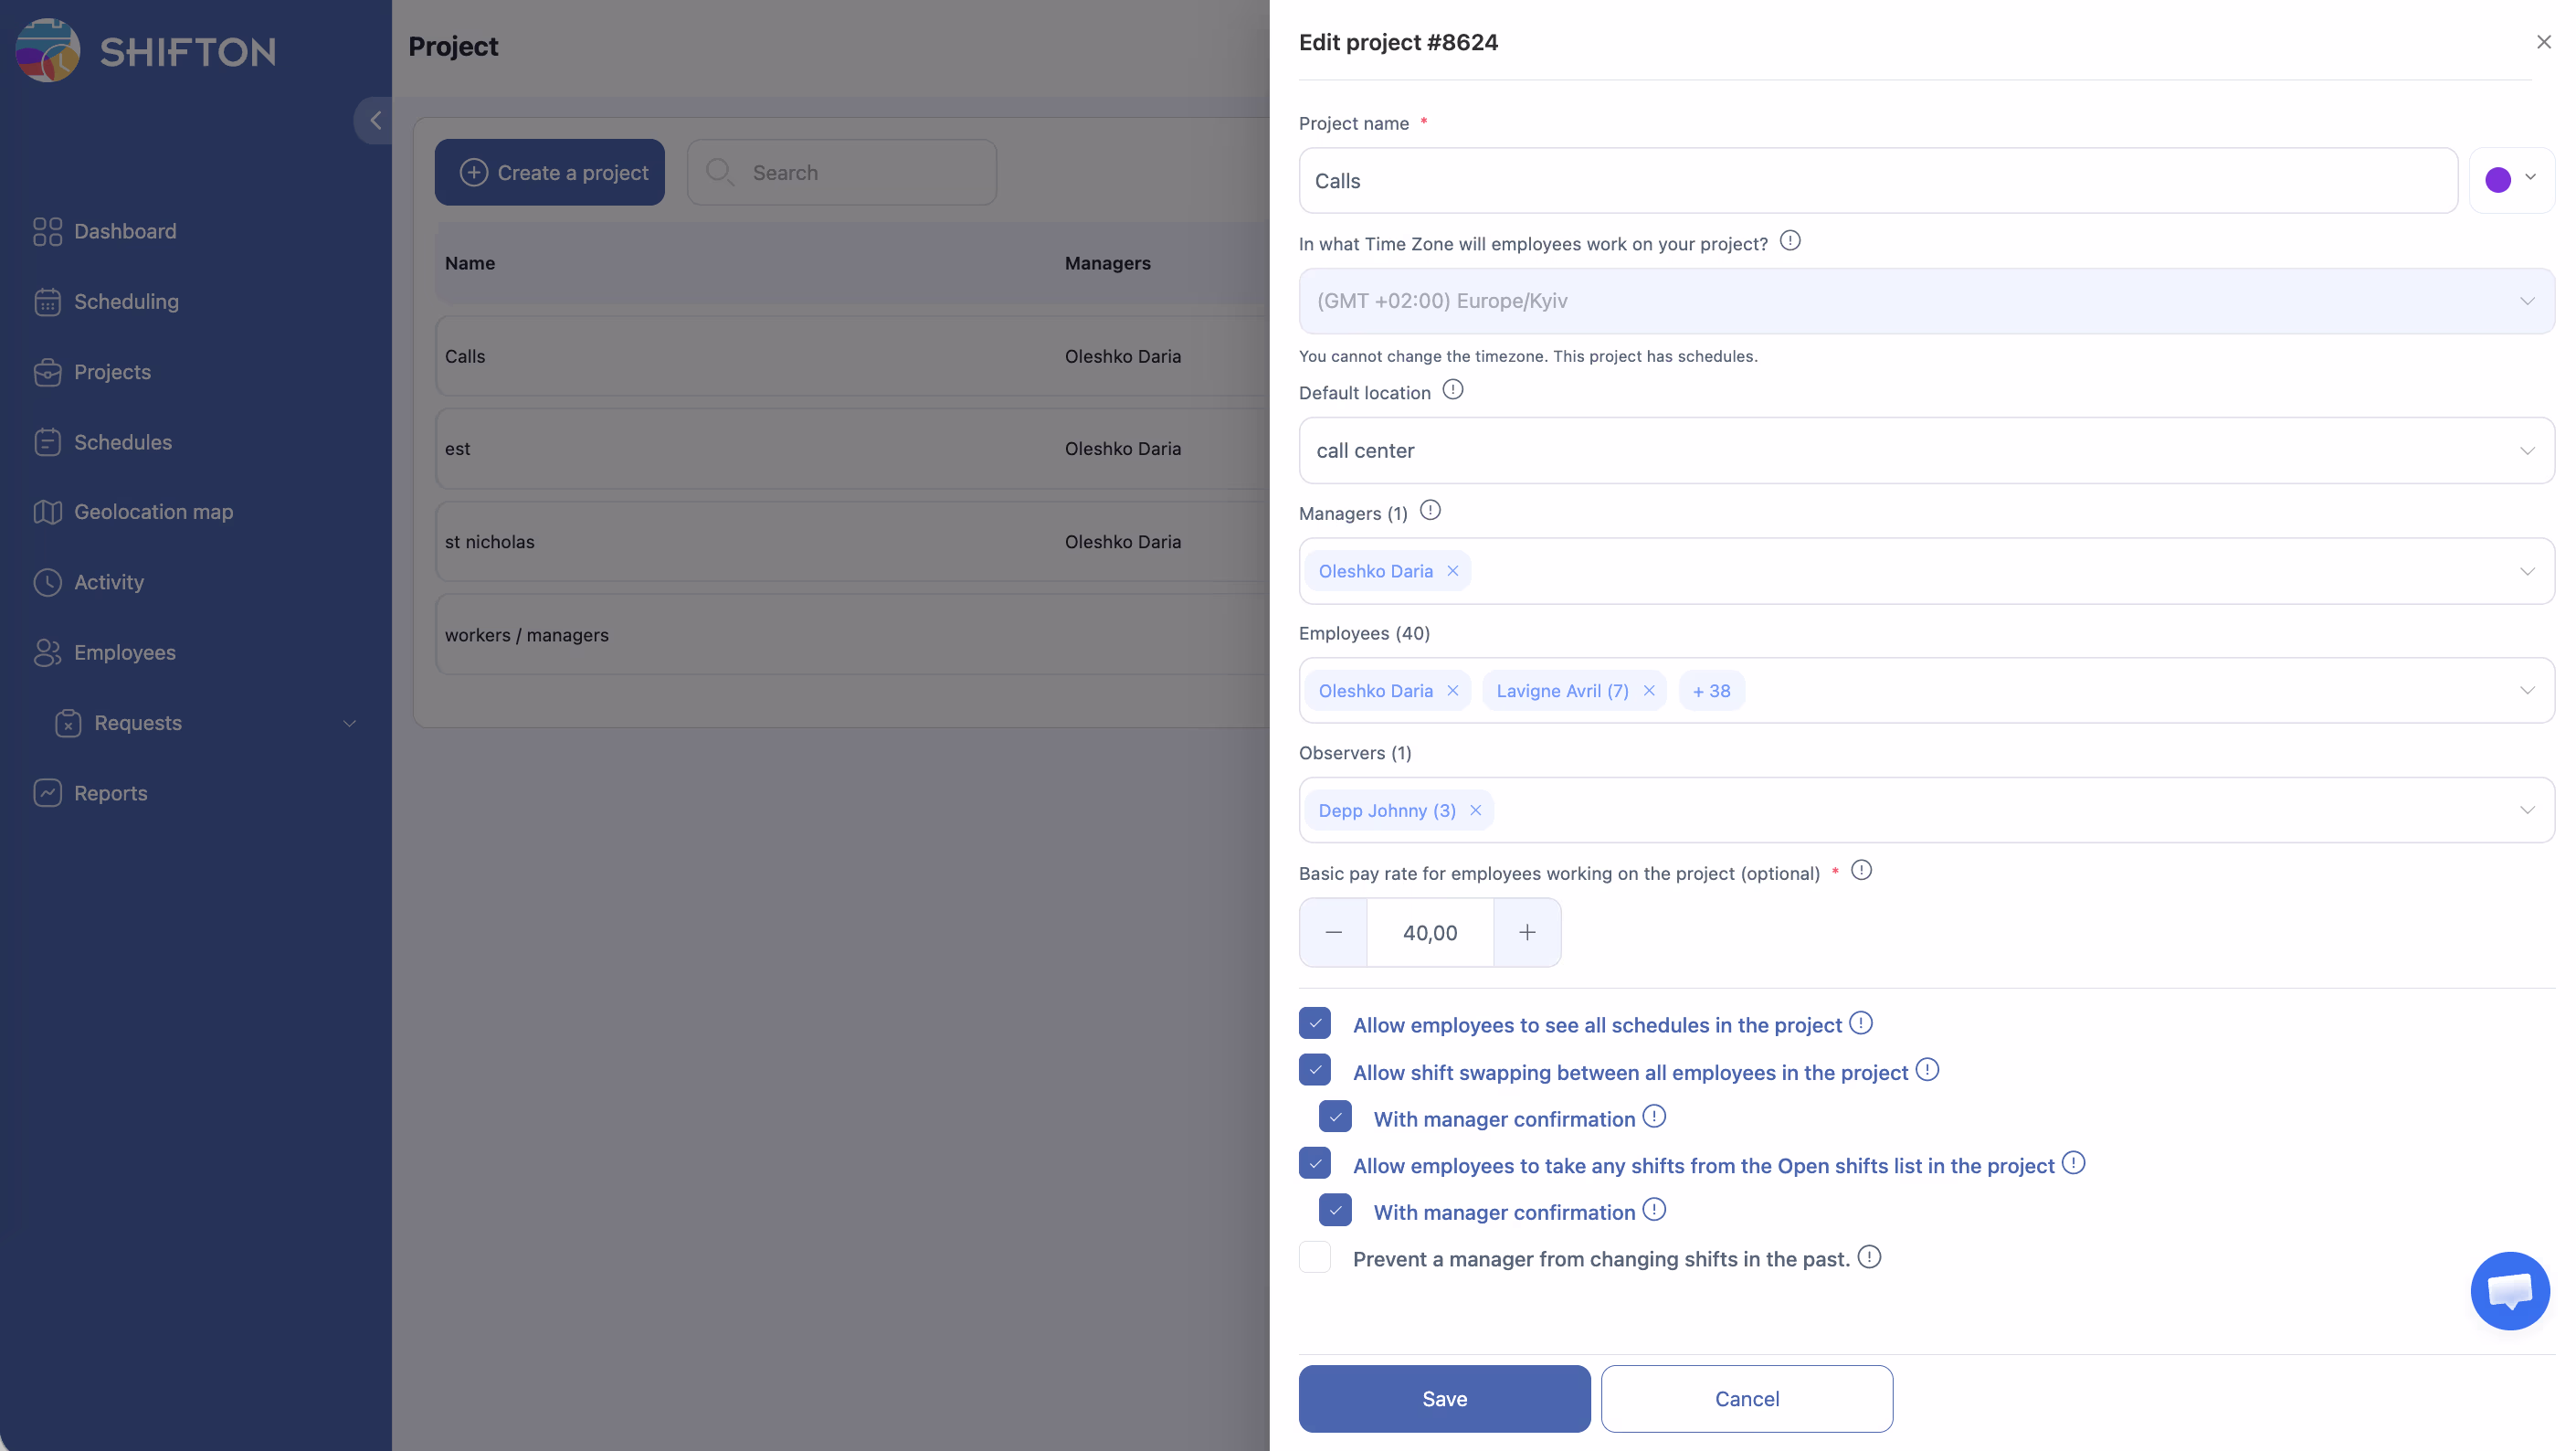
| Field | Description |
|---|---|
| Project name * | Project name (required) |
| Color | Color for visual identification in schedules and reports |
| Time Zone | Project time zone. Can only be changed if the project has no schedules yet |
| Default location | Location automatically assigned to shifts when generating the schedule |
| Managers | Project managers — can create and edit schedules |
| Employees | Project employees (multi-select) |
| Observers | Observers — view-only access to schedules, no editing |
| Basic pay rate | Base pay rate for payroll calculation |
Important: To create additional projects, enable the Departments and Projects module ($1/mo per additional project).
More details: Managing Projects. For the module for multiple projects, see Departments and Projects.
Step 8. Creating a Schedule
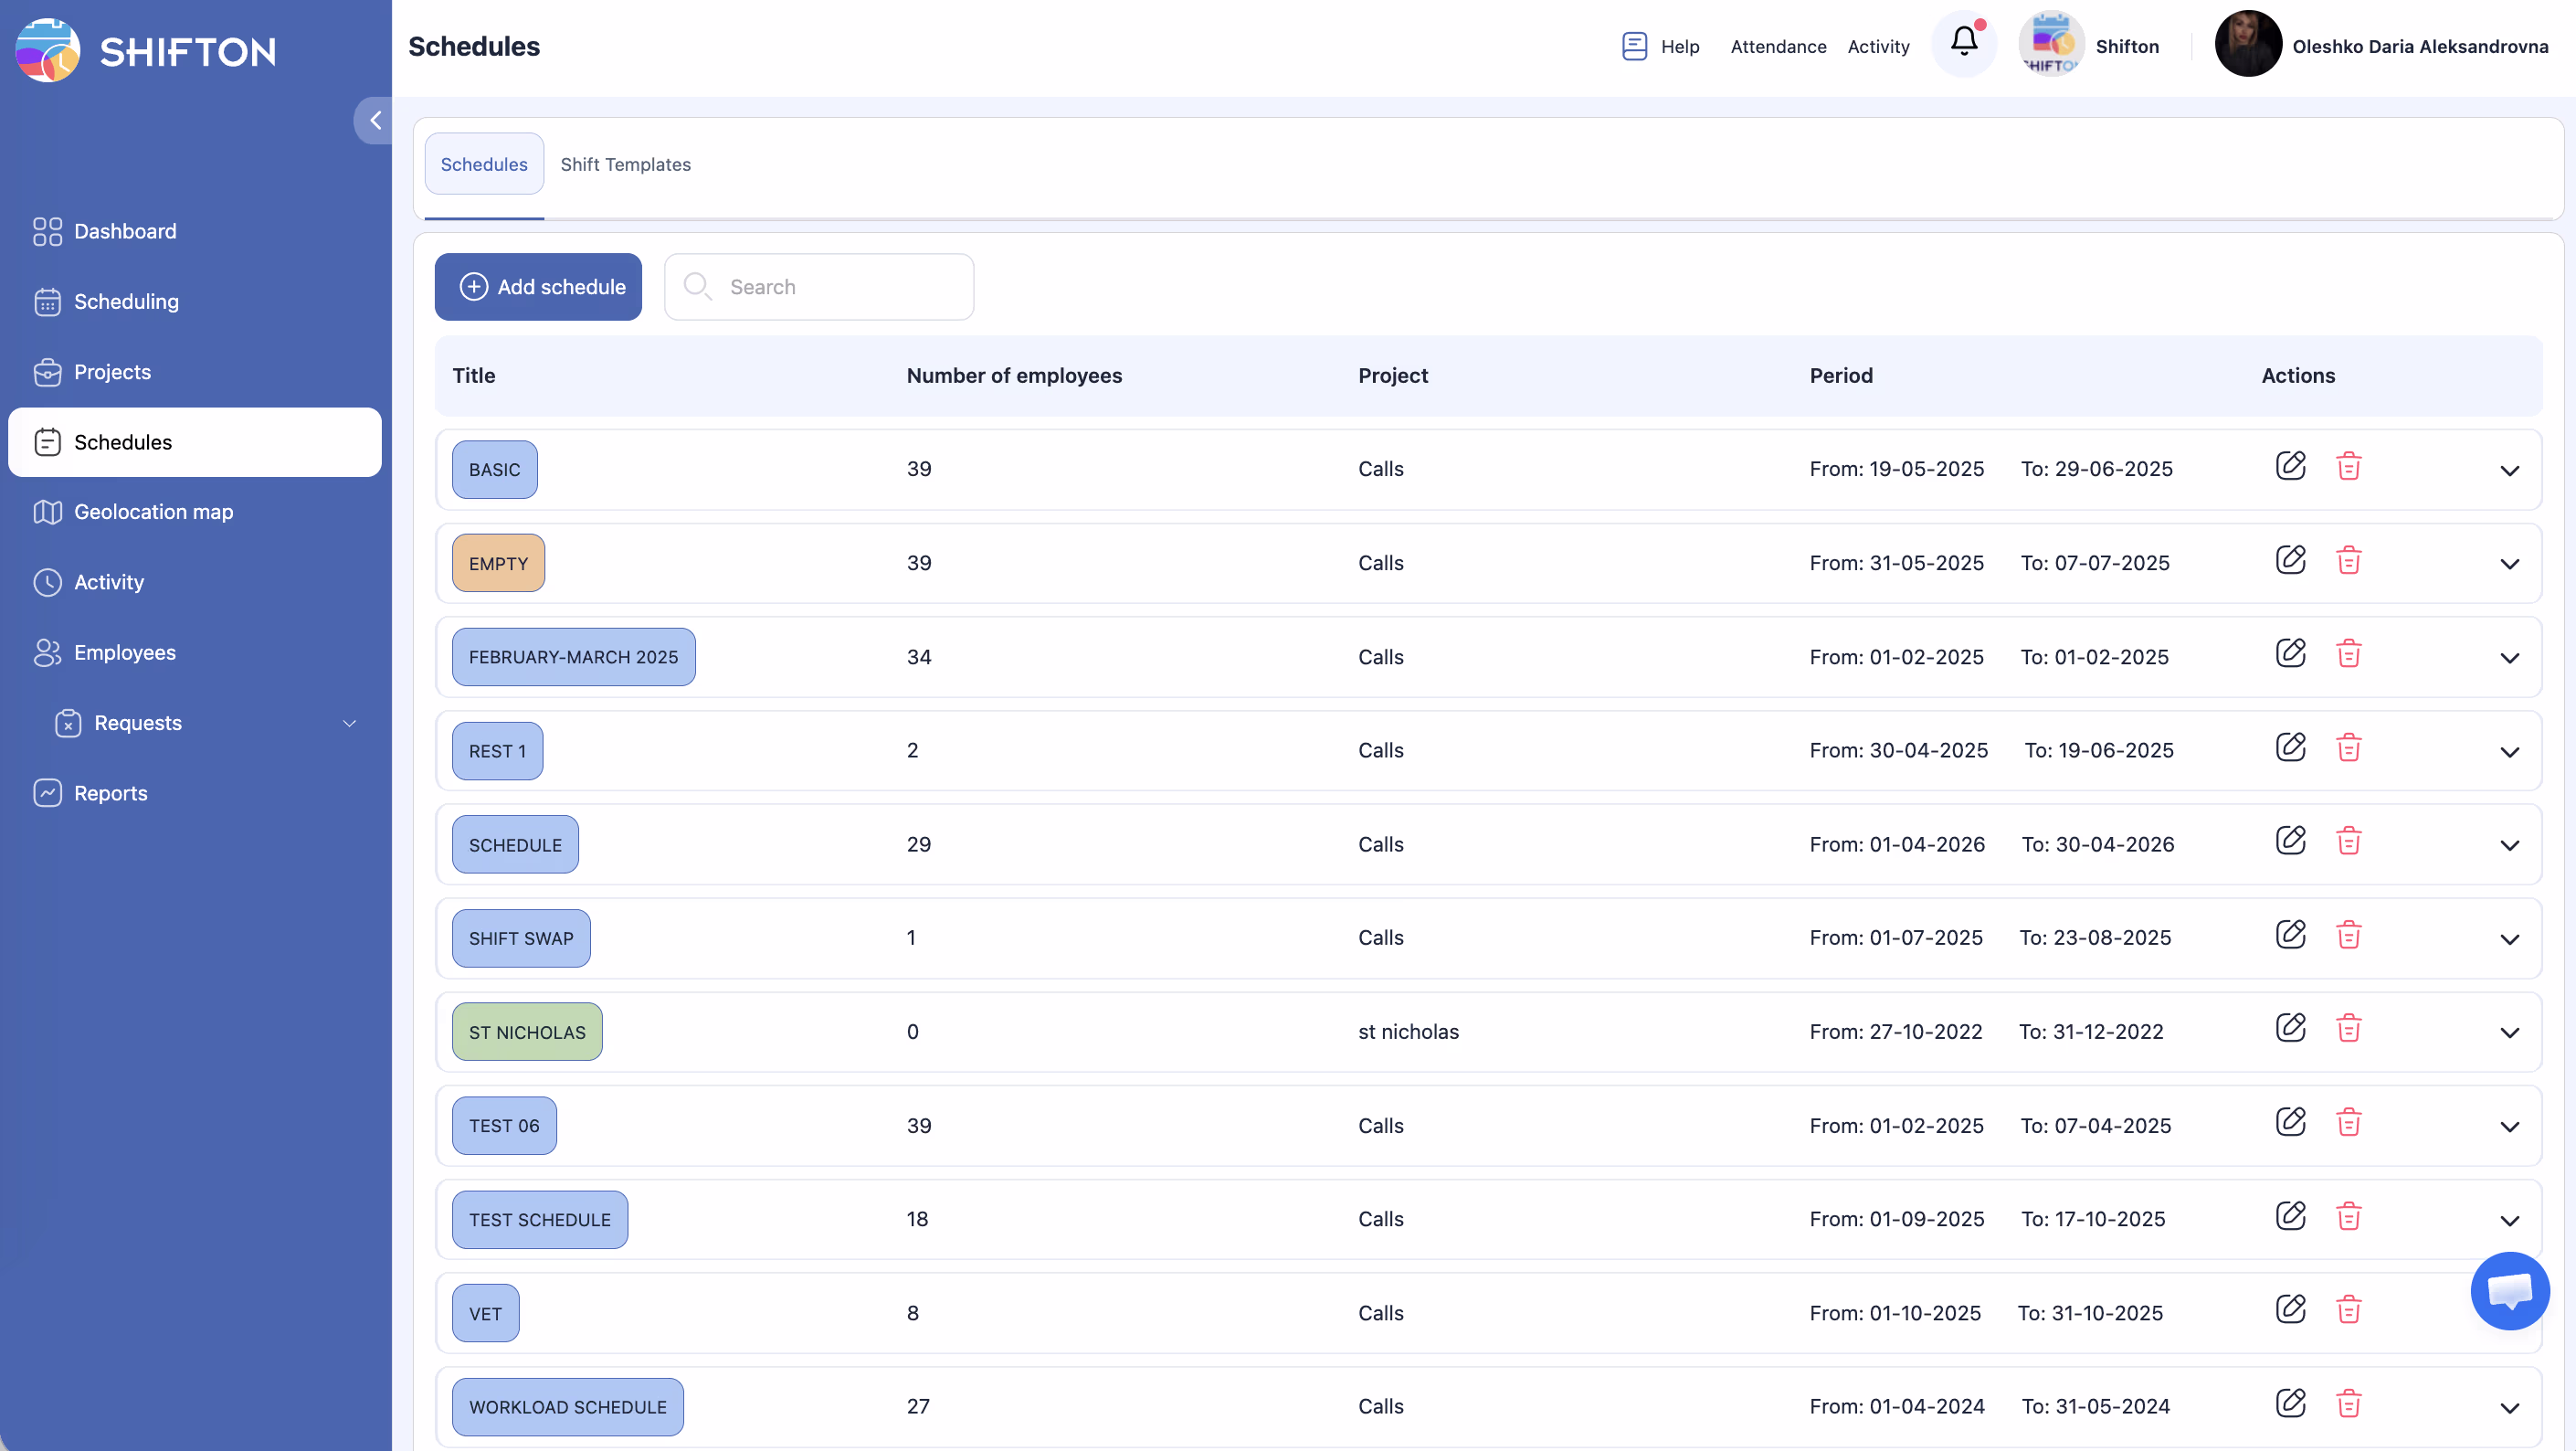
A schedule defines working time rules and contains employee shifts.
| Type | Description | Example |
|---|---|---|
| Empty | Fully manual — shifts are added manually | Small office, manager assigns shifts personally |
| Basic | Fixed shift templates | Office Mon–Fri 09:00–18:00 |
| By availability | Based on employee availability | Cafe with student baristas |
| Advanced | Multiple shift types with different staffing needs | Call center with morning, evening, and night shifts |
| Preset | Rotation patterns (2/2, 5/2, etc.) | Security, factory, 24/7 operations |
Don’t forget to publish the schedule (Publish & notify employees) — without publishing, employees will not see their shifts.
More details: Creating a Schedule
Step 9. Working with the Schedule Page
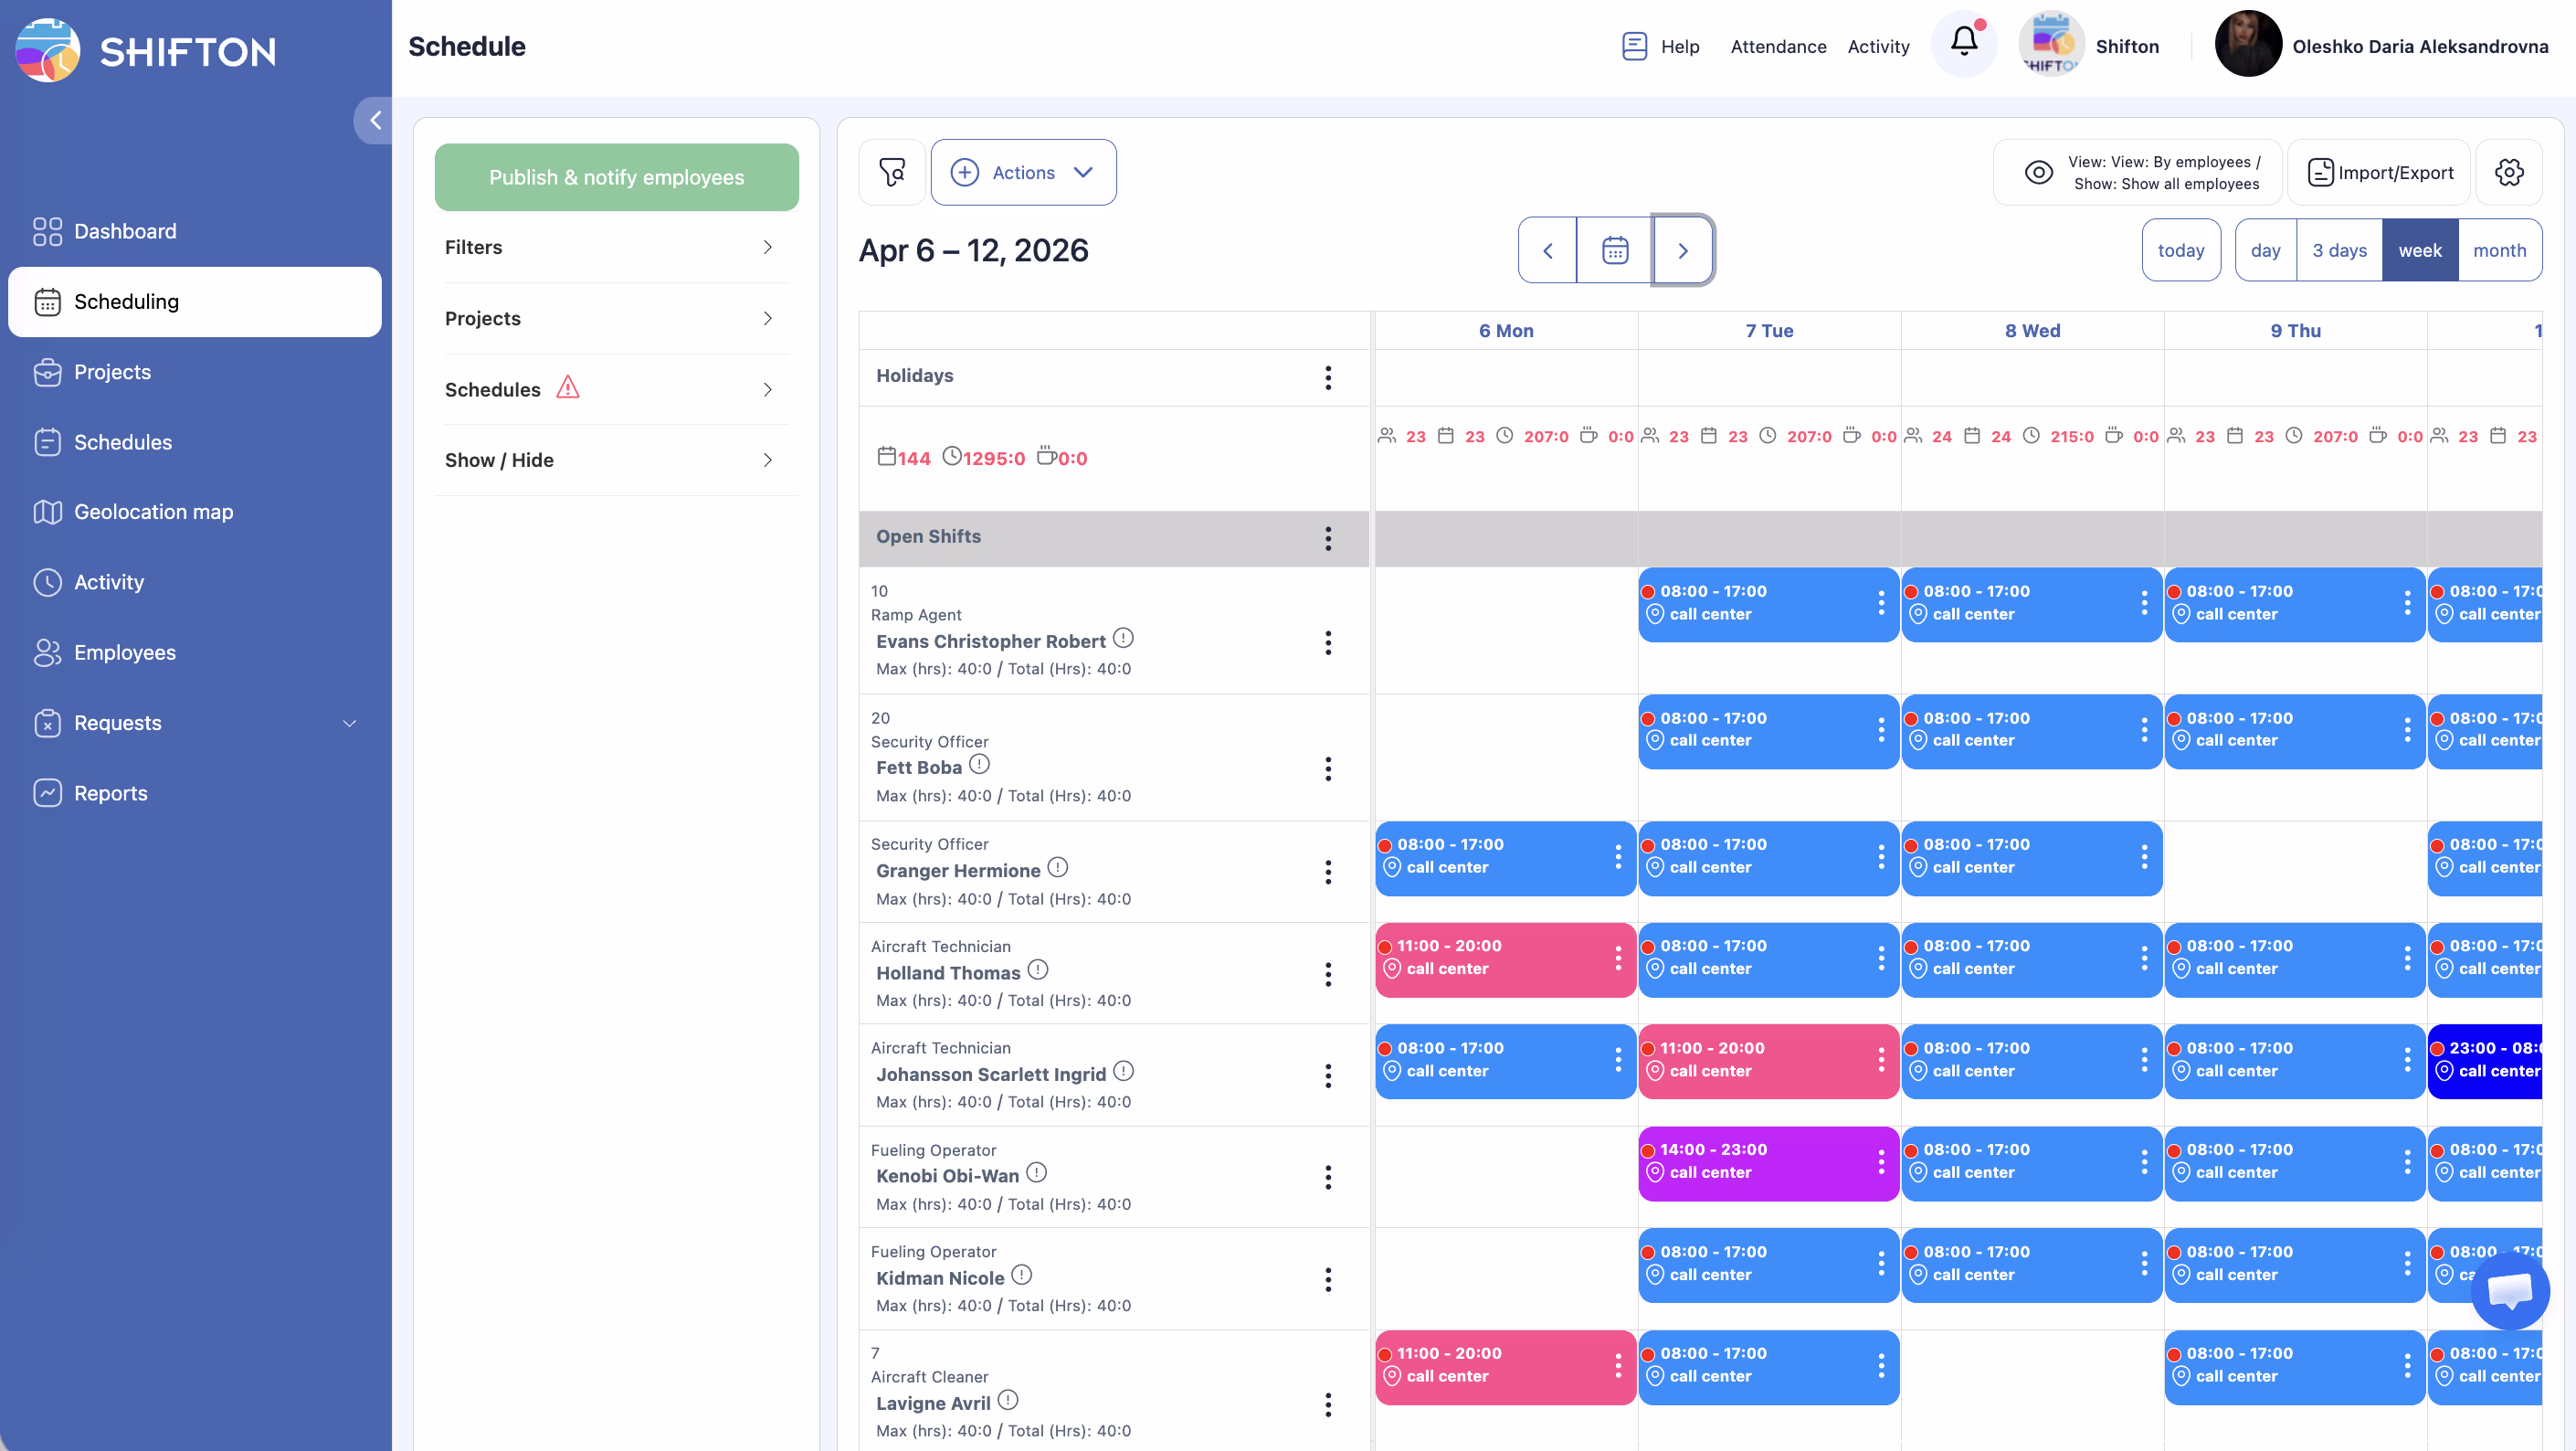
After creating a schedule, go to the Schedule page to manage shifts.
View Modes
Key Actions
Filters and Overlays
Export
More details: articles in the Schedule Page and Shifts section
Step 10. Additional Features
After the basic setup, enable additional capabilities as needed:
Activities (Activity Module)

Planning additional tasks on top of shifts — training, meetings, inventory. Create activity templates and assign them to employees.
GPS Map (Work Location Control Module)
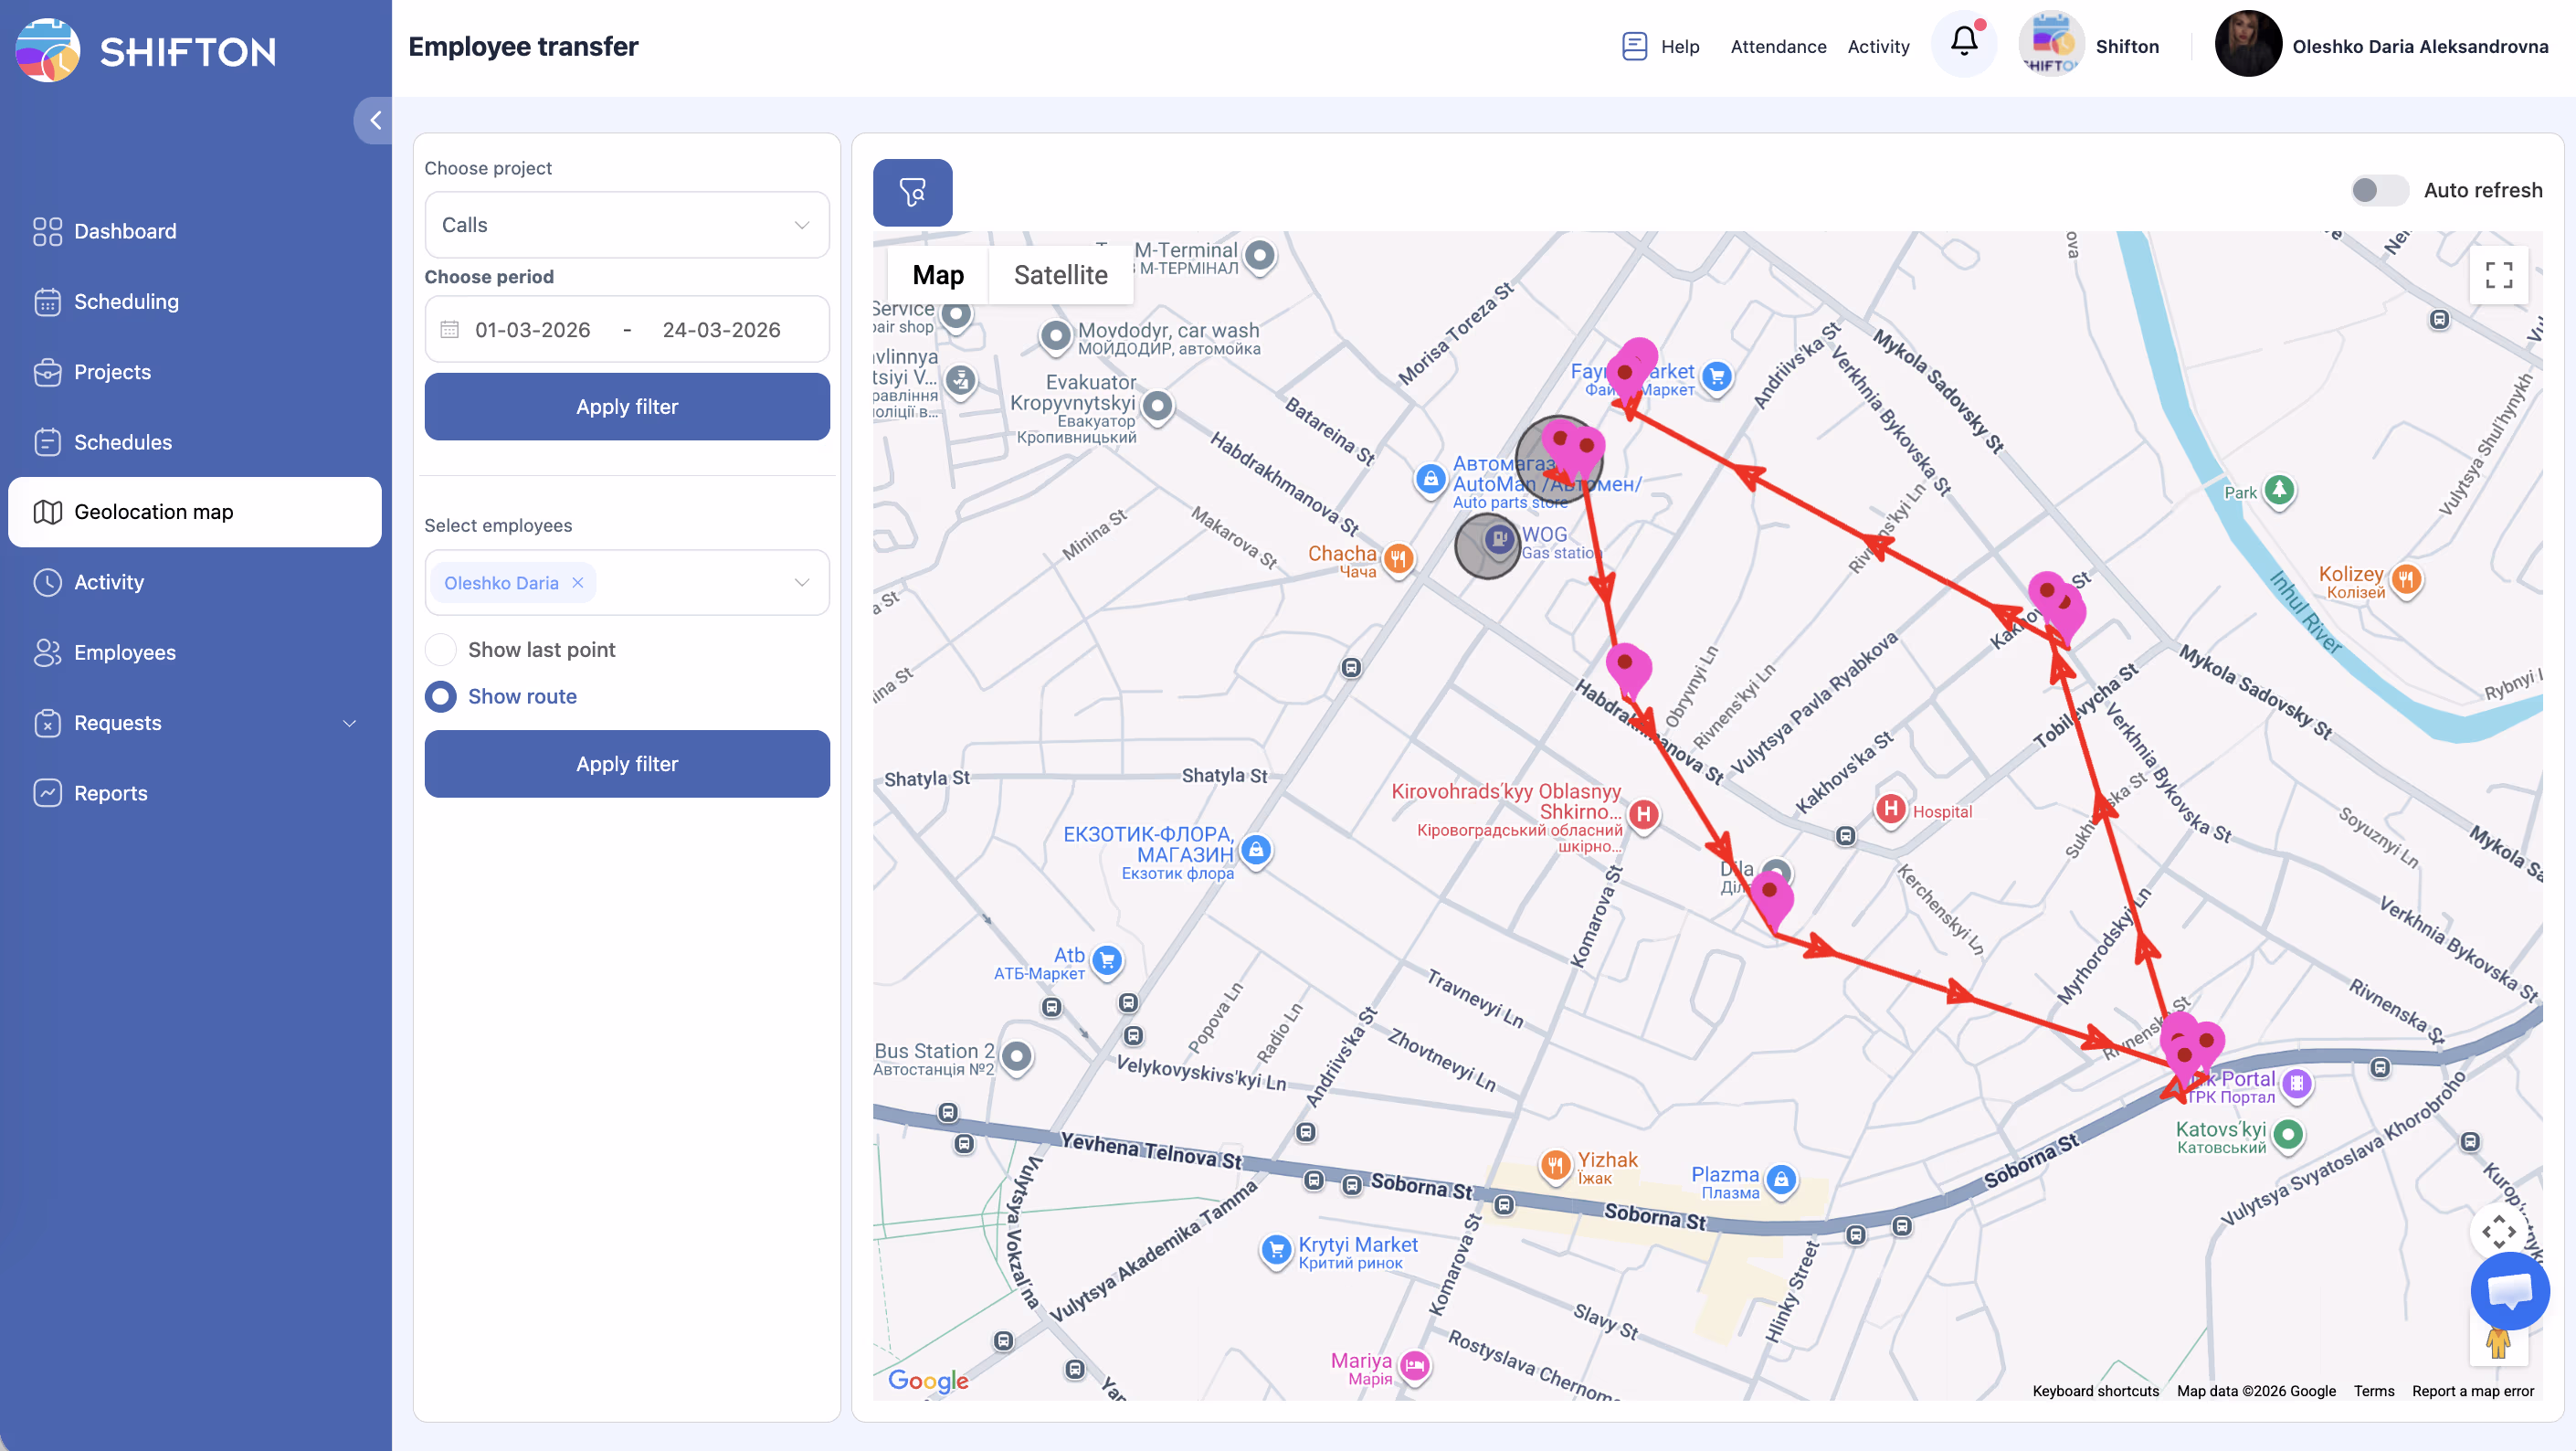
Monitoring employee locations at clock-in/clock-out. Set the allowed distance radius from the work location.
Employee Requests
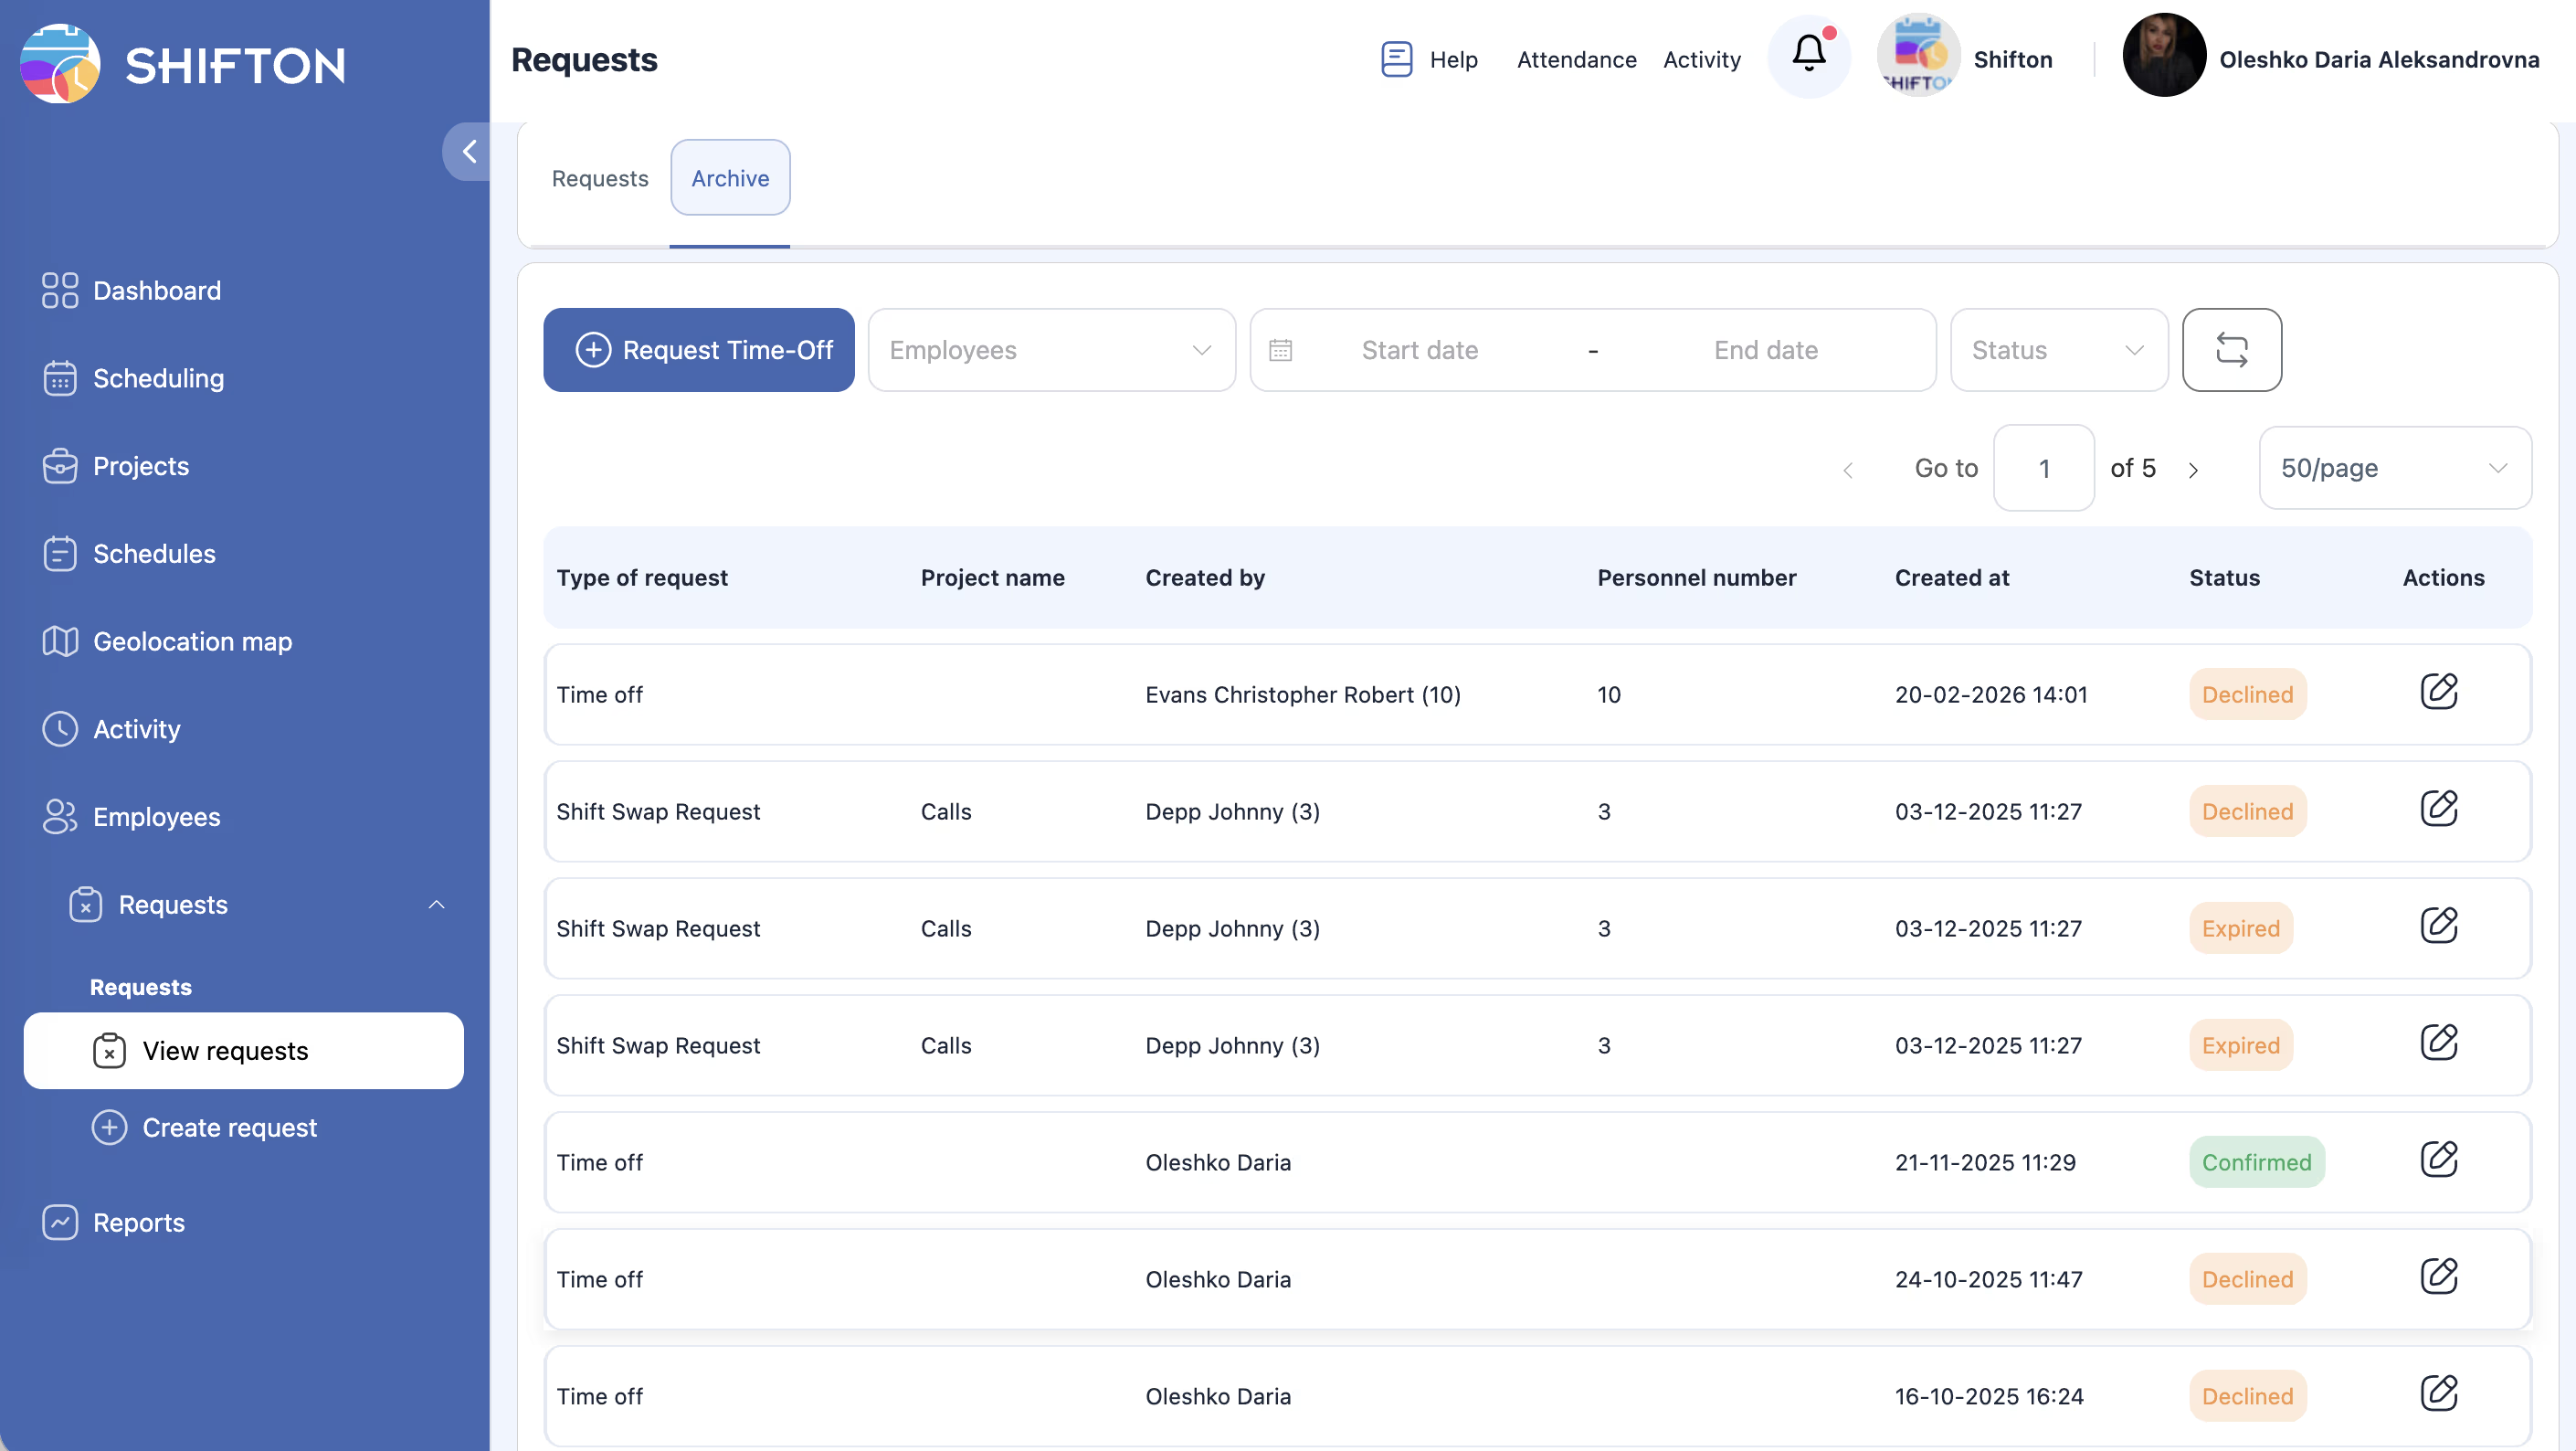
Employees can independently through the app or web version:
– Request time-off and vacations (module Time-Off Requests)
– Swap shifts (if allowed in project settings)
– Take open shifts
– Drop shifts
Reports
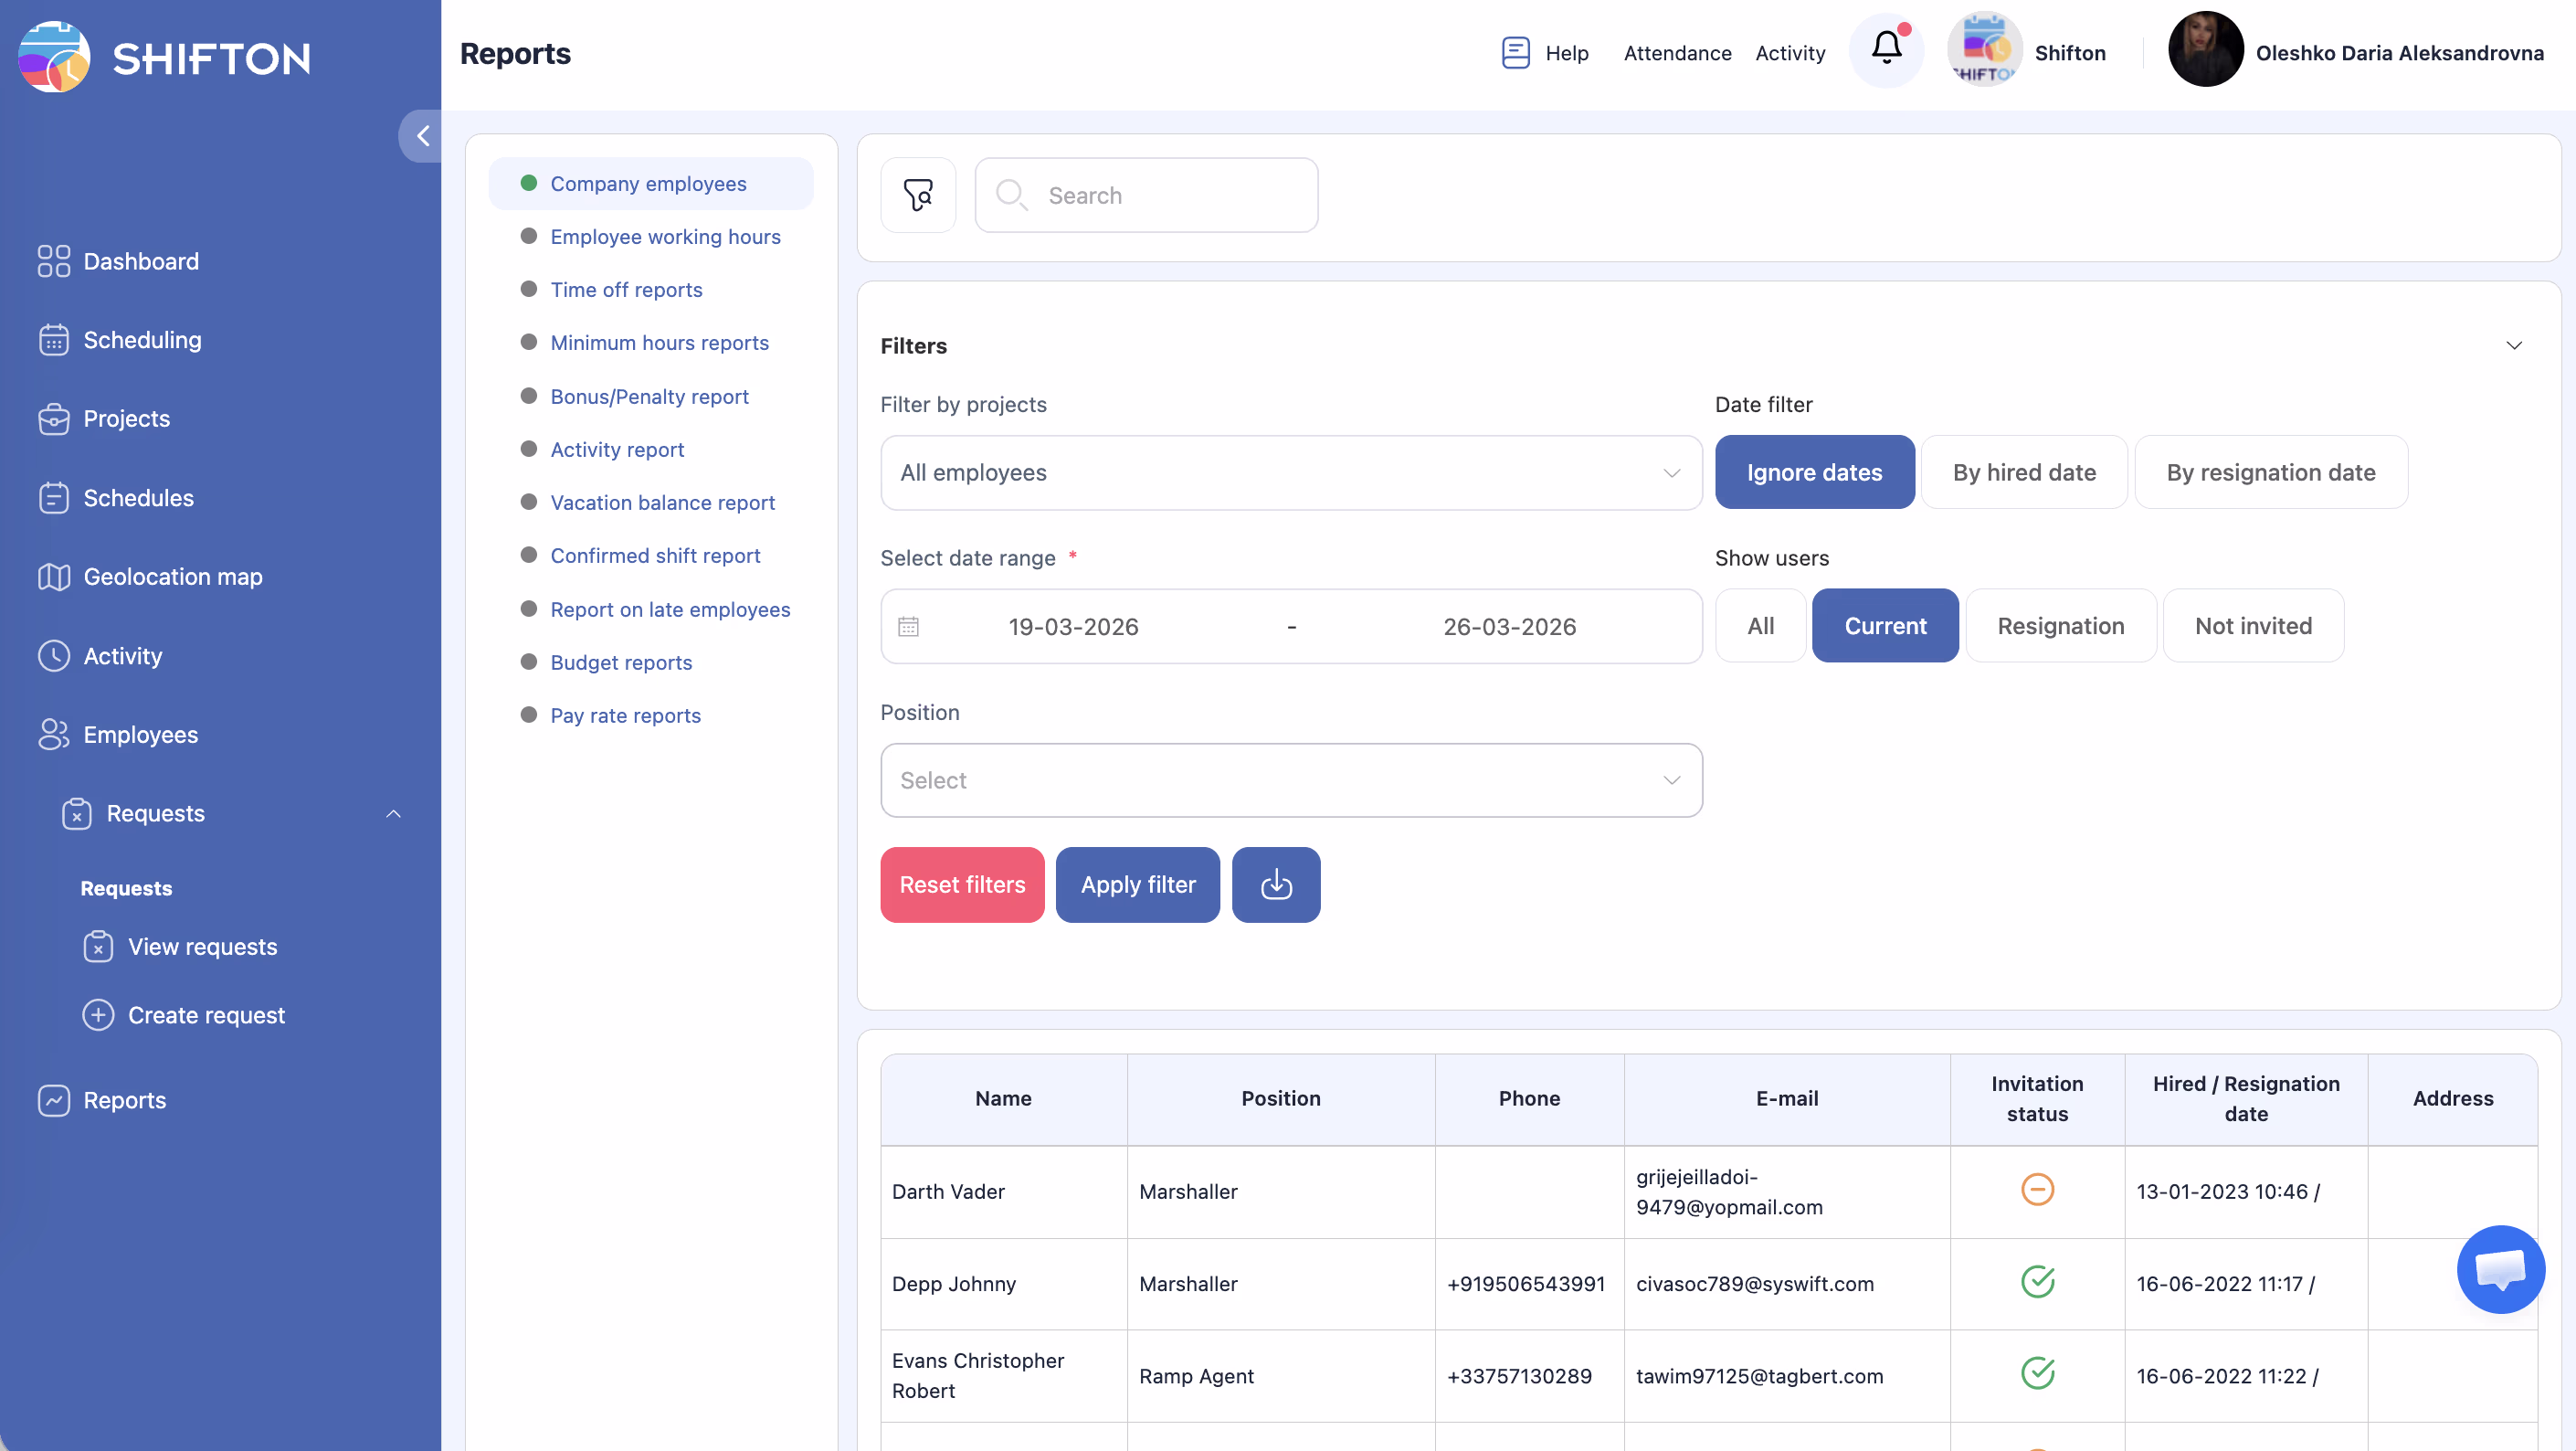
11 report types: working hours, payroll, attendance, time-off, overtime, and more. Filter by period, employees, projects.
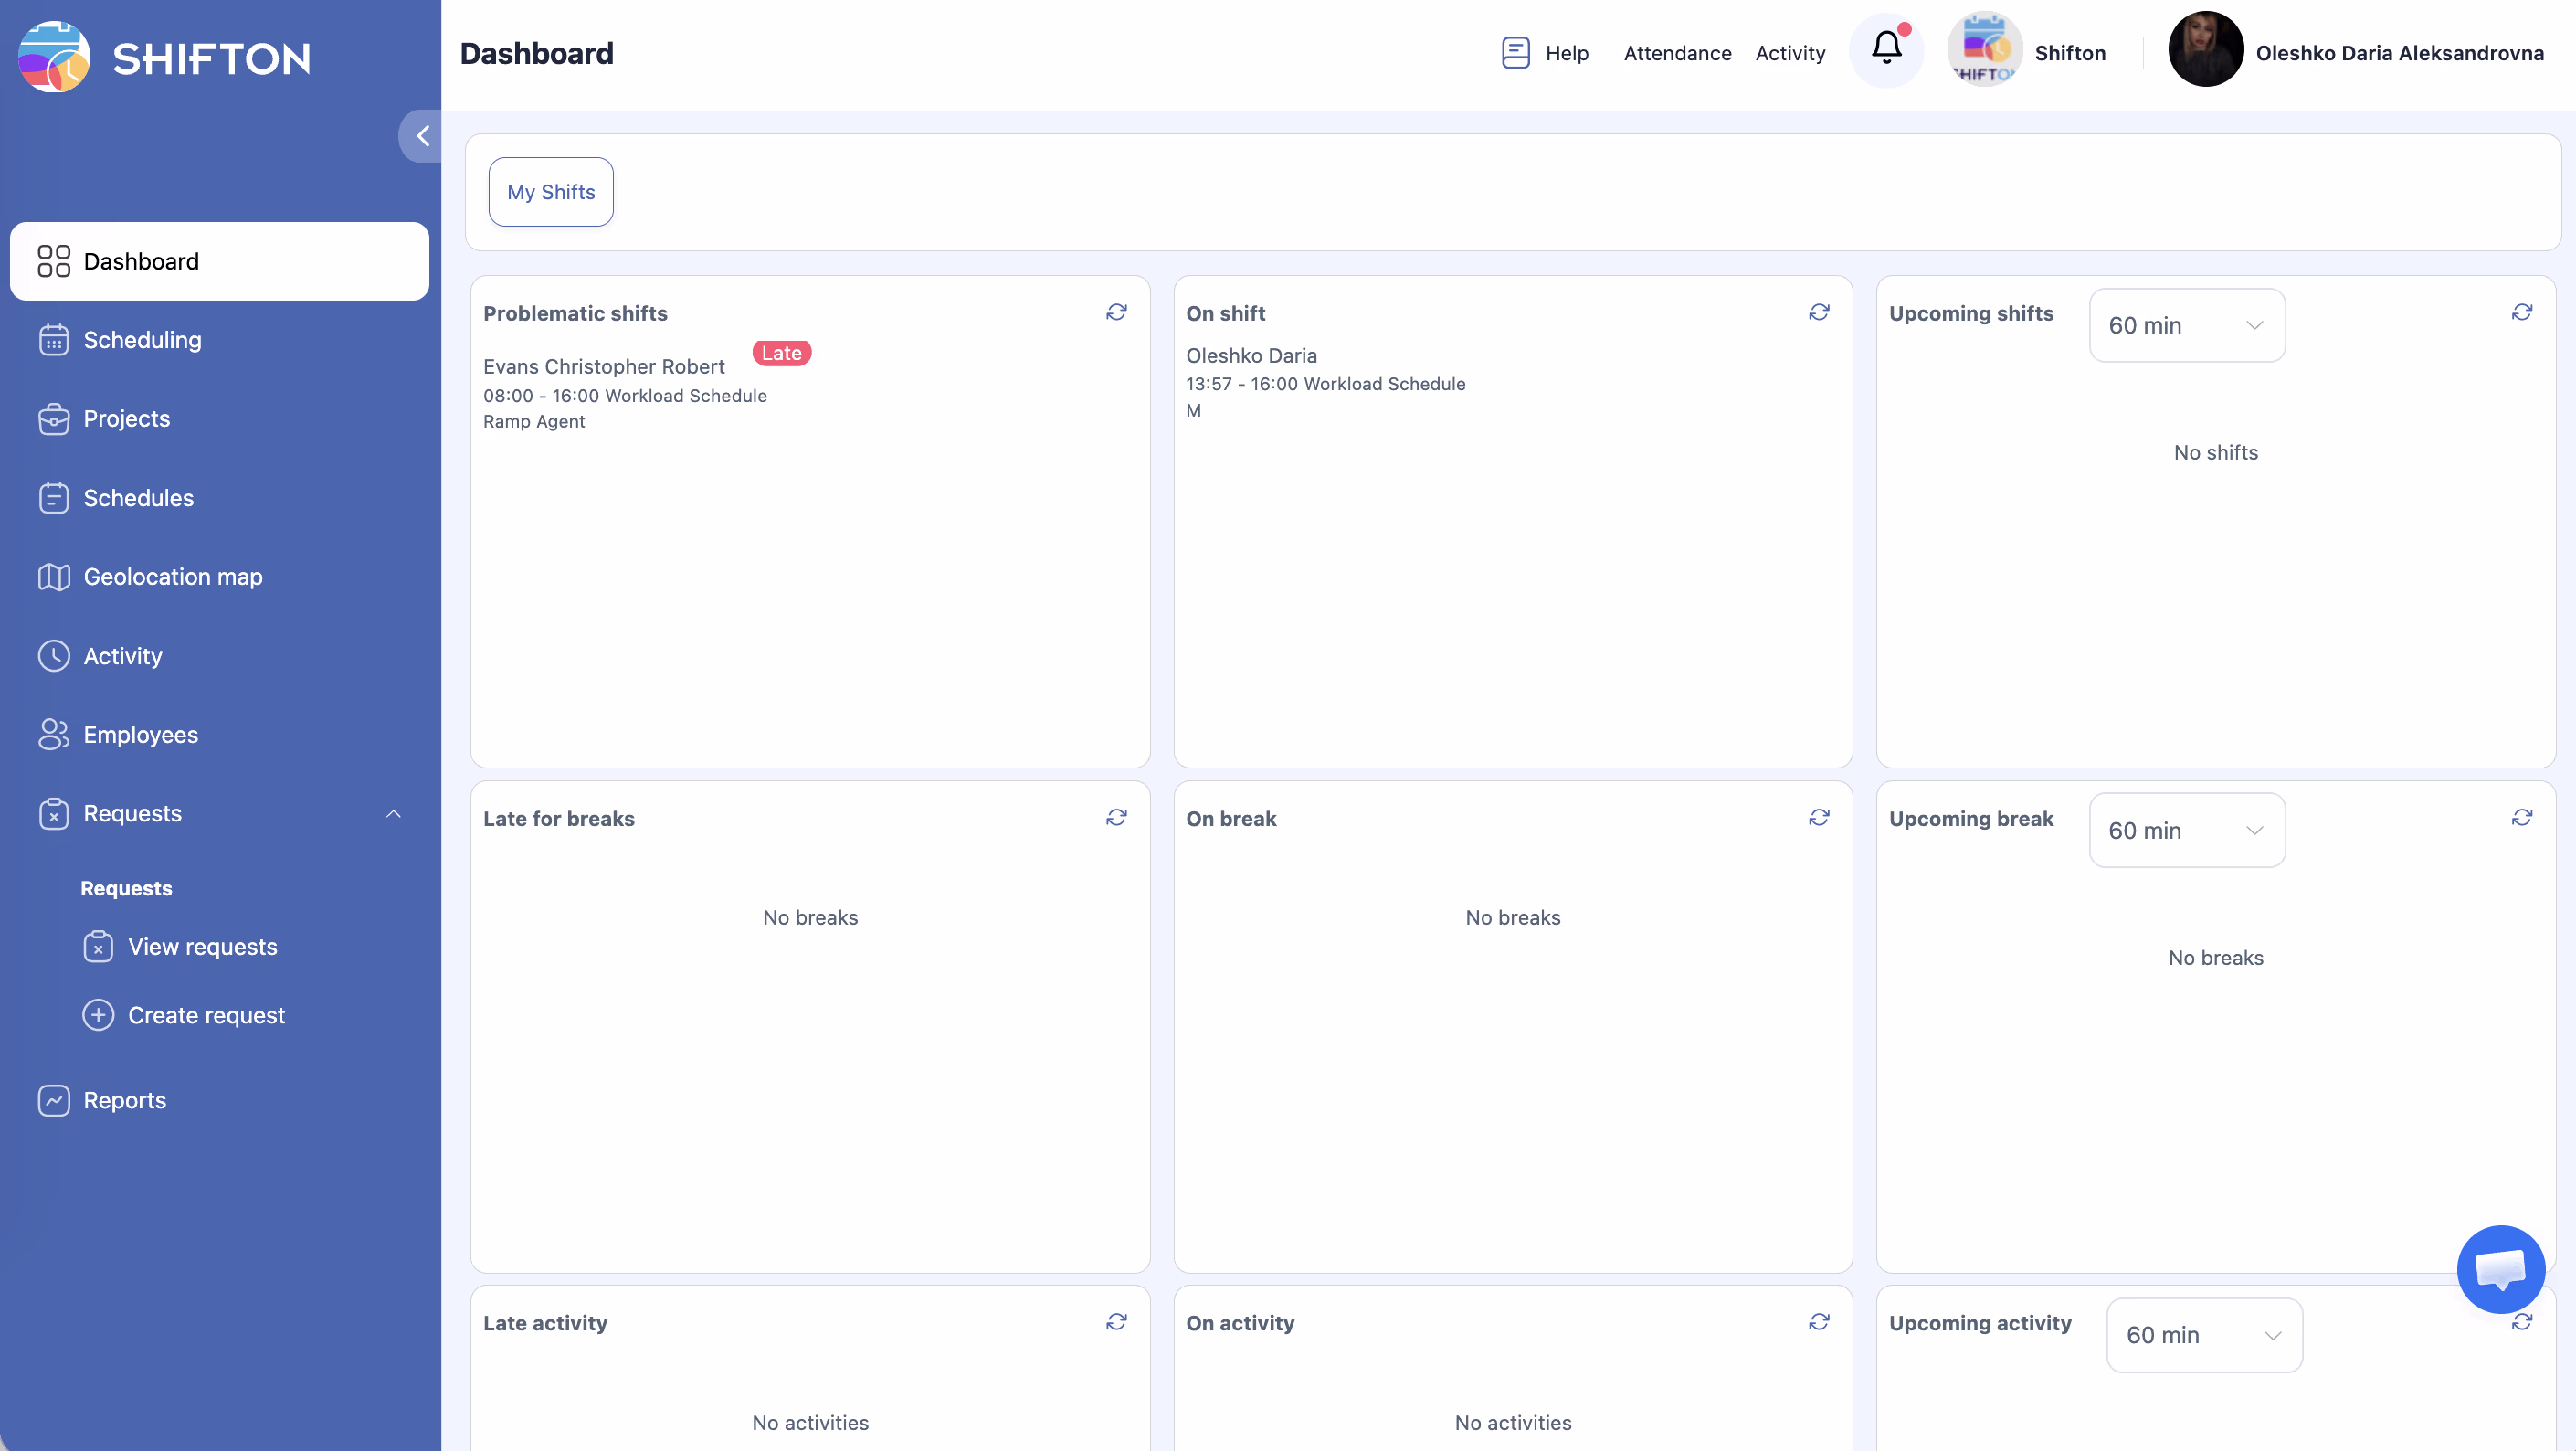
Attendance (module Attendance)
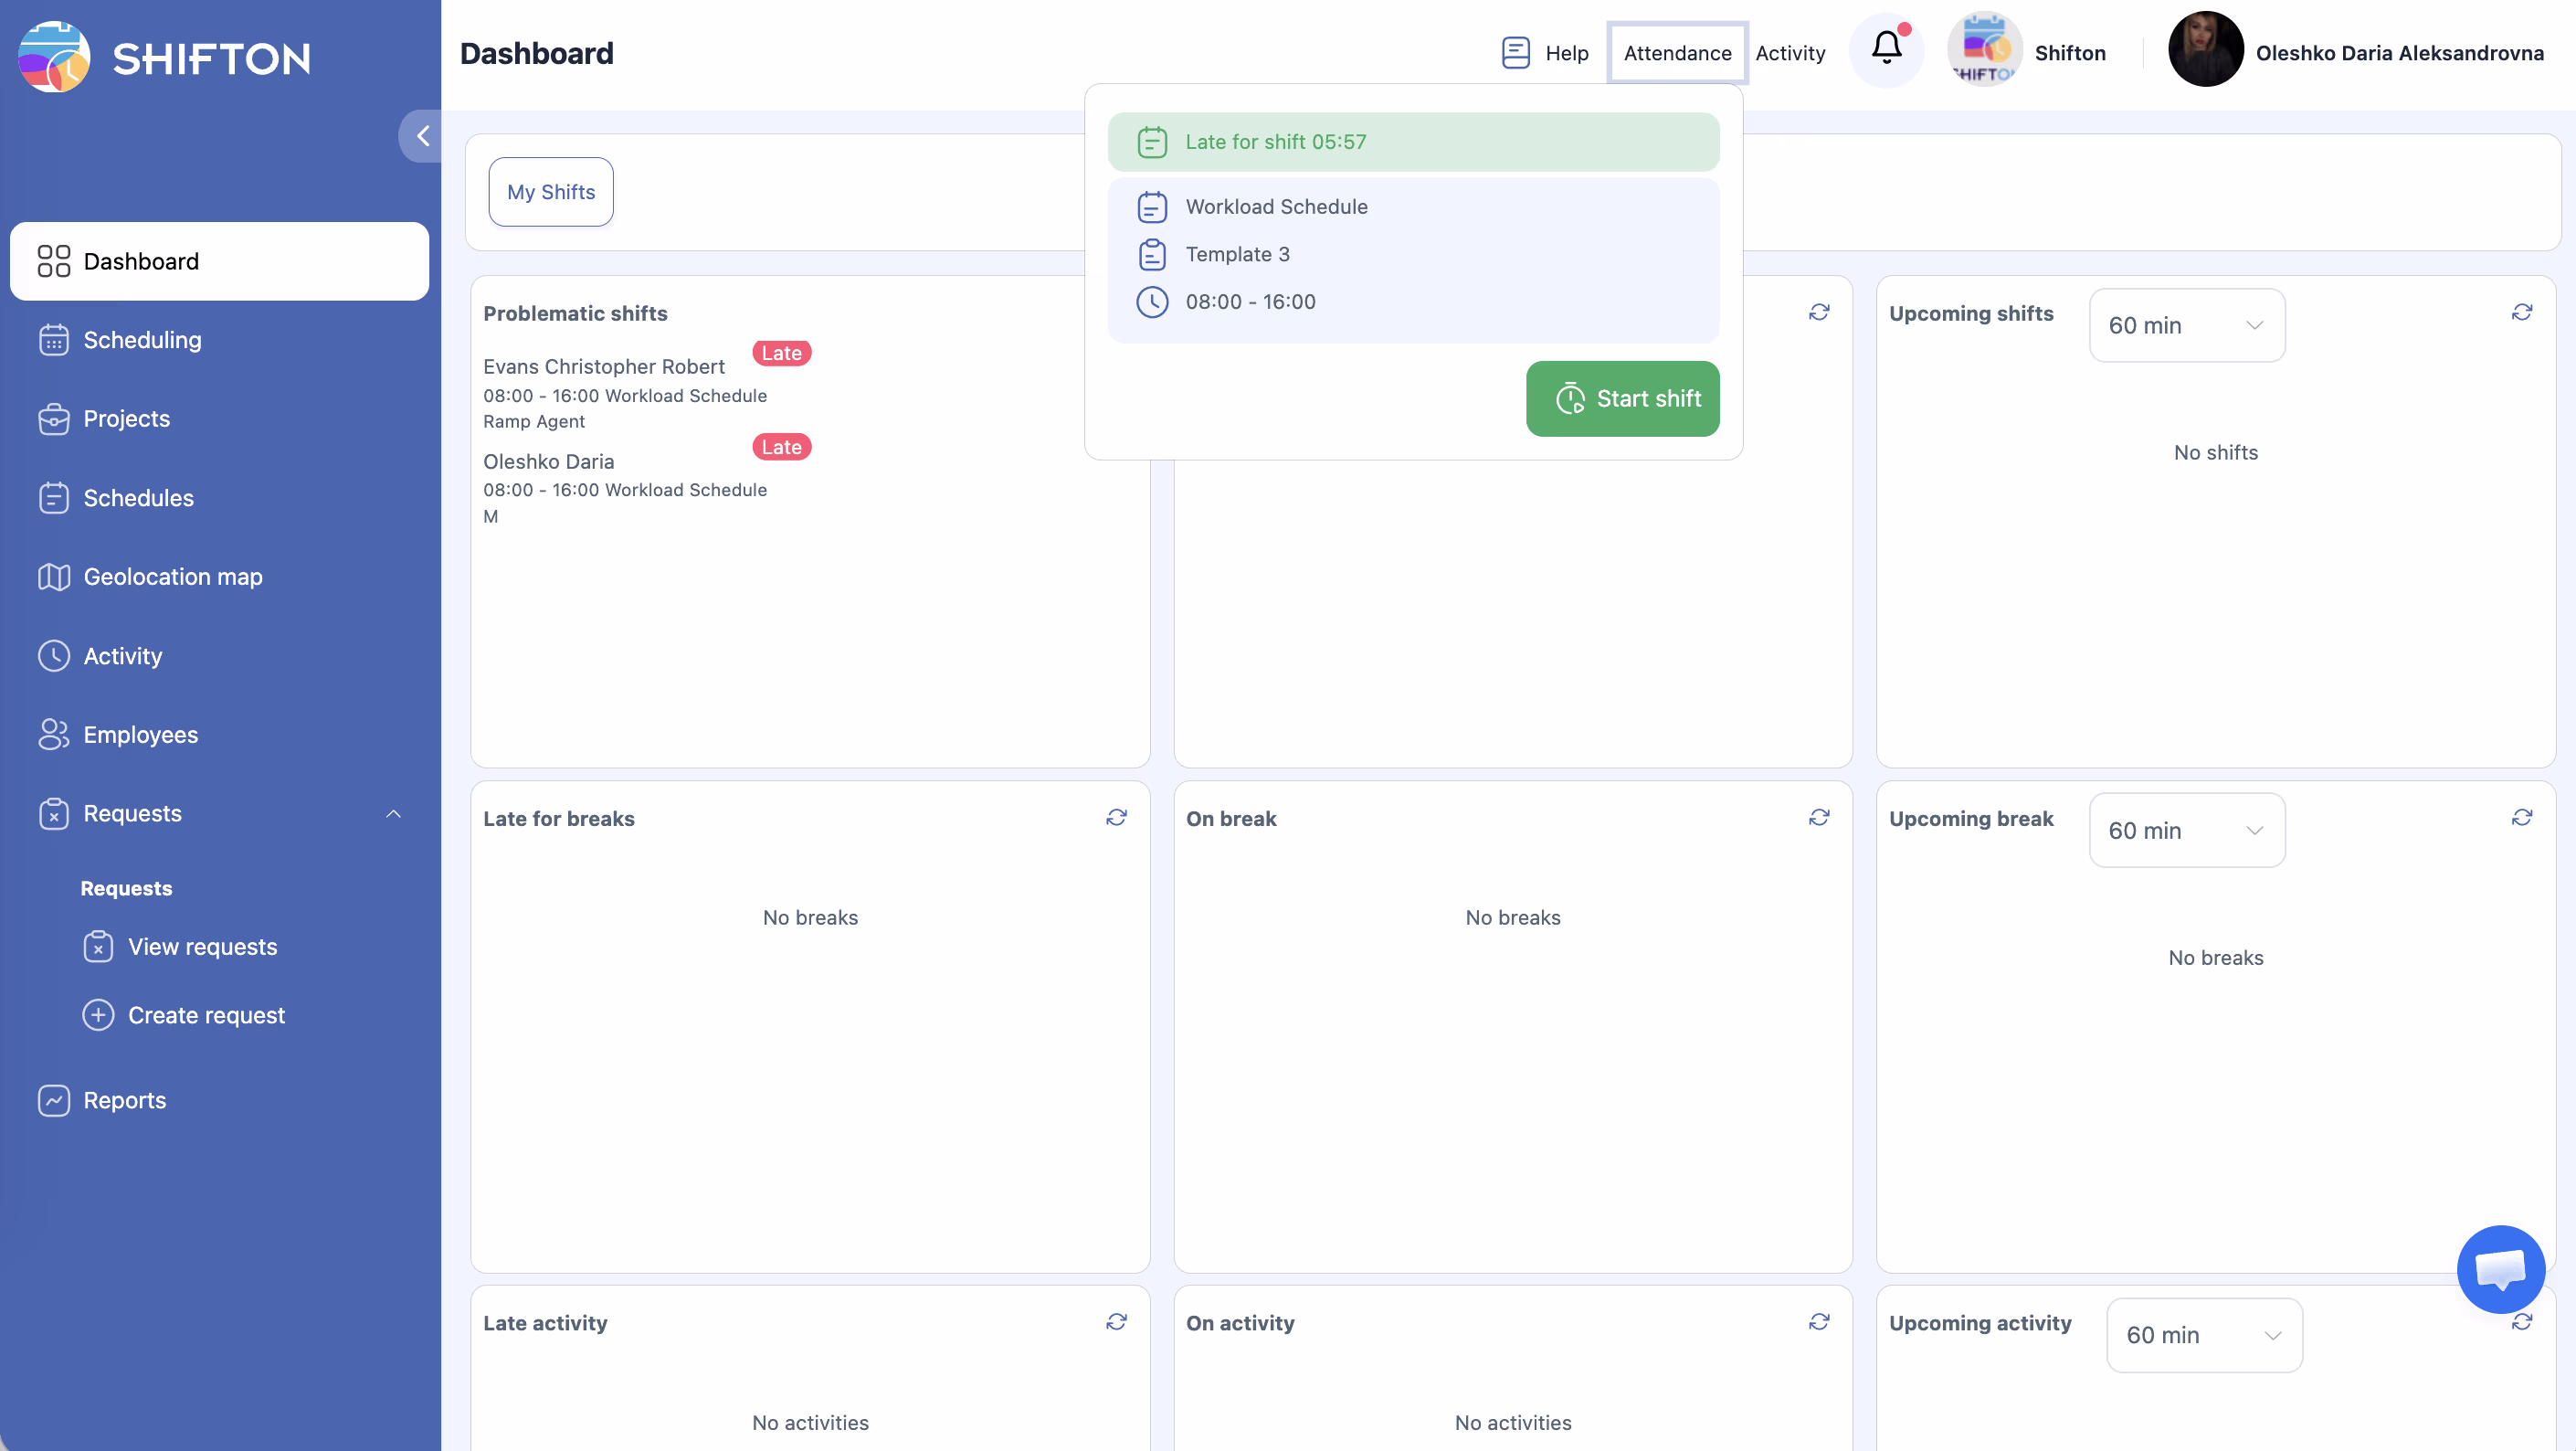
Employee clock-in/clock-out tracking — via a button in the app, GPS coordinates, or QR code.
Breaks (module Breaks)
Break tracking within a shift — paid and unpaid, with limits on count and duration.
Related Articles
- Company Registration
- First Login and Interface Overview
- Company General Information
- Salary Settings
- Module System Overview
- Managing Projects
- Managing Positions
FAQ
Q: Can I skip any step?
A: Steps 1–2 are mandatory. Steps 3–5 are strongly recommended before creating schedules, as salary and module settings affect calculations. Steps 6–8 are the minimum to start working.
Q: How long does the full setup take?
A: Basic setup (steps 1–8) takes 15–30 minutes for a small team.
Q: Is it necessary to configure salary before creating a schedule?
A: Strongly recommended. Salary settings (currency, rate mode, overtime) apply to all future shifts. You can change them later, but retroactive recalculation does not occur.
Q: Can I add employees without sending an invitation?
A: Yes. Add an employee without checking the Send invite box — they will appear in the system with a “Not invited” status. You can invite them later.
Q: What if I don’t enable any modules?
A: Basic functionality (schedule, employee list, dashboard) works without modules. Modules add additional capabilities — payroll, time-off, attendance, etc.
Q: What is the correct order: employees first or project first?
A: The first project is created automatically upon registration. It is recommended to set up the project first, then add employees — when adding, you can assign them to a project and schedule right away.
Q: An employee was added but doesn’t see shifts — what should I do?
A: Check three steps: 1) the employee is added to the project, 2) the employee is added to the schedule, 3) the schedule is published. All three steps are required.
Q: Can I go back and change settings later?
A: Yes. All settings (except schedule type and project time zone for projects with schedules) can be changed at any time.
Q: How do I know which modules I need?
A: Start with the basic functionality. Enable modules as needed — each one has a 30-day free trial period for testing.
Q: Do I need to create Positions and Skills?
A: Not required. Positions are useful for different pay rates and filtering. Skills are for automatically assigning employees to specific tasks or activities.
Q: How do I invite an employee without an email?
A: Enter a mobile number — the invitation will be sent via SMS.
Q: What is an “active employee” for pricing purposes?
A: An employee who had at least one shift in the billing month. Inactive employees are not charged.
Q: Is publishing the schedule mandatory?
A: For the manager’s workflow — no, shifts are visible in the admin panel. But employees will only see their shifts in the app after publishing.
Q: Can I set up the system for multiple branches?
A: Yes. Create a separate project for each branch (Departments and Projects module). Each project has its own managers, employees, and schedules.
Q: How do I set up a rotation schedule (2/2, 24 on / 72 off)?
A: When creating a schedule, select the Preset type and define the rotation pattern — the system will automatically repeat it for the entire period.